Free 3D printed 6xx Mod CQC 600 Needs Custom Cans Mod Kit

Yah, I made a 3D printed mod for the 6xx/600/650 whatever. It still needs the custom cans mod to make it work, but I’ll just copy/paste the instructions I posted on SBAF here.

I’m officially dubbing this the CQC 6XX mod. Why? Because you need the Custom Cans mod kit to do this for now, and it’s an homage to two of my favourite things. Mods, please change the title.

So… who is this mod NOT for?

  1. This makes the headphones less forgiving IMO. If you have compressed music you’re going to hear it. It might be better to stick to a stock HD6XX for that.
  2. If you like the upper mid range resonance on certain tracks, don’t use this mod.
  3. If you don’t like feeling bass on your ear don’t do this mod. I know there are some sensitive to this kind of thing, but I love it.

Who is this mod FOR?

  1. People who can’t stand the 4K resonance of the stock 6xx
  2. People who want extended and cleaner bass
  3. People who want extended treble

Measurements courtesy of JK47:

To be posted

Thing You’ll need

1x Custom Cans Mod Kit of which I am currently completely unaffiliated with. Tuning of this mod was done with the #3 foam. https://customcans.co.uk/shop/produ…l-plated-cnc-copper-mass-loading-mod-diy-kit/

1x Second Skin mod pack. Damplifier Pro: Custom Cut Small Project Sheets - Second Skin Audio
Tolerance is very tight on the print so use this product specifically. One sheet is good for two headphones with some room for error. The key thing is the product is only 1mm in height. This is the same stuff people were doing the KISS mod with so you might already have some on hand.

1x velcro straps from a Canadian Dollar store called Dollarama. They look like this and come in black or white:

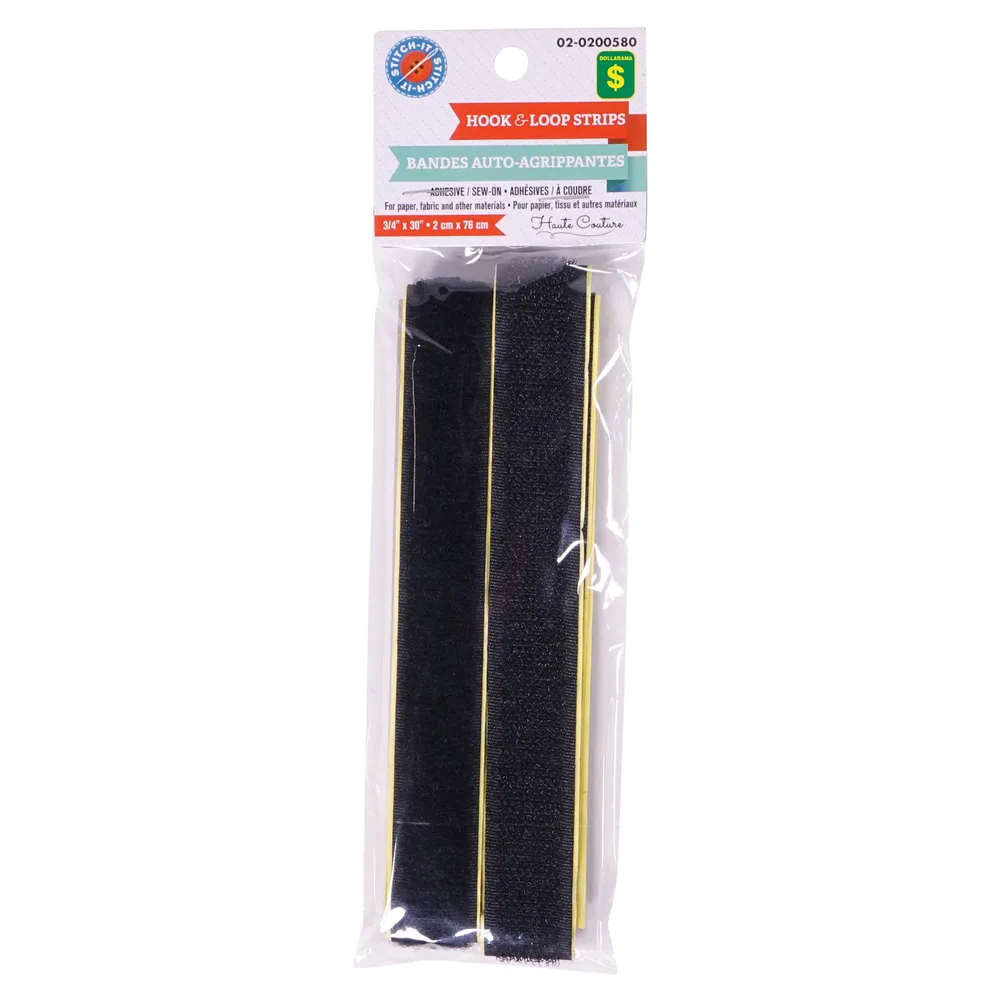
I’m sure You can probably find these around the world under various brands. Here in the land of Maple Syrup they cost $1.25 CAD a pack and are good for one pair of headphones so buy more if you are going to mod more. Specifically we are going to use this to stop reflections on the inner diameter of the 3d print. I chose this product because it is cheap and easy to acquire with an already applied adhesive on one side. We are only going to use the soft felt side so you can throw away the hard abrasive side.

Access to a 3D printer that can print PLA or PETG. Even a very cheap printer can handle this print. See the STL file here:
https://www.thingiverse.com/thing:6612643 MAKE SURE YOU FOLLOW THE PRINT INSTRUCTIONS ON THINGVERSE!

Any Senn HD6X0 headphone. My understanding is that with the different custom foams with the mod kit the headphone can be tuned to sound like 600, 650 or 6xx anyways. Anecdotally the custom cans kit made my made in Ireland 6xx sound identical to my end of 2022 6xx. Previously the made in Ireland was slightly smoother in the upper mid range. The difference appeared to be the foam in the spider for the most part.

I won’t post my impressions here as I’d like to hear what other people think and I don’t want to influence them. For reference, my gear for tuning was a Pi2AES 2.0 with FLAC files running Volumio connected to a blue jeans coax cable to a Denafrips Ares 2 connected to a fully modded out crack running a Tung Sol 7236 power tube and RCA clear top input tube with some cheap monoprice RCA cables. Cable between the crack and the headphone was custom made using some Mogami 2534.

Instructions to follow in the next post.

This mod applies 4 things to the headphone. Note that this mod is completely reversible if you have some kind of unicorn fart model 6x0.

  1. Extra mass. It’s been a few uhh decades, but if I remember my differential calculus extra mass will reduce resonances in this headphone. That’s why we are using 100% infill. In fact if you can print his thing full Nylon it might sound better, because it is more dense, but ultimately I think PLA would make this mod the most accessible so I went that way. Someone should try the Nylon and report back though lol. Anyways this allows for less bass distortion and theoretically contributes to a snappier faster headphone.

  2. Damping, my theory here is that the KISS mods are cool and all, but ultimately since the other side of the damping material was just touching air and not a solid object there would be less dissipation then if it was loosely placed between two plastic surfaces. The 3d print is designed to sandwich the damping material loosely at 8, technically 16, different places. Of course this idea is only tweaked by me and original props to @purr1n for the original KISS mod.

  3. Air flow shaping was something I read the JAR did, and honestly it’s pretty similar to what the IEM modders do. This allows for the extended bass.

  4. Finally, since we have all the sound waves coming out this kind of tunnel we need to prevent any reflections that can occur. The velcro should act like a shaggy carpet in a listening room and kill the reflections to a degree.

Here a side with the finished mods cover on. Note the velcro on the inside diameter for the reflections. Damping material on the custom cans metal ring that is lightly sandwiched by the plastic print to prevent even more resonance.

Ok, let’s start with the second skin placement.

You’ll need the following cuts, BUT I strongly recommend using a sharp box cutter, a cutting mat and a metal ruler to get nice clean cuts:

You’ll need 4x of 20mmx7mm pieces for either side of the metal ring. and 2x of 15mmx10mm for the bottom part of the Y. See below for placement.

Next you’ll need 8x 10mmx10mm squares and 6x 10mmx25mm rectangles for the rest. See below and note that we are not covering any of the holes with the damping material. Where there is a raised plastic rib, we are coupling the 3d printed part and allowing it to dissipate more vibrations then if we just had the damping material.

Now we need to prepare the 3D print in the next post.

1 Like

See the last pieces of second skin on the 3d print. size is approximately 12mmx11mm and you will need 4x in total.

The Velcro is next and it’s very east to work with. Just trim off the sides where there is no fuzzy material and you’ll get a width of approximately 15mm. You’ll need 2 pieces that are 90mmx15mm and two pieces that are 120mmx15mm.

The 90mmx15mm piece should comfortably hug the top of the inner diameter. and the 120mmx15mm piece will need to be cut near to fit the bottom correctly. Note that where the 3d printed part would touch the bottom Y you will need trim the excess velcro so that it cannot get caught between the plastic and the second skin damping material.

Finally, I placed some velcro on top of the second skin to prevent reflections there too since the other side of the second skin is aluminium foil and might cause reflections.

Do the above for each ear cup and you’re all done. I’d love to read you listening impressions!

3 Likes

Measurements on the sbaf thread.