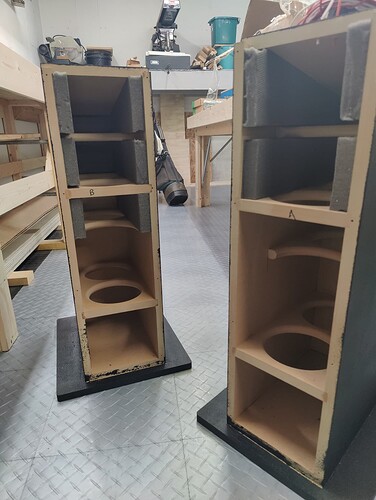
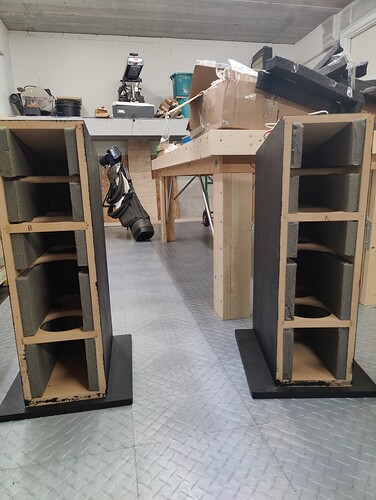
I am curious to see how these turn out. Great project! ![]()
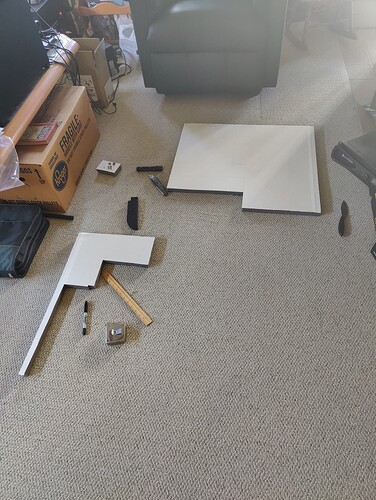
Currently measuring/cutting/installing the NoRez into the cabinets. Tools that I recommend to make your life infinitely easier:
- a ruler and a yardstick OR tape measure, depending on how long and large your cuts need to be for the panels. As the old adage goes, “measure twice and cut once”. Maybe make that measure THRICE depending on your accuracy and level of concentration. You can get your baseline measurements off of any plans that you have, but make sure to do your final measurements based on the finished cabinet itself. If you use a material like NoRez, the backng is so solid and stiff that you can’t really “jimmy” or force it into place; you need to be accurate or cut slightly short.
- A fine felt-tip marker or Sharpie for marking the backing prior to cutting. Normal pen does not stick to the backing, just see what works best for you.
- A utility knife or razor if you want to life dangerously, as well as a sharp knife with a long blade (preferably a thin profile and a deep belly are ideal). Use the utility knife or razor to “score” your markings and create a channel to cut through the adhesive & rubberized backing first, then use the long knife to part the foam layer. Both cutting tools with get adhesive on them as you cut, so be sure to clean them every so often or you’ll wear your arm out making the cuts (if you want to be lazy with the razor, just buy a pack and swap them every couple of pieces).
It’s recommended to cut the foam layer back about 1.5 inches from the drivers and leave the vinyl layer.
Like this:
Sound advice, I’ll have to do that now that I have all of the paneling installed!
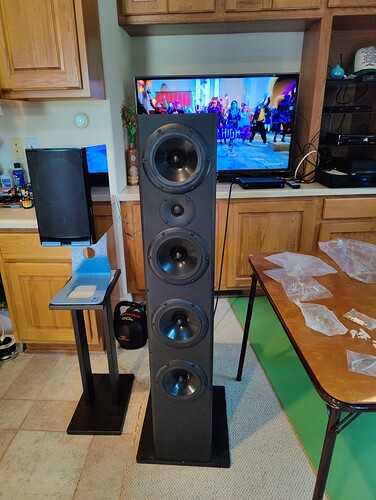
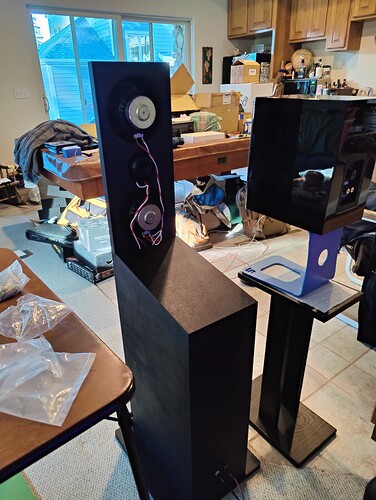
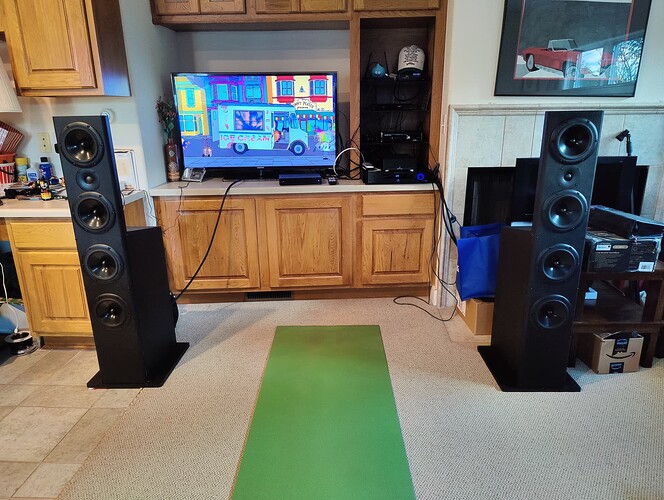
Is that a pair of N-Xoticas? They’re lovely, even from the back!
That they are. I should make a build thread in here some time. I’m lazy though.
Woooooah, we’re halfway there! WoooOOOAH, mismatched channels for a day or two!
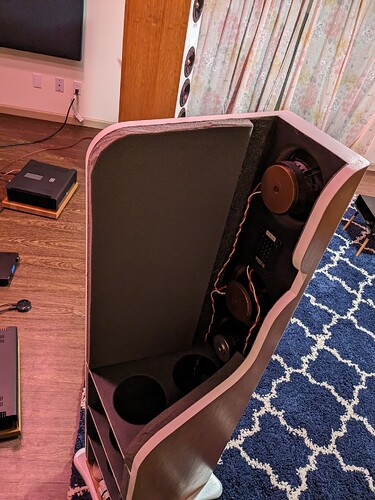
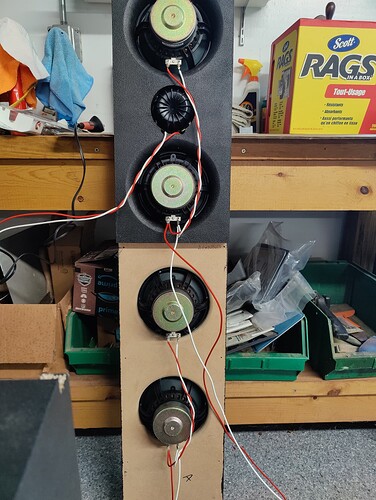
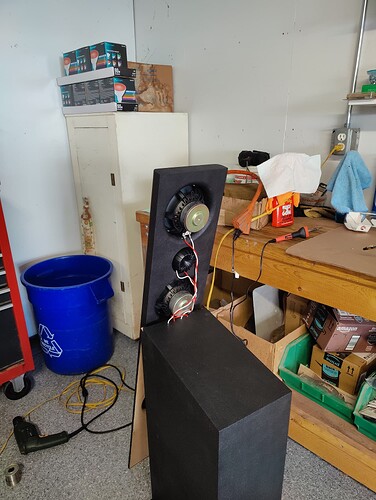
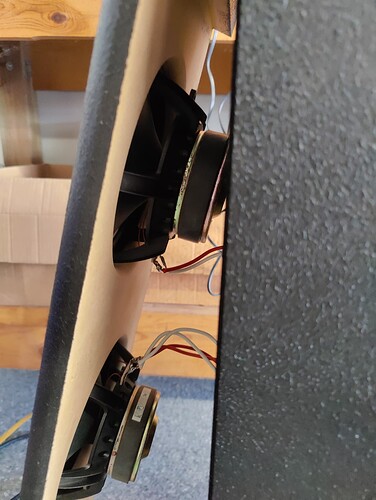
So, I probably took way longer than necessary to finish the first one and many lessons were learned (which will be detailed with more breakdown/pics as I do up the other unit). Here’s some shots of the drivers once soldered and attached to the front baffle:
PS even though it’s just a single unit mis-matched with a bookshelf speaker, it sounds great!
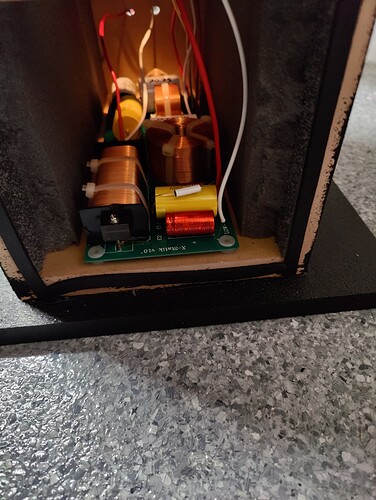
Alright, so I’ve had some ups and downs given that I had to troubleshoot the second unit with several teardowns and rebuilds, but the moral of the story is that you should learn how to and test your crossover before sealing anything up, as I had a cap that was only partially seated (and soldered) into the PCB circuit which was causing a “leak” that prevented the tweeter circuit from being complete. It is worth noting that my build involved the old “X-Statik 1.0” pre-assembled crossover which is no longer offered, so building a crossover from scratch (and point-to-point) should be both easier to troubleshoot and finish correctly.
So…how do they sound? They are fantastic, and have the best vocals and highs that I have ever heard from a speaker! I don’t know if it’s the open-baffle section, the design of the build, or both but they are worth all of the pain, toil and cost that I put into them. I would probably NOT recommend them for a first build project…but I absolutely recommend them.
