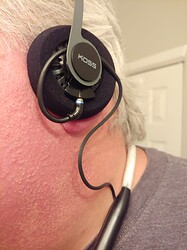
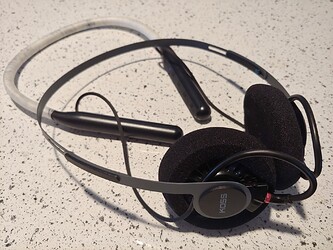
Just finished my MMCX mod and am listening with the 40’s connected to my Fiio LC-BT2 bluetooth neckband. The neckband has plenty of power to drive these very loudly.
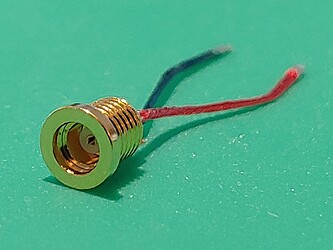
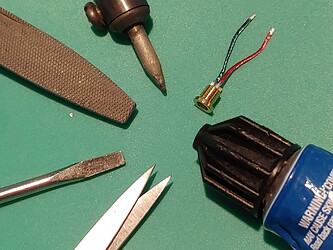
These are the MMCX adapters I ordered:
The tools I used are:
- Small flathead screwdriver
- Small file (part of my Leatherman)
- Epoxy
- Scissors
- Soldering Iron
Using the screwdriver carefully pry the cable cap off of the driver housing. There are 2 plastic pegs that hold it on the housing, so you will have to alternate prying a little bit on each side. I broke 1 of the pegs by prying too much on 1 side.
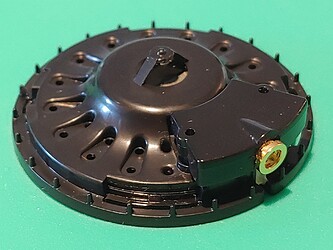
The trickiest part of the process was finding a file to use which fit the notch of the cable cap perfectly (luckily I remembered my Leatherman has one), then widening the notch 1mm to fit the inner post of the connector while the outer lip overhangs outside of the notch space.
Once I had the notch right I epoxied the connector in place and left it overnight to cure. NOTE - keep the red wire on the right side, it makes soldering easier later.
When I was ready to connect to the drivers I used the scissors to snip the stock wires from the back of the drivers. It was easier than trying to use the soldering iron to desolder them.
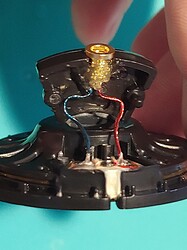
Using my soldering helping hands made the soldering process so much easier, especially as the wires lined up with the solder pads because of how I epoxied the connector. The red wire matches the side of the red mark on the driver. As there was plenty of solder on the pad I did not need to add any extra, all I had to do was melt it around the new wires.
Something to keep in mind, the wires provided on these connectors are too long for the cap, however I did not snip them just to make working with everything easier. As seen in the above picture, I had to spread the wires out to clear the inner plastic posts, then bend the wires towards the outer edge to make everything fit. Kind of accordion style.
Because of how the cable cap fits on the driver the MMCX connector fills most of the empty space that allows it to sit flush. The plastic pegs do go into their housings a bit, but there is quite a bit of a gap left over. I used blue tack under the MMCX connector to help the pegs keep everything in place.
After I have more time to test I may epoxy the cable caps in place. I need to see how often the caps come off of the driver.
For $60 the KPH40 with Yaxi Pads and these MMCX connectors make an excellent wireless headphone solution, especially when paired with my Fiio LC-BT2.
I am looking forward to trying these with my aftermarket balanced cables on my desktop rig as well.
If you have any questions let me know and I will try to answer them.
Now to do the same with my KPH30i’s. They should be much easier/quicker given the bigger housings.
