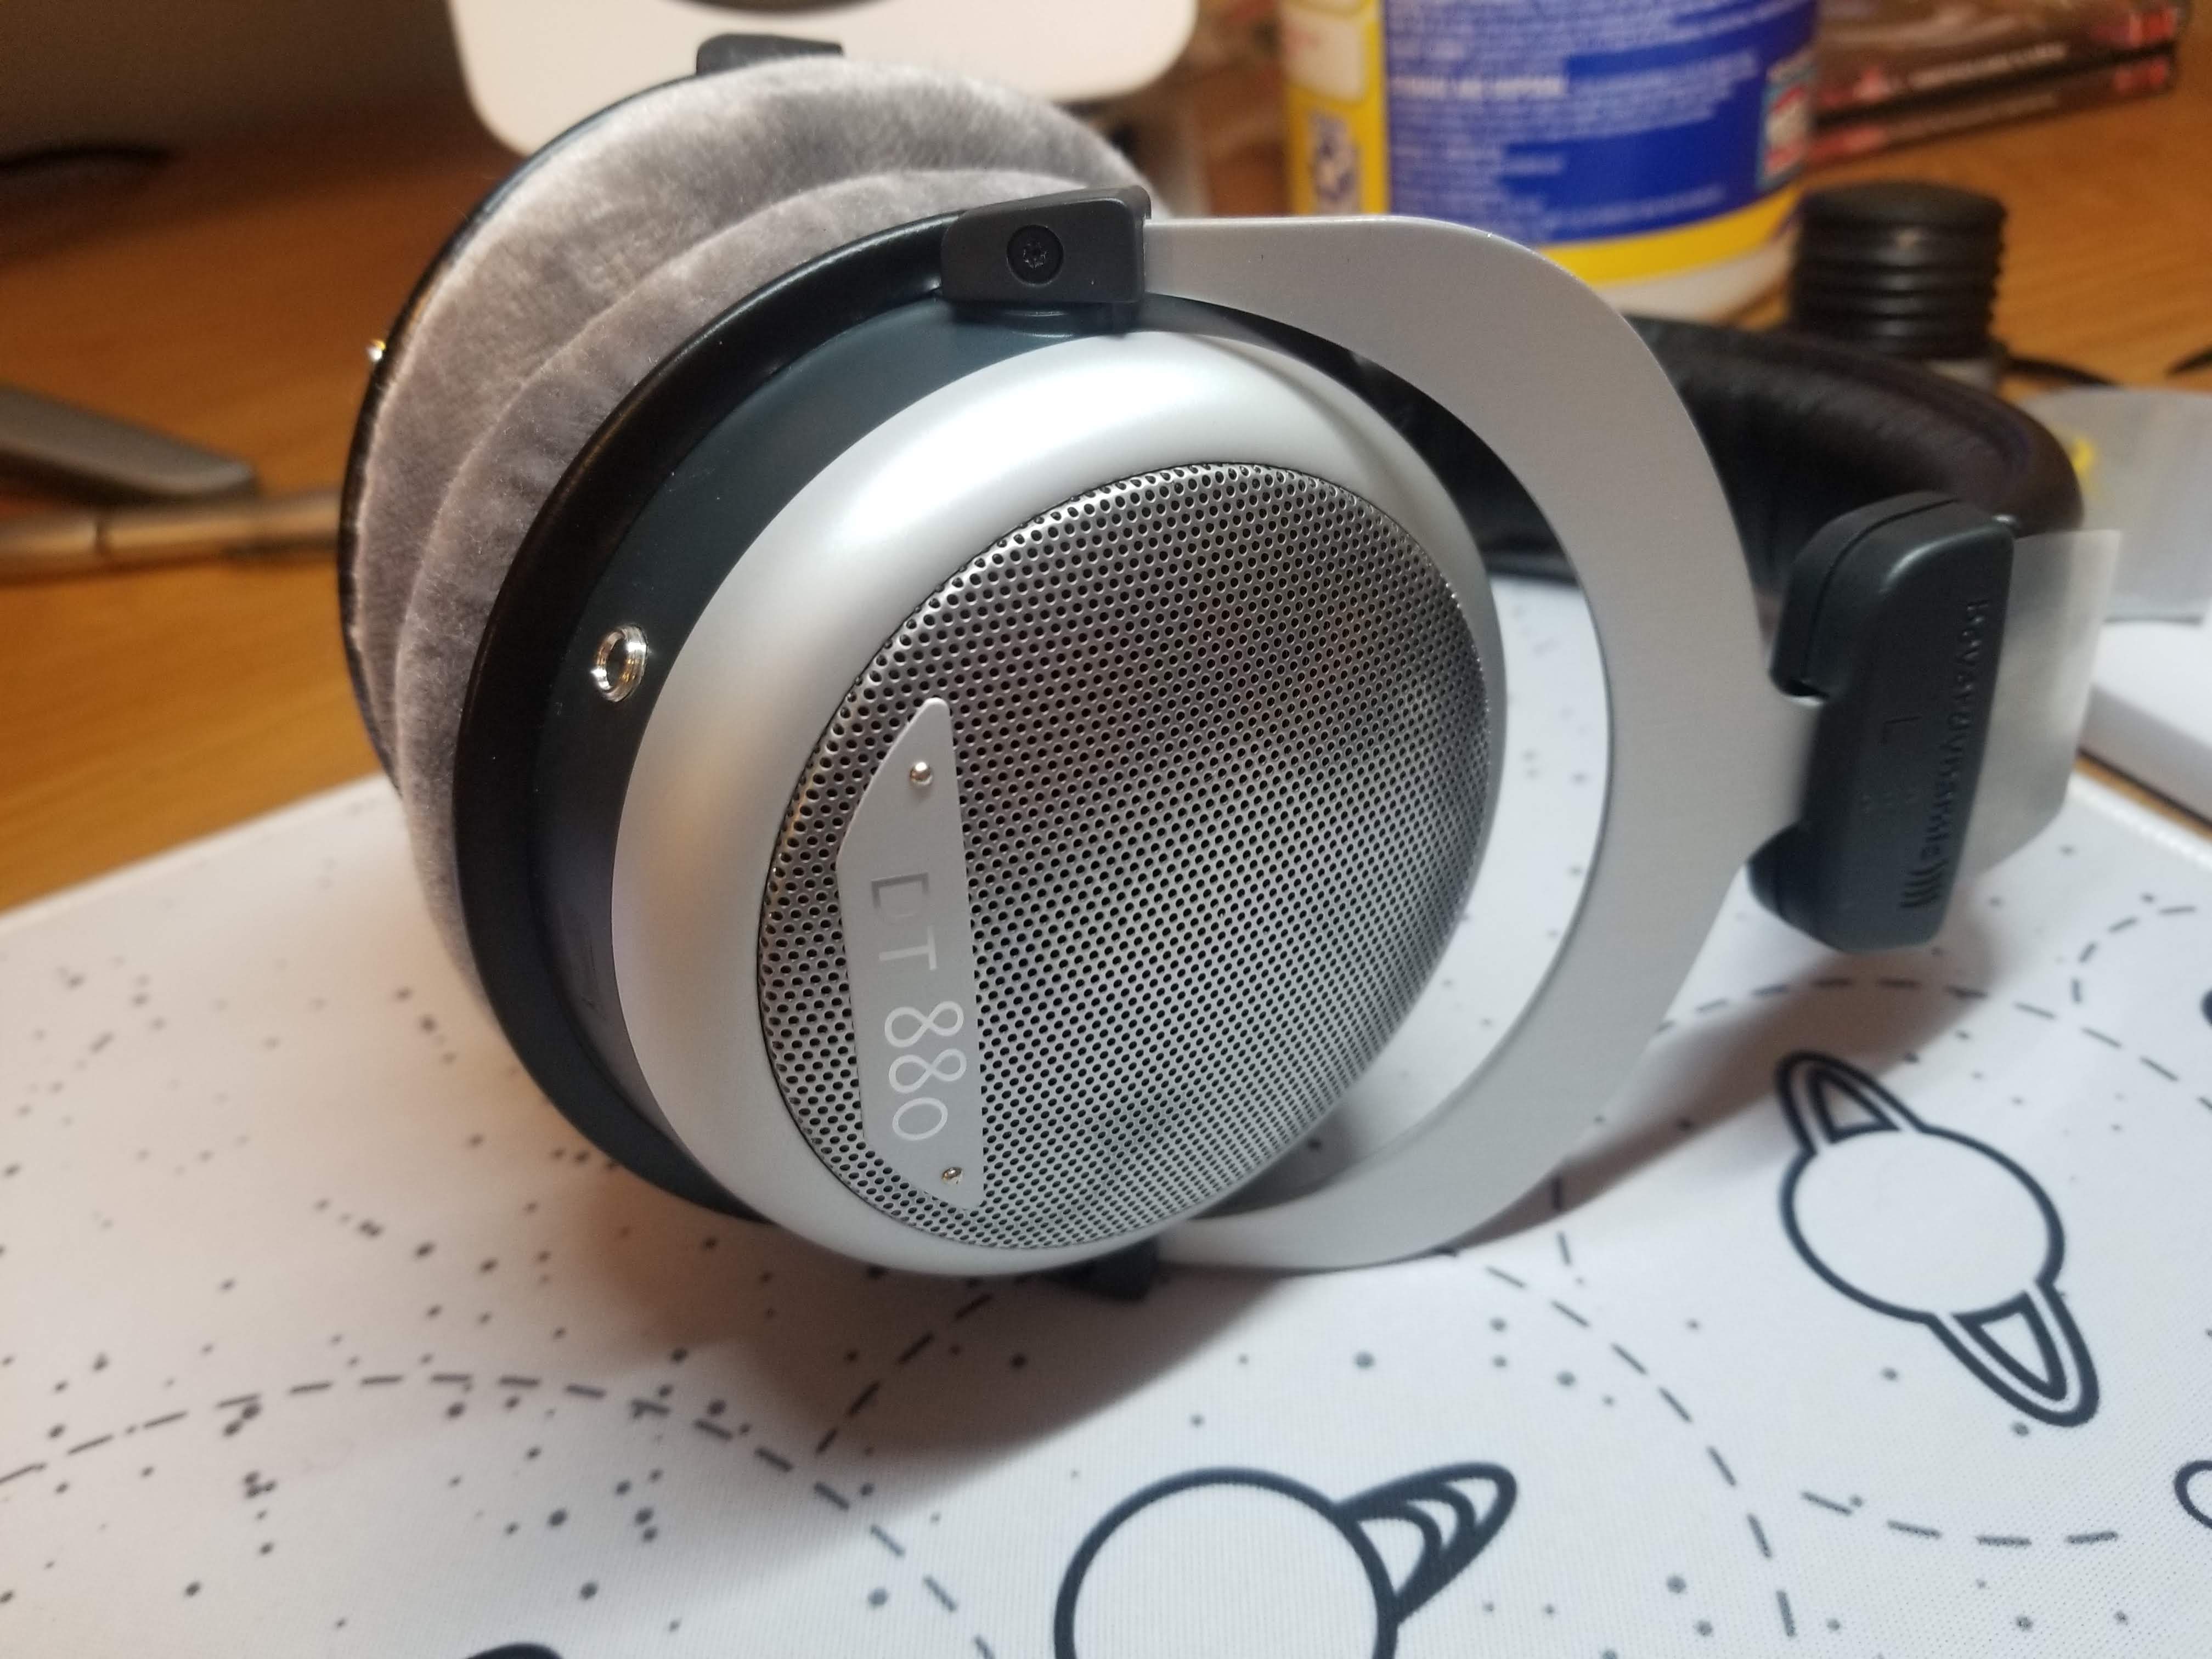
Haha, I can see that happening too. I was very careful with mine. What I did was remove the pads, put the cups together, then mark both sides roughly where I wanted to drill with a white marker. That’s why that weird cross shape in my pictures as I roughly figured out the best place to drill.
Glad you managed to fix yours without too much trouble. Looking very good there too.
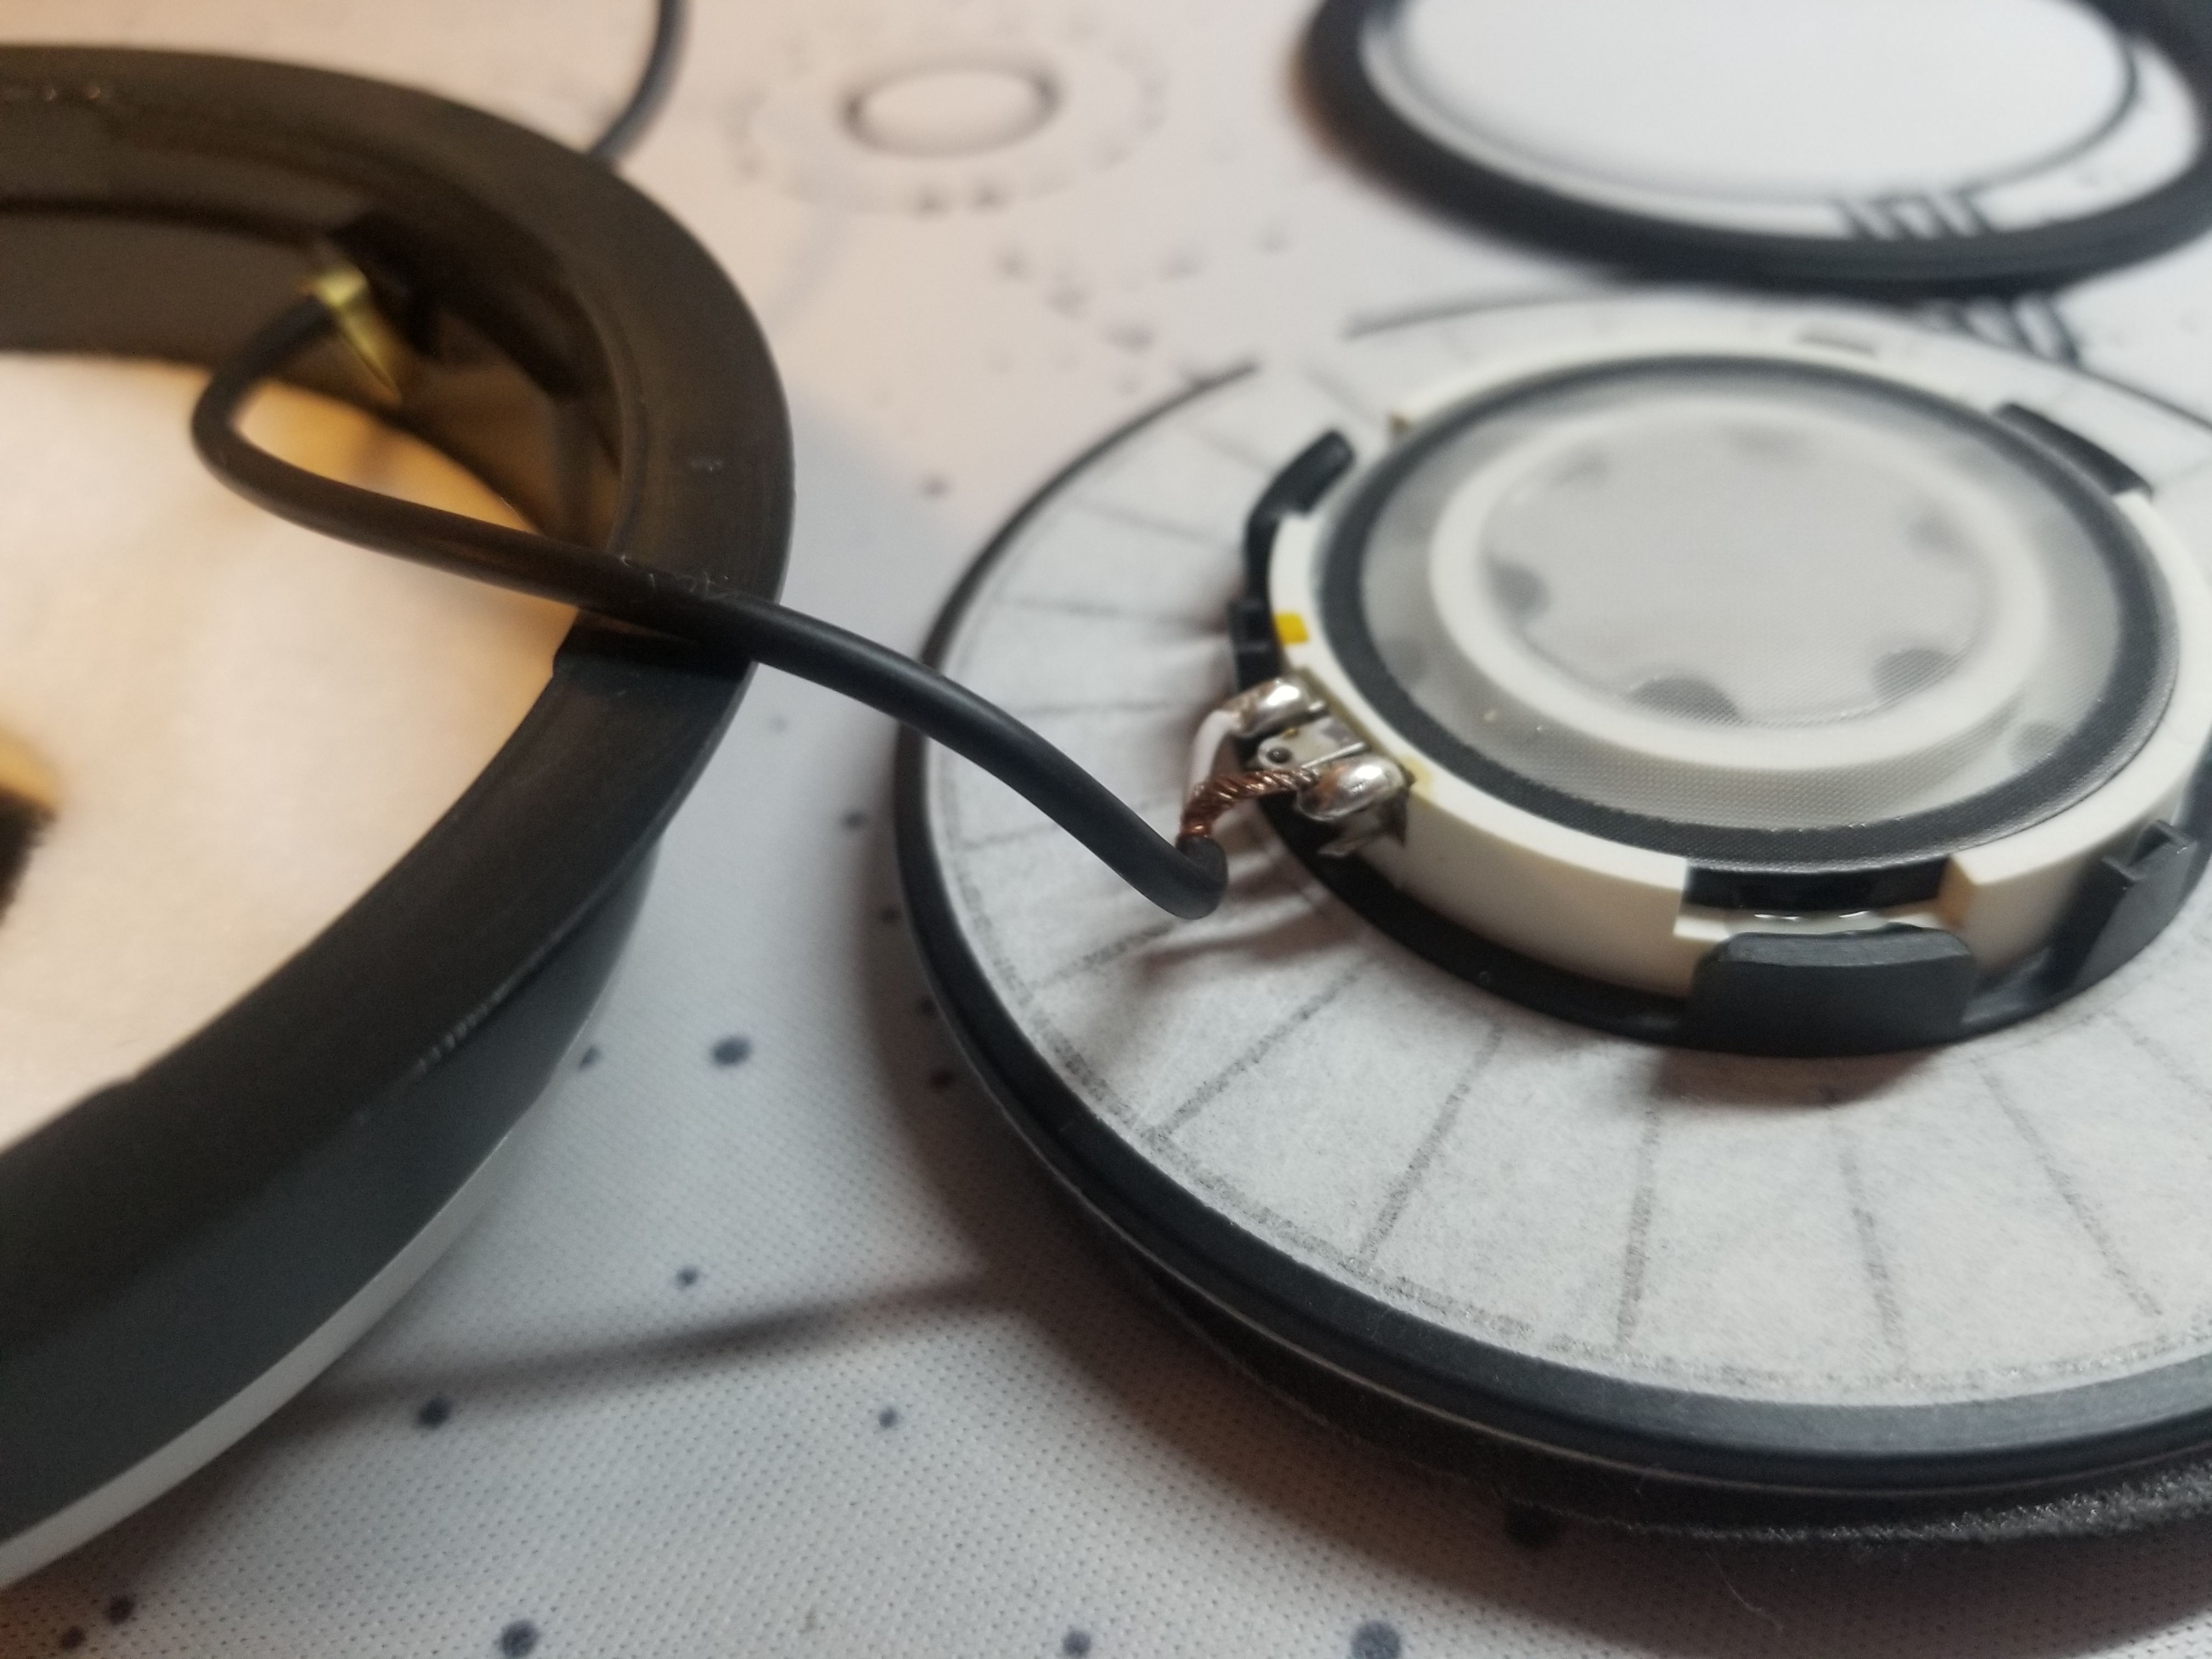
Hey guys. I have a 2011-12 pair of DT880 600 ohms that I’m considering balance modding. I open the headphone and I see this. Any thoughts on what I should do in regards to ground?
That’s what I was hoping. But the issue now is that the ground isn’t a shielded wire. I think it’s just a copper coil? Not sure how I should approach this. Maybe I should buy some heatshrink.
You can use heatshrink. You could also carefully desolder them, then use other wires as well if have spare on hand (like from the unused 3.5mm cable once cut it off).
If I were you, i won’t unsheath the cable going from the driver once I cut it. I’d just cut it to length, strip, then solder the wires as is to the jacks.
It’s mostly likely nothing. If I’m seeing correctly it’s on the ear side, so there should be very little, if any sound wave interaction at that location. If it were on the cup side it’s more likely (but still very improbable) to be a problem, I would guess.
FYI, if you’re doing this mod and plan to reuse a small length of the stock cable that comes into the left cup - an understandable decision so you don’t have to solder directly to the driver - be aware that those tiny stock wires do not solder well to whatever jack pins you intend to attach. I originally reused a small length of those stock wires for the reason just mentioned. However, I was beginning to notice a very slight channel imbalance biased away from the side where I reused a small length of the cheap incoming wire and toward the side where I harvested a small length of the wire that connected the cups in the stock configuration. I popped open the weaker side and sure enough one of those solder joints was beginning to fail. This time I got braver and replaced that stock wire altogther. Now it’s . If you feel up to it, I recommend harvesting a short length of the wire that connected the two cups and soldering that onto the driver on the stock left side. The wire that originally went through the headband is of a much higher quality than the incoming stock wire, it also solders to the jack pins much more readily. However, only do this is you’re comfortable soldering and can be quick. The 600 ohm voice coils have super thin wires. If you hold heat on there too long you can melt that thin voicecoil wire and fuse some of the strands together. You don’t have to be lightning quick, but if you mess something up, walk away and let things cool down before you keep applying more heat.
Yeah that’s the alternative way of doing it. I had similar experiences with the Koss PortaPro/KPH30i internal wires, but because of that using the DT880 wires is a cinch.
Basically you need to be patient in soldering the tips because the molten solder will melt the plastic and tip the wire at the same time. If you do it right (the solder won’t easily come off), then you should have no issues when soldering the internal wires to the jack.
And yes, the entire reason I prefer to do this is because using new wires involves the risky method of desoldering them from the driver unit. Prior to my attempt, I knew of other people who basicaally destroyed the voice coils because they left the solder iron too close for too long.
Rather than risking that, it’s safer to practice better soldering techniques on the internal wires than close to the driver coils. If you want to be really safe, you can cut those internal wires longer, so you can snip it off should you stuff up tinning the tip.

 . If you feel up to it, I recommend harvesting a short length of the wire that connected the two cups and soldering that onto the driver on the stock left side. The wire that originally went through the headband is of a much higher quality than the incoming stock wire, it also solders to the jack pins much more readily. However, only do this is you’re comfortable soldering and can be quick. The 600 ohm voice coils have super thin wires. If you hold heat on there too long you can melt that thin voicecoil wire and fuse some of the strands together. You don’t have to be lightning quick, but if you mess something up, walk away and let things cool down before you keep applying more heat.