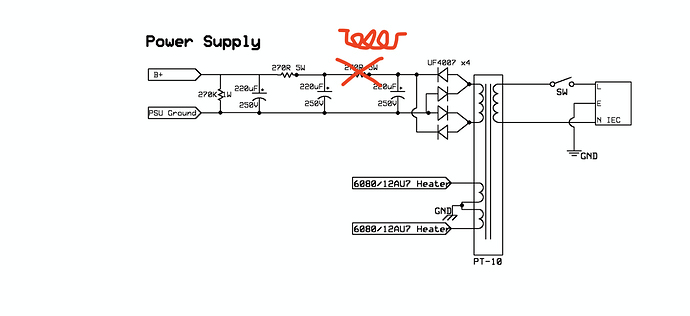
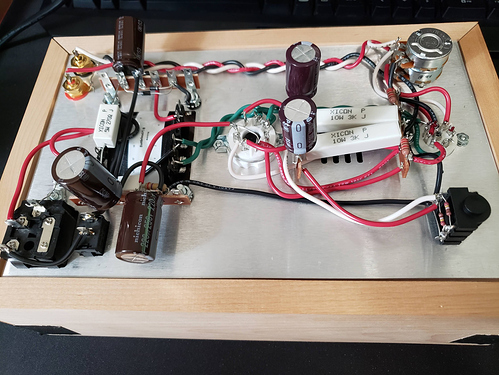
Ok, I see where the misunderstanding is (thanks for the pic). Here is the change:
Yup, that is completly safe. Just changes response to loads.
Woo! Finally finished the base Crack. I will be starting the speedball upgrade tomorrow. And will eventually get around to staining the wood.
Does anyone else get a ringing sound on one of the channels when tapping anywhere on amp? The amp is otherwise very quiet. I haven’t found any posts describing this issue.
The ringing is just the valves being microphonic.
The little metal parts inside vibrate, and act like a microphone.
Some valves are worse than others, if it’s really bad, you can get little damping rings, but some ringing is normal.
Tubes in general don’t like vibrations. Like, you don’t put a tube amp on top of a speaker lol. Just don’t tap on it.
I had this lying around. https://www.target.com/p/scotch-194pk-surface-protection/-/A-52575188
I put the cork on the bottom of the rubber feet and that actually helped. I also put cut the smaller foam pieces in half and used it on the rabbet edge to cushion the chassis. It seemed to do the trick while I decide on a long term solution.
I used to hear everything every time I touched my desk, now I don’t have that problem.
There are some tubes that will p/u on the microphonics more than others. You might see it go away once you start your tube rolling journey.
I had some microphonics when tapping my desk so I replaced the rubber feet with these. They are much more flexible and absorbent. I think the ones in this link might be too big though. Just find the same thing in smaller diameter.
https://amazon.com/gp/product/B075KM5Y8W/ref=ppx_yo_dt_b_asin_title_o00_s00?ie=UTF8&psc=1
Sorbothane is really good for absorbing vibrations.
I got the notice last night that my kit was shipped. I cant wait to procrastinate building it!
BIG shoutout to @A_Jedi for building my Crack + Speedball + Mods for me. He did a stellar job with the build and his attention to detail is top notch. Very pleased with the results!
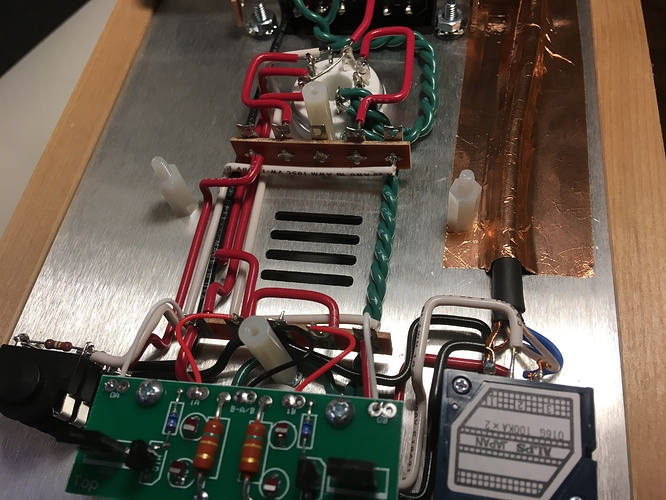
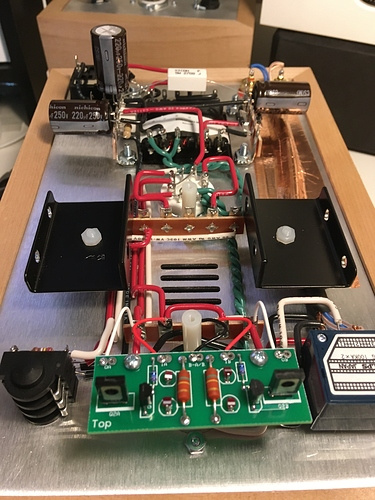
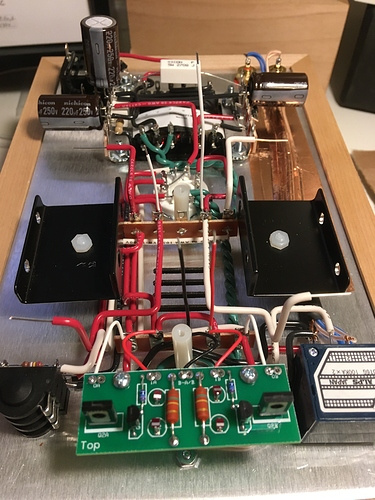
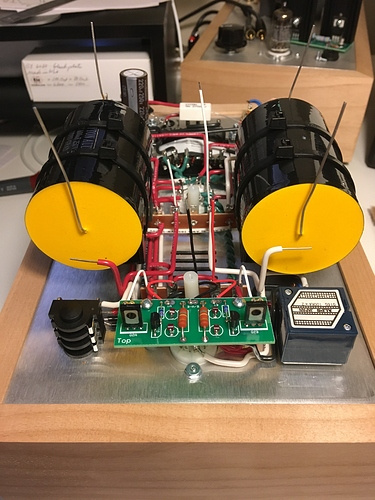
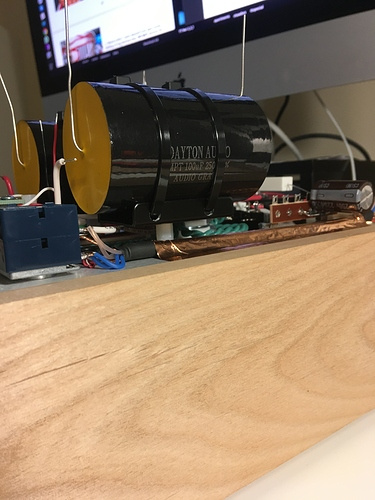
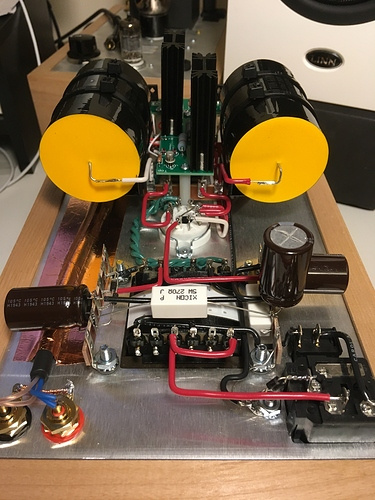
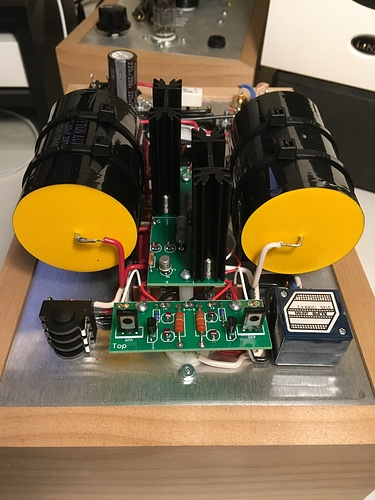
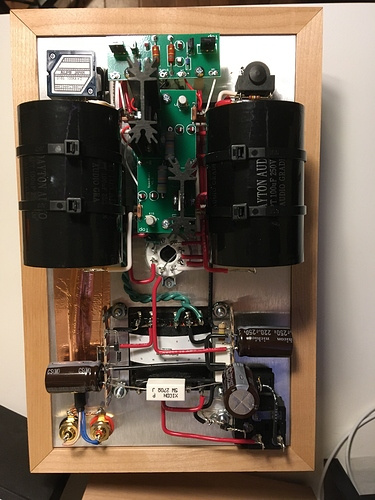
Thank you sir. I should have done the OCD wiring on mine but I couldn’t wait to hear it. OCD wiring takes soooooo much longer. I contemplated swapping my amp for @Wesley ‘s for about a minute 

Looks super good 

Cool job. Wish mine was as clean.
So you don’t feel so bad, they are delicious eye candy, but they don’t actually sound any better. lol
Tip for anyone starting a build. You definitely wants a pair of fine tipped cutters like this. I initially only had a pair that was bulky and dull
the white standoffs where you mounted the caps, did you glue them or did you use a bolt from the top? Getting them higher like that is the only way to give yourself some additional clearance. Your solution is a hell of a lot more elegant than what I wound up with. I just used I just wound up using wire tie double sided mount and then a foam spacer to get the right height.
I used these:
https://www.amazon.com/gp/product/B08FJ364C1/ref=ppx_yo_dt_b_asin_title_o03_s00?ie=UTF8&psc=1
They have various lengths and both plastic and metal pieces. I used metal bolts through the chassis with plastic standoffs. The plastic standoffs are so the cap brackets aren’t grounded - this will not have any bearing on anything but it’s clean underwear.
That’s a fine idea. I find not enough people use these:
heat sinks (keep from roasting small parts)
or
soldering guns with adjustable temp (roast or not roast depending on need).
