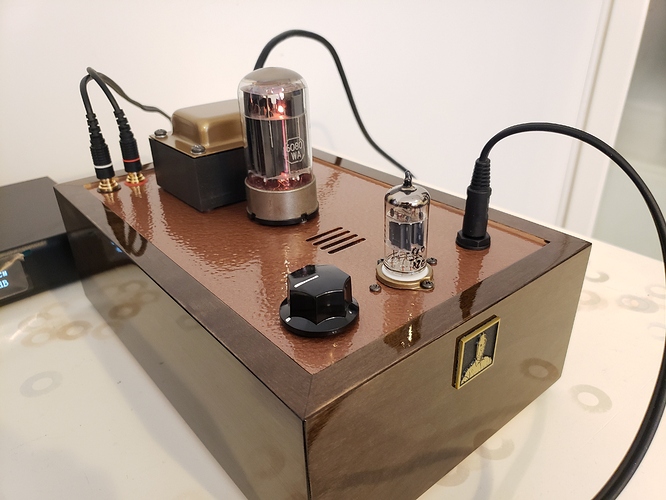
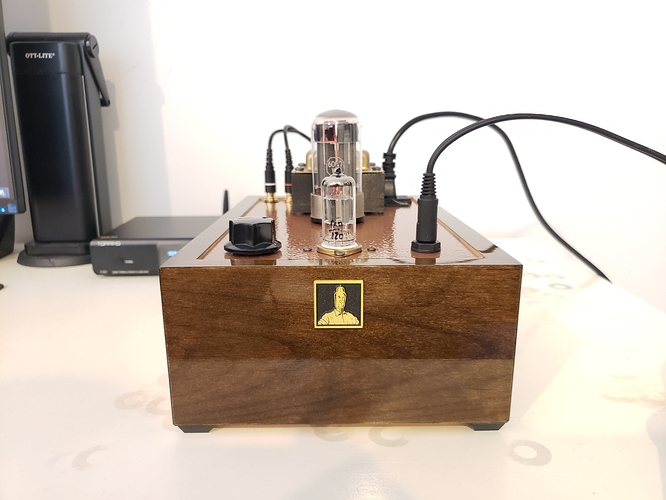
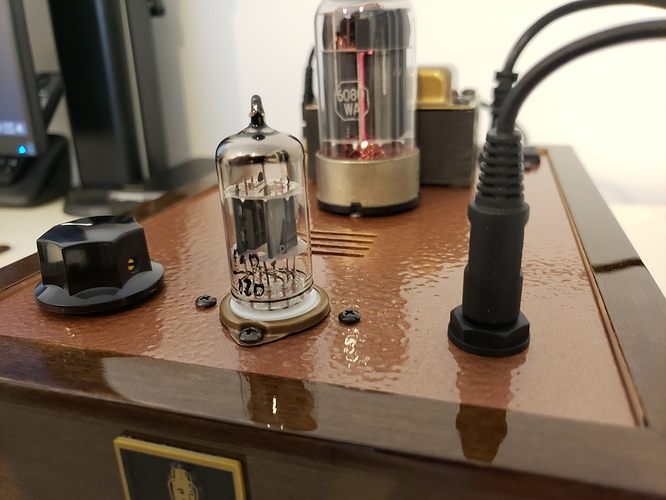
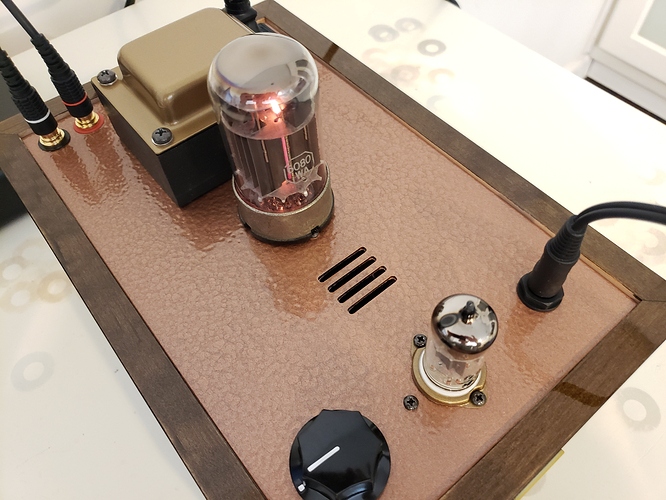
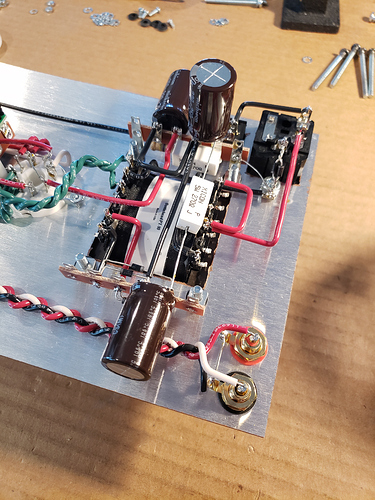
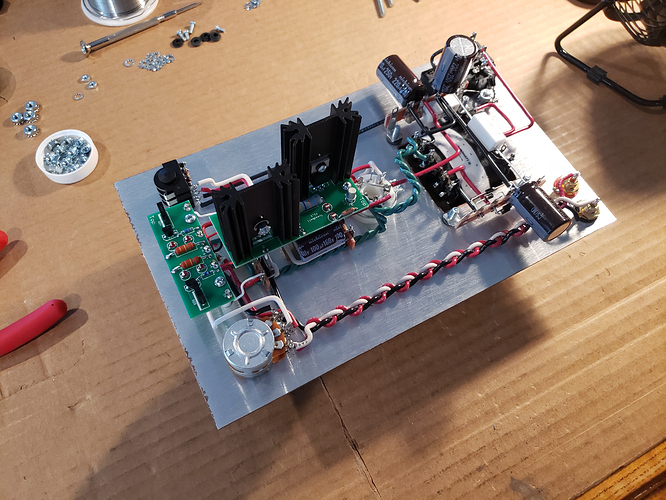
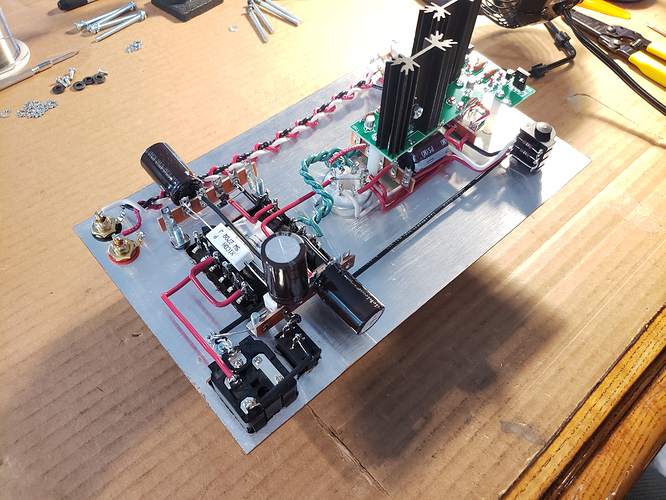
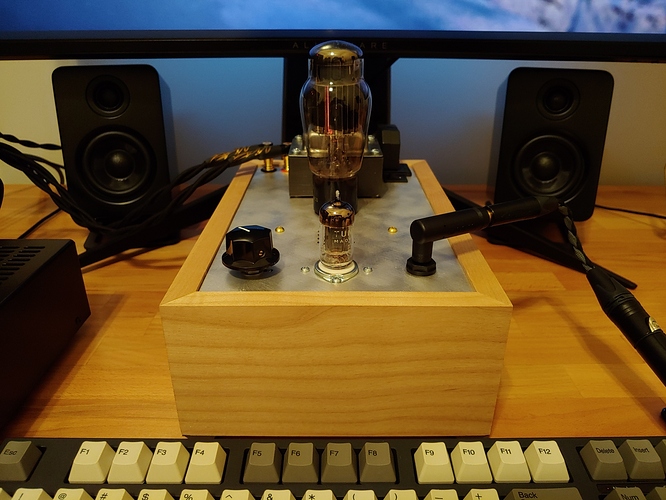
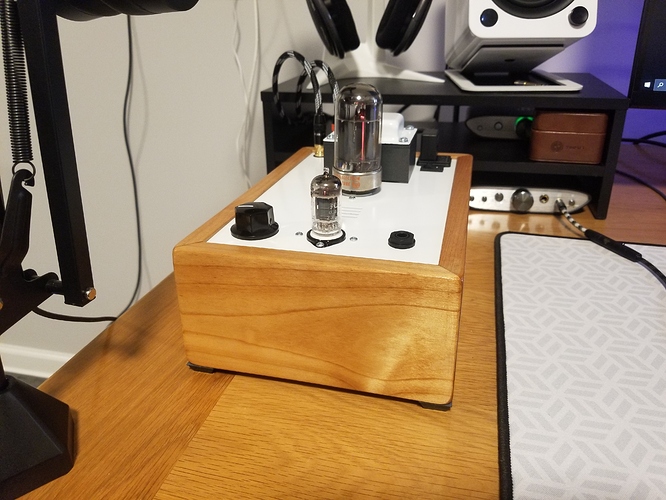
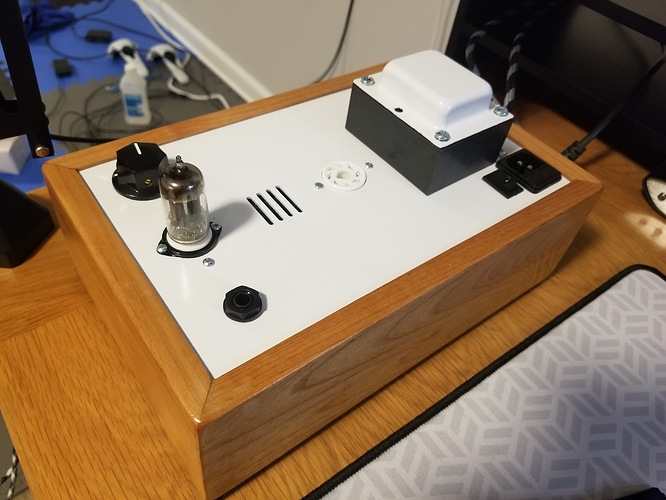
James (theheadampbuilder) sent me some pictures of my newly finished BHC Speedball. It will be shipping out tomorrow or Thursday. I’m looking forward to it. The past 2 weeks without a BHC have kind of sucked.
That Chatham is a sexy bastard. How does it sound?
Sounds great! Little more full sounding.
I’m looking for reasonably priced (and available) tube upgrade options for my Crack. For the preamp tube, I was thinking I would start off with the Philips ECG JAN 5814A based on @Hazi59 recommendation. Does anyone have recommendations for a power tube?
I don’t roll a lot of tubes and haven’t heard most of them so I can’t give you any first hand opinions. However, I’ve compiled a list of the tubes that people generally recommend:
Input tubes:
Mullard, Brimar, and other British made NOS tubes tend to have the same warm signature with the liquid velvety mids.
- Siemens Silver Plate ECC82
- Mullard CV4003
- Telefunken ECC82 smooth plate
- Mazda/Matsushita 12AU7/6189
- RCA 12BH7A
- GE 5963
- CBS Hytron 5814a
- RCA “Clear-top” 12AU7
For the power tube, you may want to grab an RCA 6AS7g, Tung Sol or Cetron 7236 or 5998 if you can find one and it isn’t ridiculously priced.
-
Tung-Sol 7236 Tube
-
Cetron 7236
-
Cetron 5998
-
RCA 6AS7g
-
Mullard CV2984 Tube
-
Mullard 6080 Tube
You can also look through this page and find tube “ratings”: https://www.superbestaudiofriends.org/index.php?threads/bottlehead-crack.120/page-3
I’ve actually been enjoying the Matsushita 12AU7 quite a lot. For the price, it’s one of the better 12AU7 tubes I’ve tried. Can be found for around $30 bucks or so.
For power, I’ve got a couple of RCA 6AS7G. I haven’t tried any other power tubes, but they seem to provide a lot of bang for the buck as well. Another tube choice you can find strong examples of for around $35 bucks.
I bought my power tubes from these guys. Great prices. Email for stock.
Without any comparison beyond what came with the crack I’ll say this guy is a beaut
Man that white pops! Looks great! What did you use on the wood?
Minwax Natural Wood Stain + Minwax Semi-gloss fast drying Poly (2 coats). Came out better than I thought it would. 
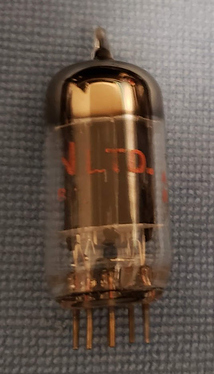
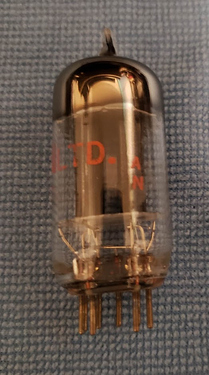
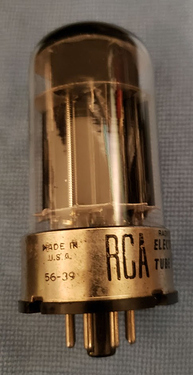
These were the two tubes that came with my Crack. Can you all help me identify them? The input tube is a 12AU7. But the most of writing was worn off so I can’t identify the manufacturer. The RCA power tube is marked 56-39 and I think it’s a 6080?. The other RCA tubes I’ve seen being sold have different numbers printed on them. So I wasn’t sure.
UPDATE. I think this is a Westinghouse 12AU7? Based on this listing
The top one looks like it could be a Hytron 12AU7.
Does anyone know what the wood with the kit is finished to? I was expecting something much rougher but it seems pretty smooth
Started the wood and finishing work today. Brought the metal parts to a coater to get finished. I also found some shielding paint from back in my guitar building days. Maybe ill have enough to shield the inside like others have done with the copper sheets
The long strips are then sent though a widebelt sander with the best face up where the last head runs a 220 grit abrasive. This is the final outside face.
Found this Reddit post in a Headphonesty article.
Good to know. If i knew that i would of done a quick 220 only to sure things up. Well i did a 150 then a 220, a little extra work but ill say it got things evened out and dirts and oils on the surfaced taken out. I wiped it down with naptha to clean it and raise the grain before a final pass and to see what it would look like with just truoil.
Its safe to say i just have a very plain jane piece which finalizes my finishing plans. I am going to bring it to my friend who sprays and am going to go for a transparent black. You can still see the grain but it will hide some of the darker streaks and knots.
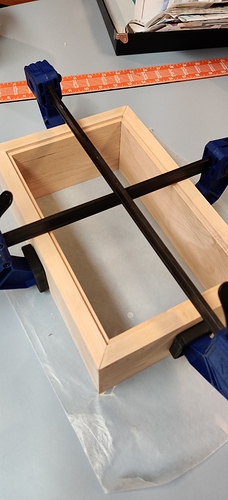
Step 1 in the books. I had it laid out preglue im a wY that there was virtually no gaps, the wood is close but not perfect.
I asked my dad to help hold it since i dont have a box jig and i get it glued and near perfect, but he kind of heavy handed it and pushed a side in a little too much. At that point the glue dried just a little too much and i couldnt get two of the corners back flat. A little annoyed as my dad always tries to help too much and this happens a lot. But i knew the risk and i try to include him.
Im hoping the finish fills it in a bit
The clamps are on extremely light. Just touching to stop any glue expansion from pushing things out.
