That was my initial logic (detailed in the post), but given MMCX has such a tight fit, you’re more liable to pull the connector from the casin instead of detaching the cable, especially if you do this repeatedly. 2-pin is a much better solution.
3 Likes
Thanks man. That is something that you could only see by experience. Do you think that with these adapters (they are made for KSC75, but I guess one can use them to the KPH30i also) the MMCX connector coul be a little more secure?
I don’t think it’ll fit. The whole reason I decided on writing this how-to was because it’s a different design than the PortaPro/KSC75. The PortaPro/KSC75 mod method are easier cause there isn’t much to pry open (therefore easier to glue down, whereas the KPH30i is more of a handful.
In fact, my PortaPros and KSC75 mods both use MMCX connectors with no problems, but I can’t with the KPH30i.
Do you think that there is a possible way to do this with the KSC75? I would like to use a 2 pin connector on them rather than an mmcx, if at all possible.
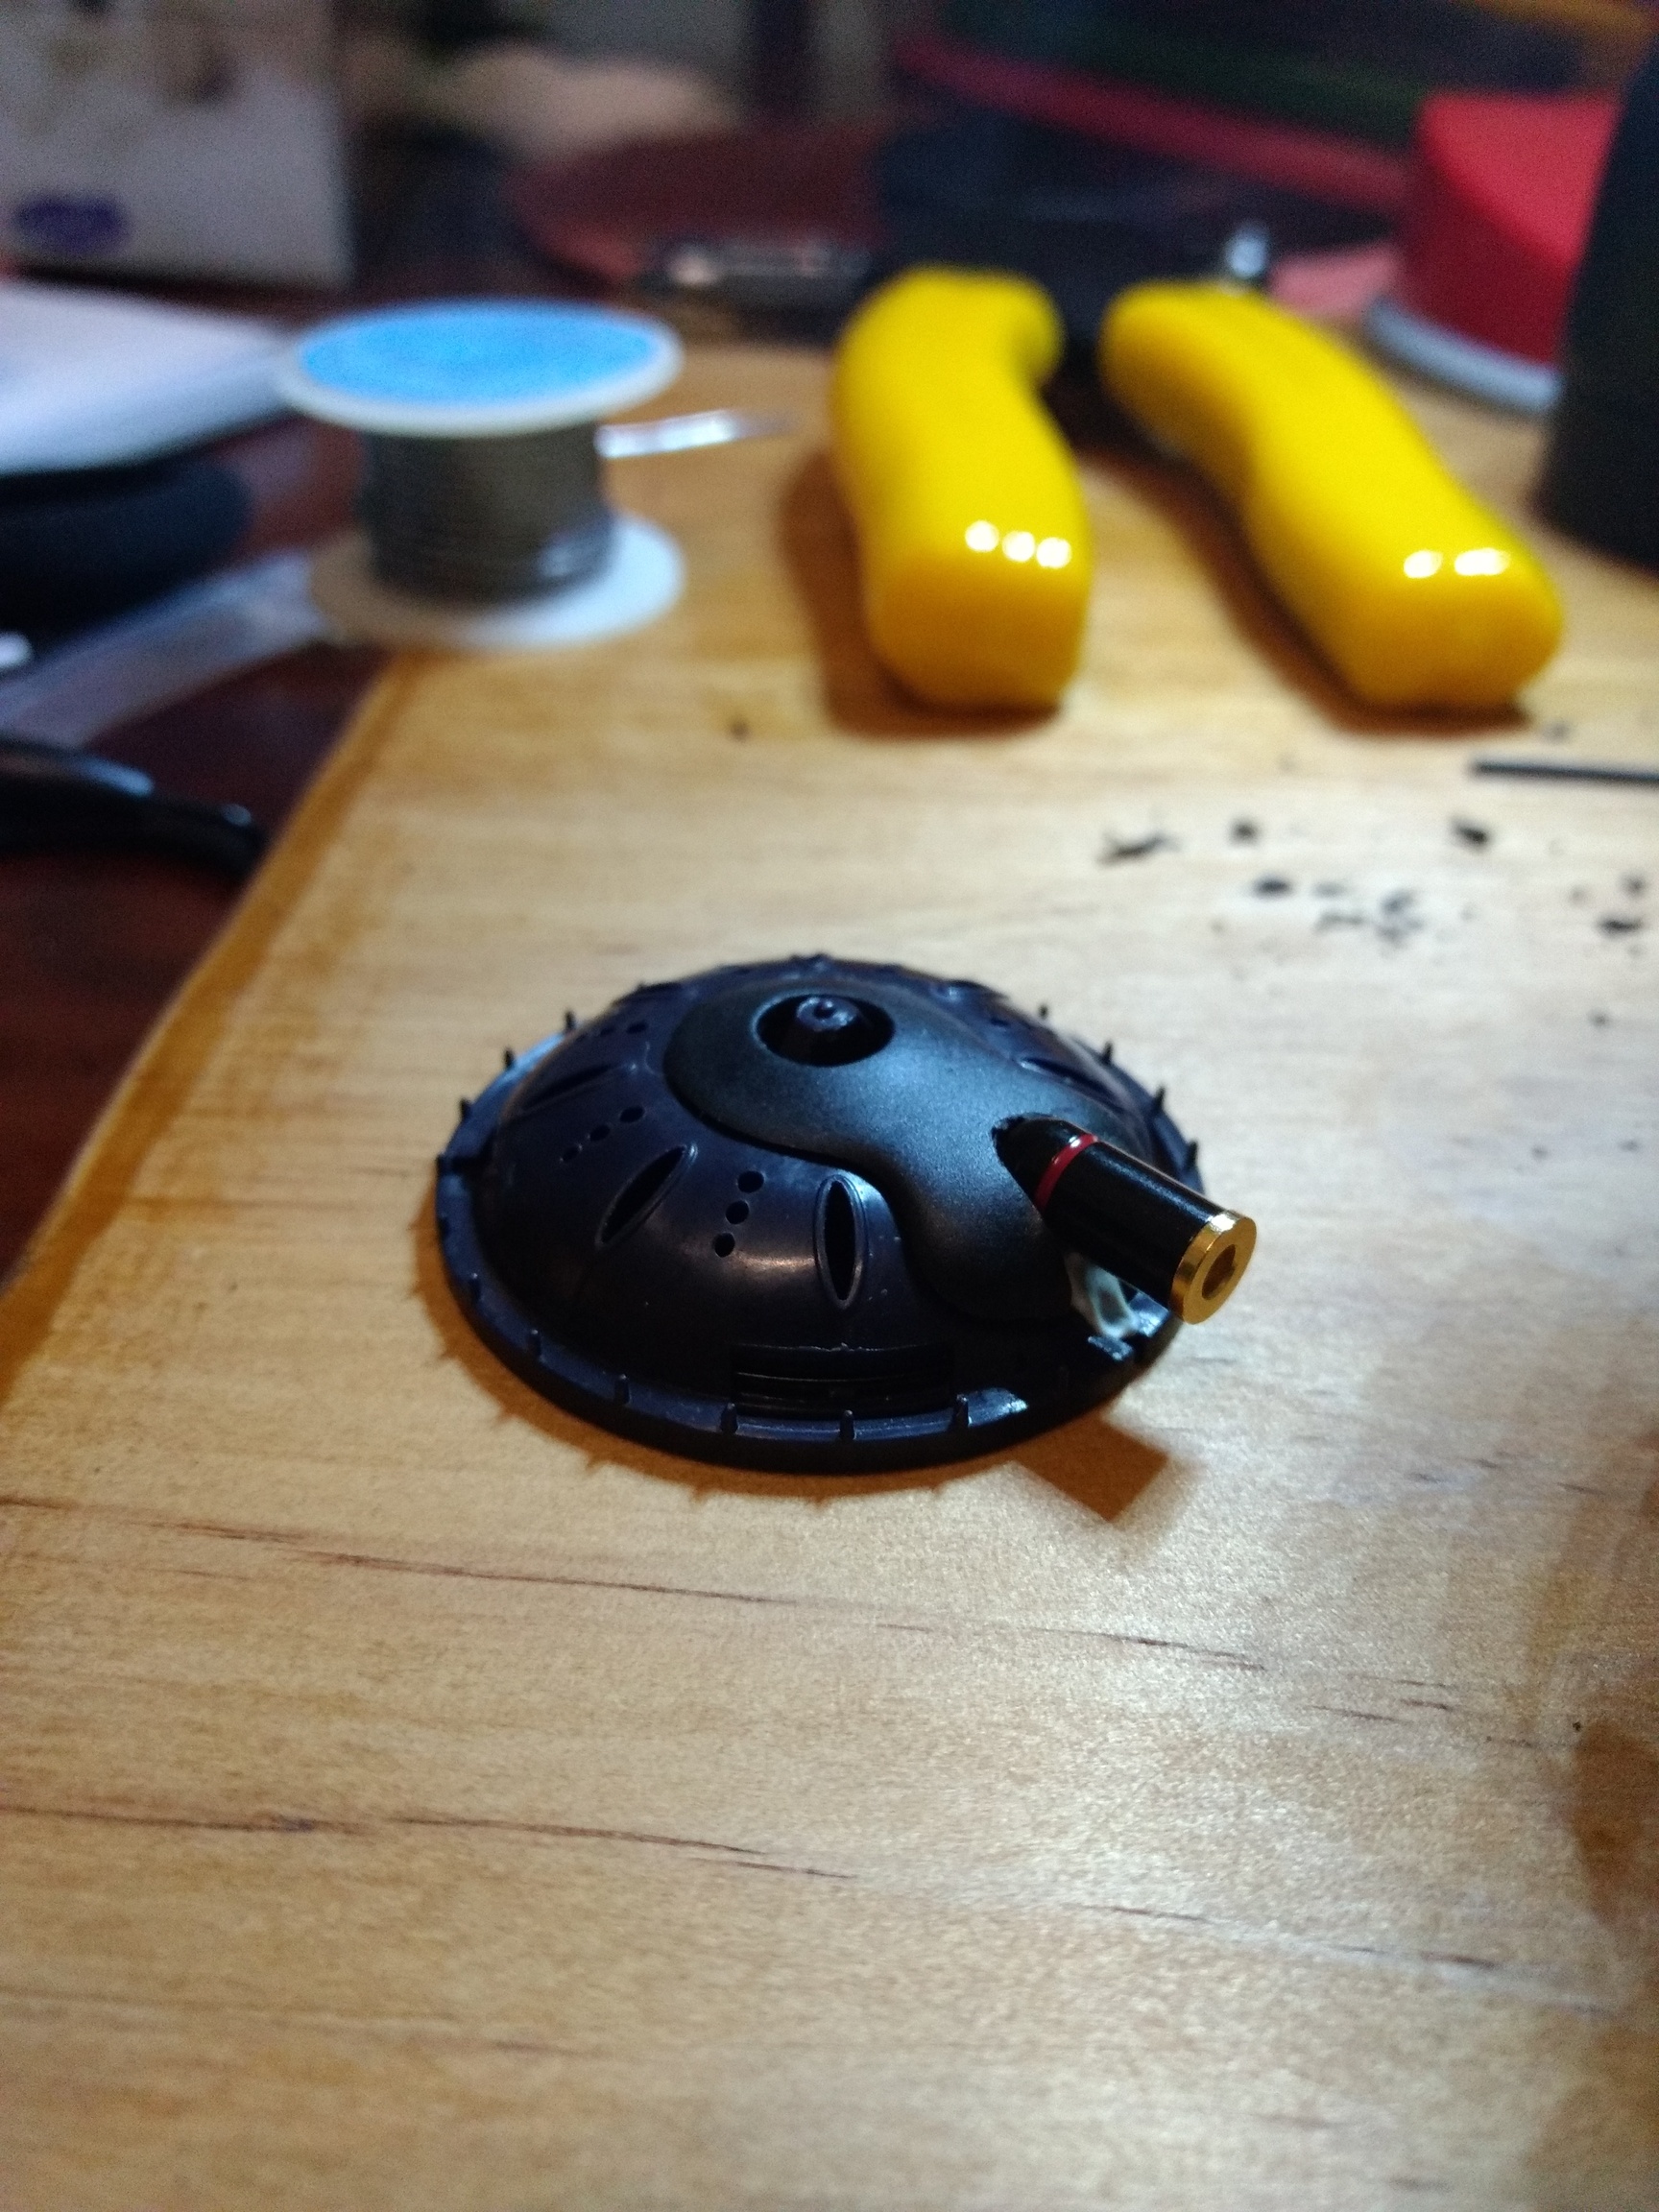
I had problems putting in small connectors to the KSC75 because of the rounded shape. This is how my KSC75 looks like after modding using a larger MMCX connector.
If you can find a 2-pin variant, it should be easy to epoxy down. The method of putting it in is virtually identical to the PortaPro.
2 Likes
Hmm… so perhaps a larger 2 pin? Or sand the openings down to fit a 2 pin connector better?
Larger 2-pin exists (see link on another post I put above). It was just the “square peg in a round hole” issue. Sure you could make it fit, but there were many gaps and less contact area to glue down because of the KSC75’s curved body. My solution was to use a large round body connector. You could probably glue that larger 2-pin to the KSC75 after cutting properly. I’ve yet to try it.
1 Like
Ah okay. Yes, that does make sense.
What soldering iron and other tools would you need to do this? I have never used one before, so I have no idea where to start.
When I started, I got myself:
A generic 30-60W soldering pen type iron
Helping hands (movable little arms with clips to hold whatever you’re soldering)
Rosin core solder (some people will suggest 60/40 solder/lead, but I don’t want cancer)
Brass wool (to clean the iron tip in between soldering)
Rosin paste flux.
After I got confidant, I swapped out the soldering pen to a soldering station which gives a temperature setting instead of wattage.
Other tools I used was a dremel with a grinding/carving bit head set, precision wire cutters and epoxy (I used JB Weld quick drying, non transparent in individual tubes so I can only squeeze out tiny bits of what I want),
Now, I haven’t soldered since high school over a decade ago, so what I did was watch Zeos mod his headphones, and imitated his soldering technique. Obviously there is some trial and error here (also the reason why some initial Koss were destroyed), but I got the hang of it in the end.
3 Likes
Lead causes heavy metal poisoning before the cancer gets you ![]()
I like my leaded solder (Sn60/Pb38/Cu2) more than my fancy stuff (Sn96.5/Ag3/Cu0.5). The lead just makes it flow and stay flexible so much better.
3 Likes
Agree leaded solder is SOOO much easier to deal with, I use standard 60/40 or 2% Silver on audio projects if I really care, and I have it around.
Heavy metal should be enjoyed! Not cause of death!
2 Likes

Doom guy intensifies
Seriously though: Heavy metal fumes of any kind are not to be toyed with.
1 Like
Agreed, keep your soldering iron temp below 650F to ensure you don’t get any type of vaporization of the lead solder. Most the fumes inhaled are flux which isn’t bad in short amounts. But if you solder more than once or twice a month, consider some fume extractor options.
sets soldering station to 350°C yeah… well…
Honestly, just get a fan to blow (preferably pull) smoke towards an open window.
Or a 12V DC wall wart, a PC fan, some cardboard and a dryer hose (my setup).
Great mod!
Have you any suggestions/improvements on this mod (yaxi pads + 2 pin connector upgrade) after using it awhile?
I’ve actually changed up the pads because the Yaxi Portapro ones don’t really fit in the long run. Now I use the Grado G1000 pads (a.k.a the Ultra mod), and it works really well. What I did was use a combination of small sissors and drillbit to gently poke a hole on one side of the pad, then work my way to attaching the connector to the modded headphones after the Grado pad is on. It’s also just bare driver without the Yaxi or default pads on, making it easy to swap out.

Here is Zeos’ way of doing it. I much prefer doing it on the modded KPH30i because you just have to drill a hole as opposed to cutting the pad itself.
_ 🔥")
It also should be said that the Grado pad mod essentially turns the KPH30i into Portapros + wider soundstage. The warm veil is gone, and it becomes more detailed and airy. It still packs a punch, but it’s loss that dark KPH30i tuning. I much prefer this version because I prefer the PortaPro sound more then the KPH30i sound.
2 Likes
Awesome!
One more thing: Is there a way to remove the caps while modding the cables without ripping the stock pads? Seems like your stock pad is undamaged 
Forceps/tweezers. Just very gently pull the edges of the pads back and up. Then work your way slowly around.
1 Like