Pi2aes Source install and other thoughts

For those that may not be aware, the Pi2aes is a digital audio interface that connects to the Raspberry Pi via the GPIO pins. This is particularly useful is it enables you to stream music to your DAC without the noise of your PC potentially polluting the signal stream. I’m told that the Pi2aes has particularly good clocks and this enables you to get a higher quality digital signal to your DAC than by using USB. Special thanks to @GoldenOne for helping me get my set up running and giving me many Digital music / signal lessons along the way.

Useful links:
Pi2Design
Golden’s Shootout of the SMS200 Ultra vs Pi2aes
RopieeeXL Software

Materials needed:
Pi2aes
Pi2aes case
24 Volt Power supply
Raspberry pi 3b+
MicroSD Card
Digital Coax Cable
Pi heatsinks
Philips screwdriver (you already have this :blush:)

Pi2design’s website provides the Pi2aes, case and power supply, you will need to get the remaining components from an alternate source. The Pi 3b+ is recommended over the Pi4 due to potentially lower noise and less heat due to slightly lower clocked processor. Also, the PI2AES power supply is able to power the PI as well as the Pi2aes. I’ve included a link to the coax cable I used as this is recommended over optical as it has better jitter performance. Per @GoldenOne the order of preference is. I2S > > > Coax/BNC > AES > Optical. As my DAC (Denefrips Ares II) doesn’t support I2S I went with Coax. Heatsinks for the Pi are also recommended to keep the Pi running cool.

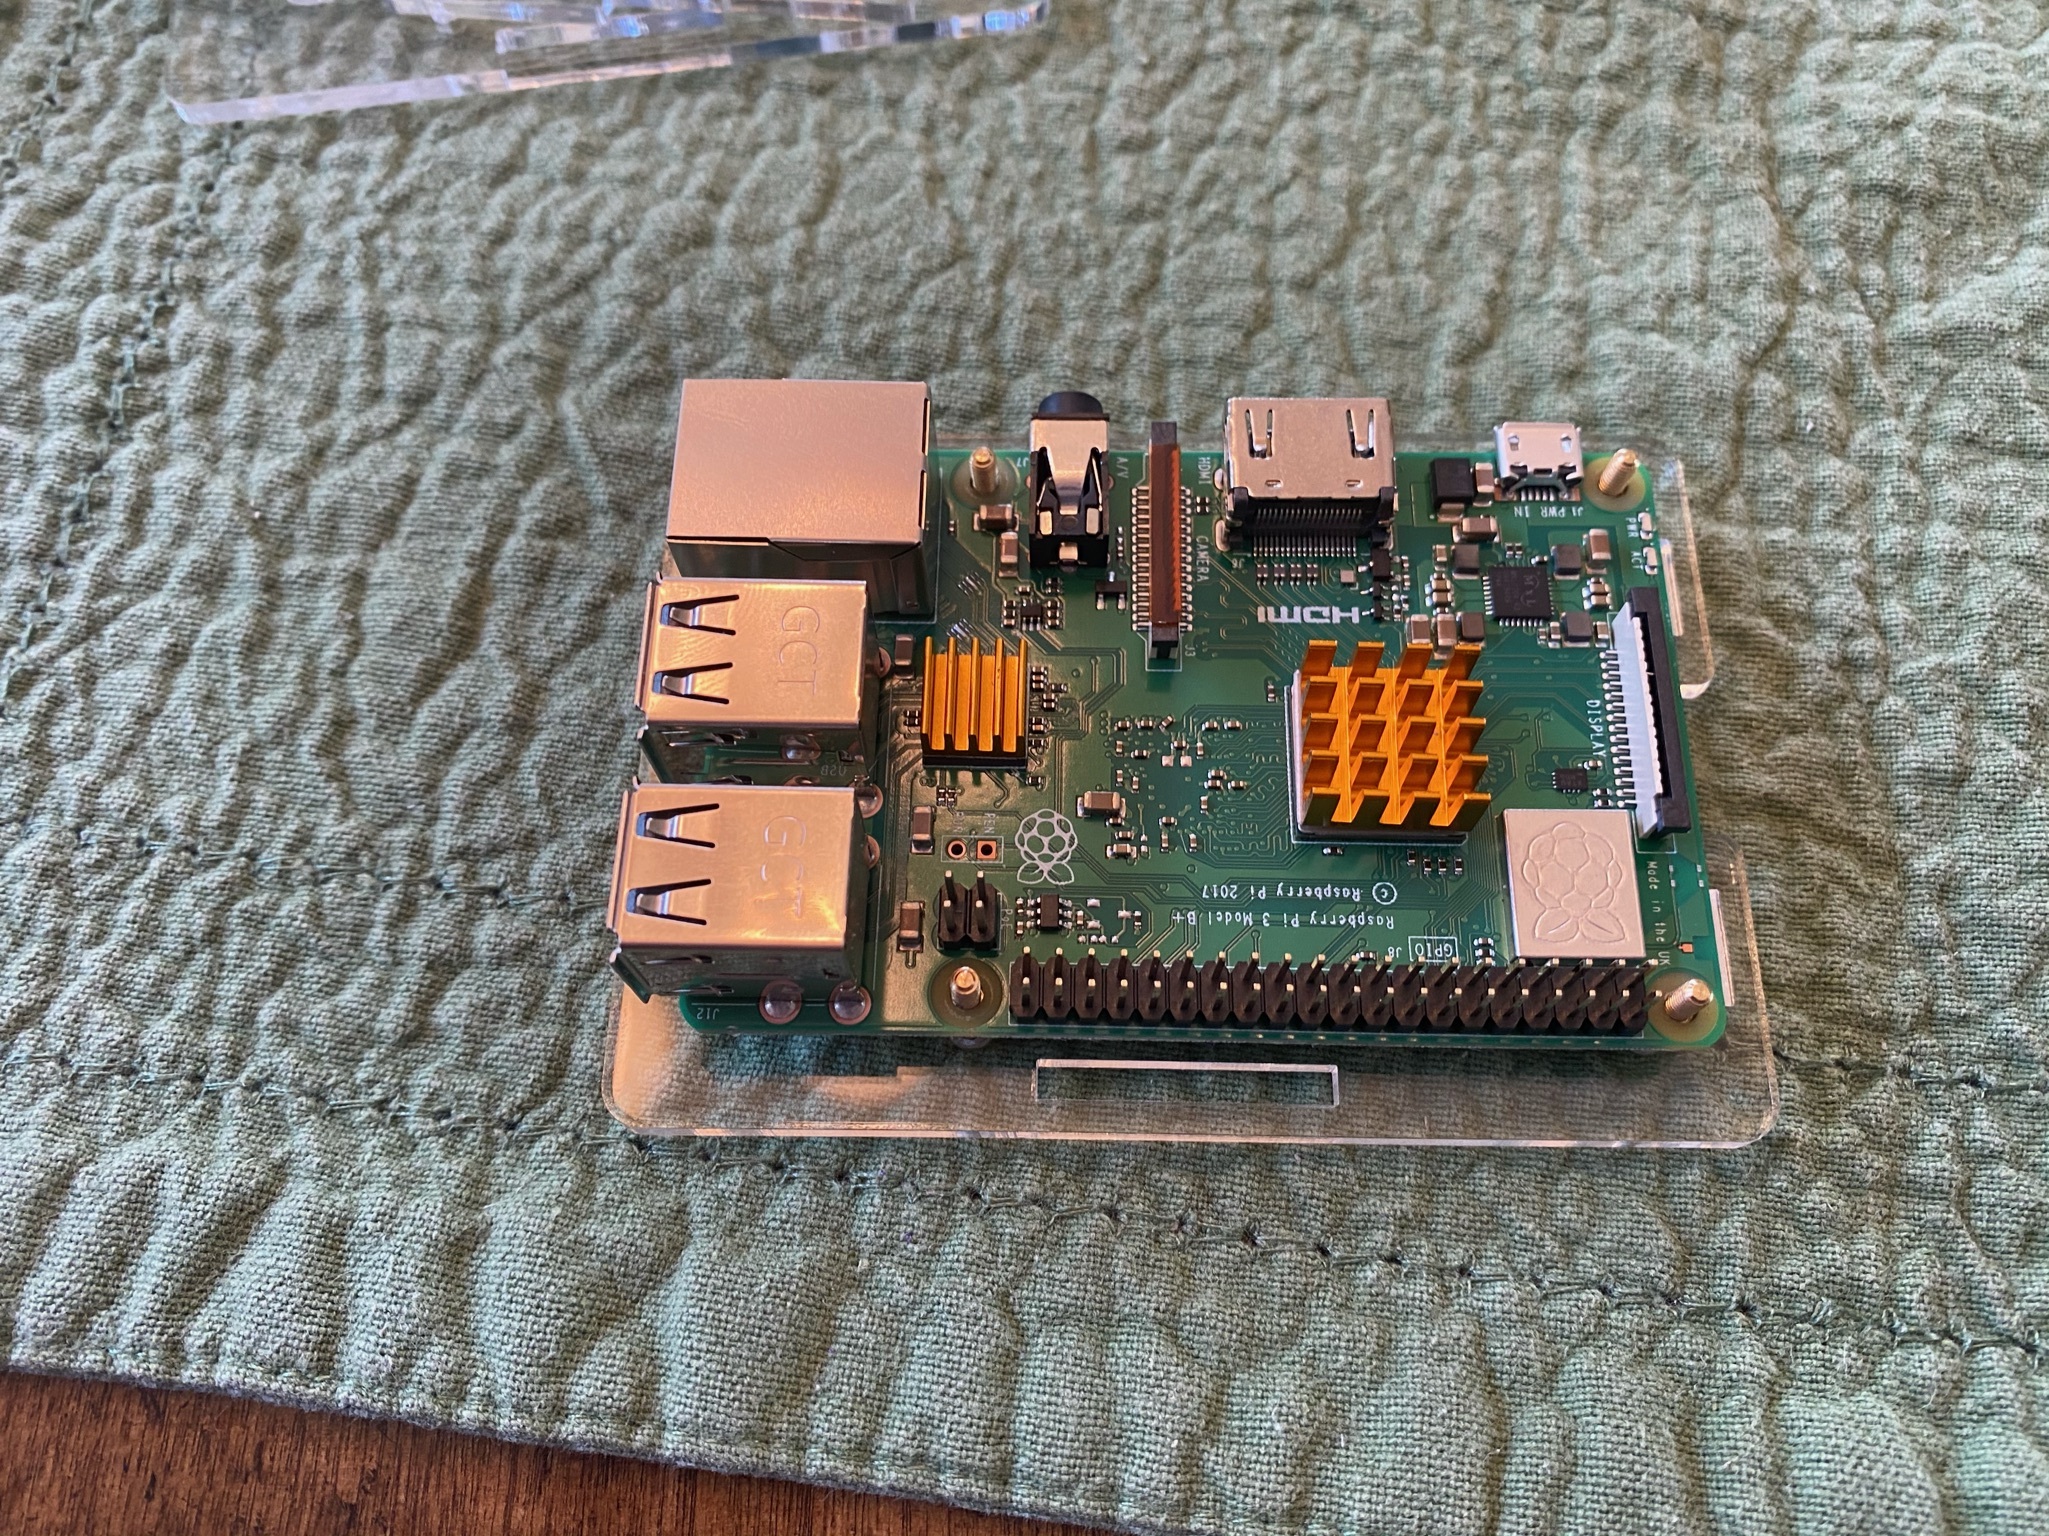
First I recommend unpacking the hardware and sorting it in front of you so you know what you need

As you can see here, I’ve already installed heatsinks on the pi, I recommend doing this before you proceed. Also you can see that all of the acrylic pieces have the paper peeled off. I recommend doing this before you start building. The other thing of note is there are 2 panels included in the case kit for the HDMI side and the Ethernet USB side of the PI that are specific to the Pi3 or Pi4. The pi 3 version has a 3 etched into the Acrylic. The pieces without anything etched for are intended for the Pi4.

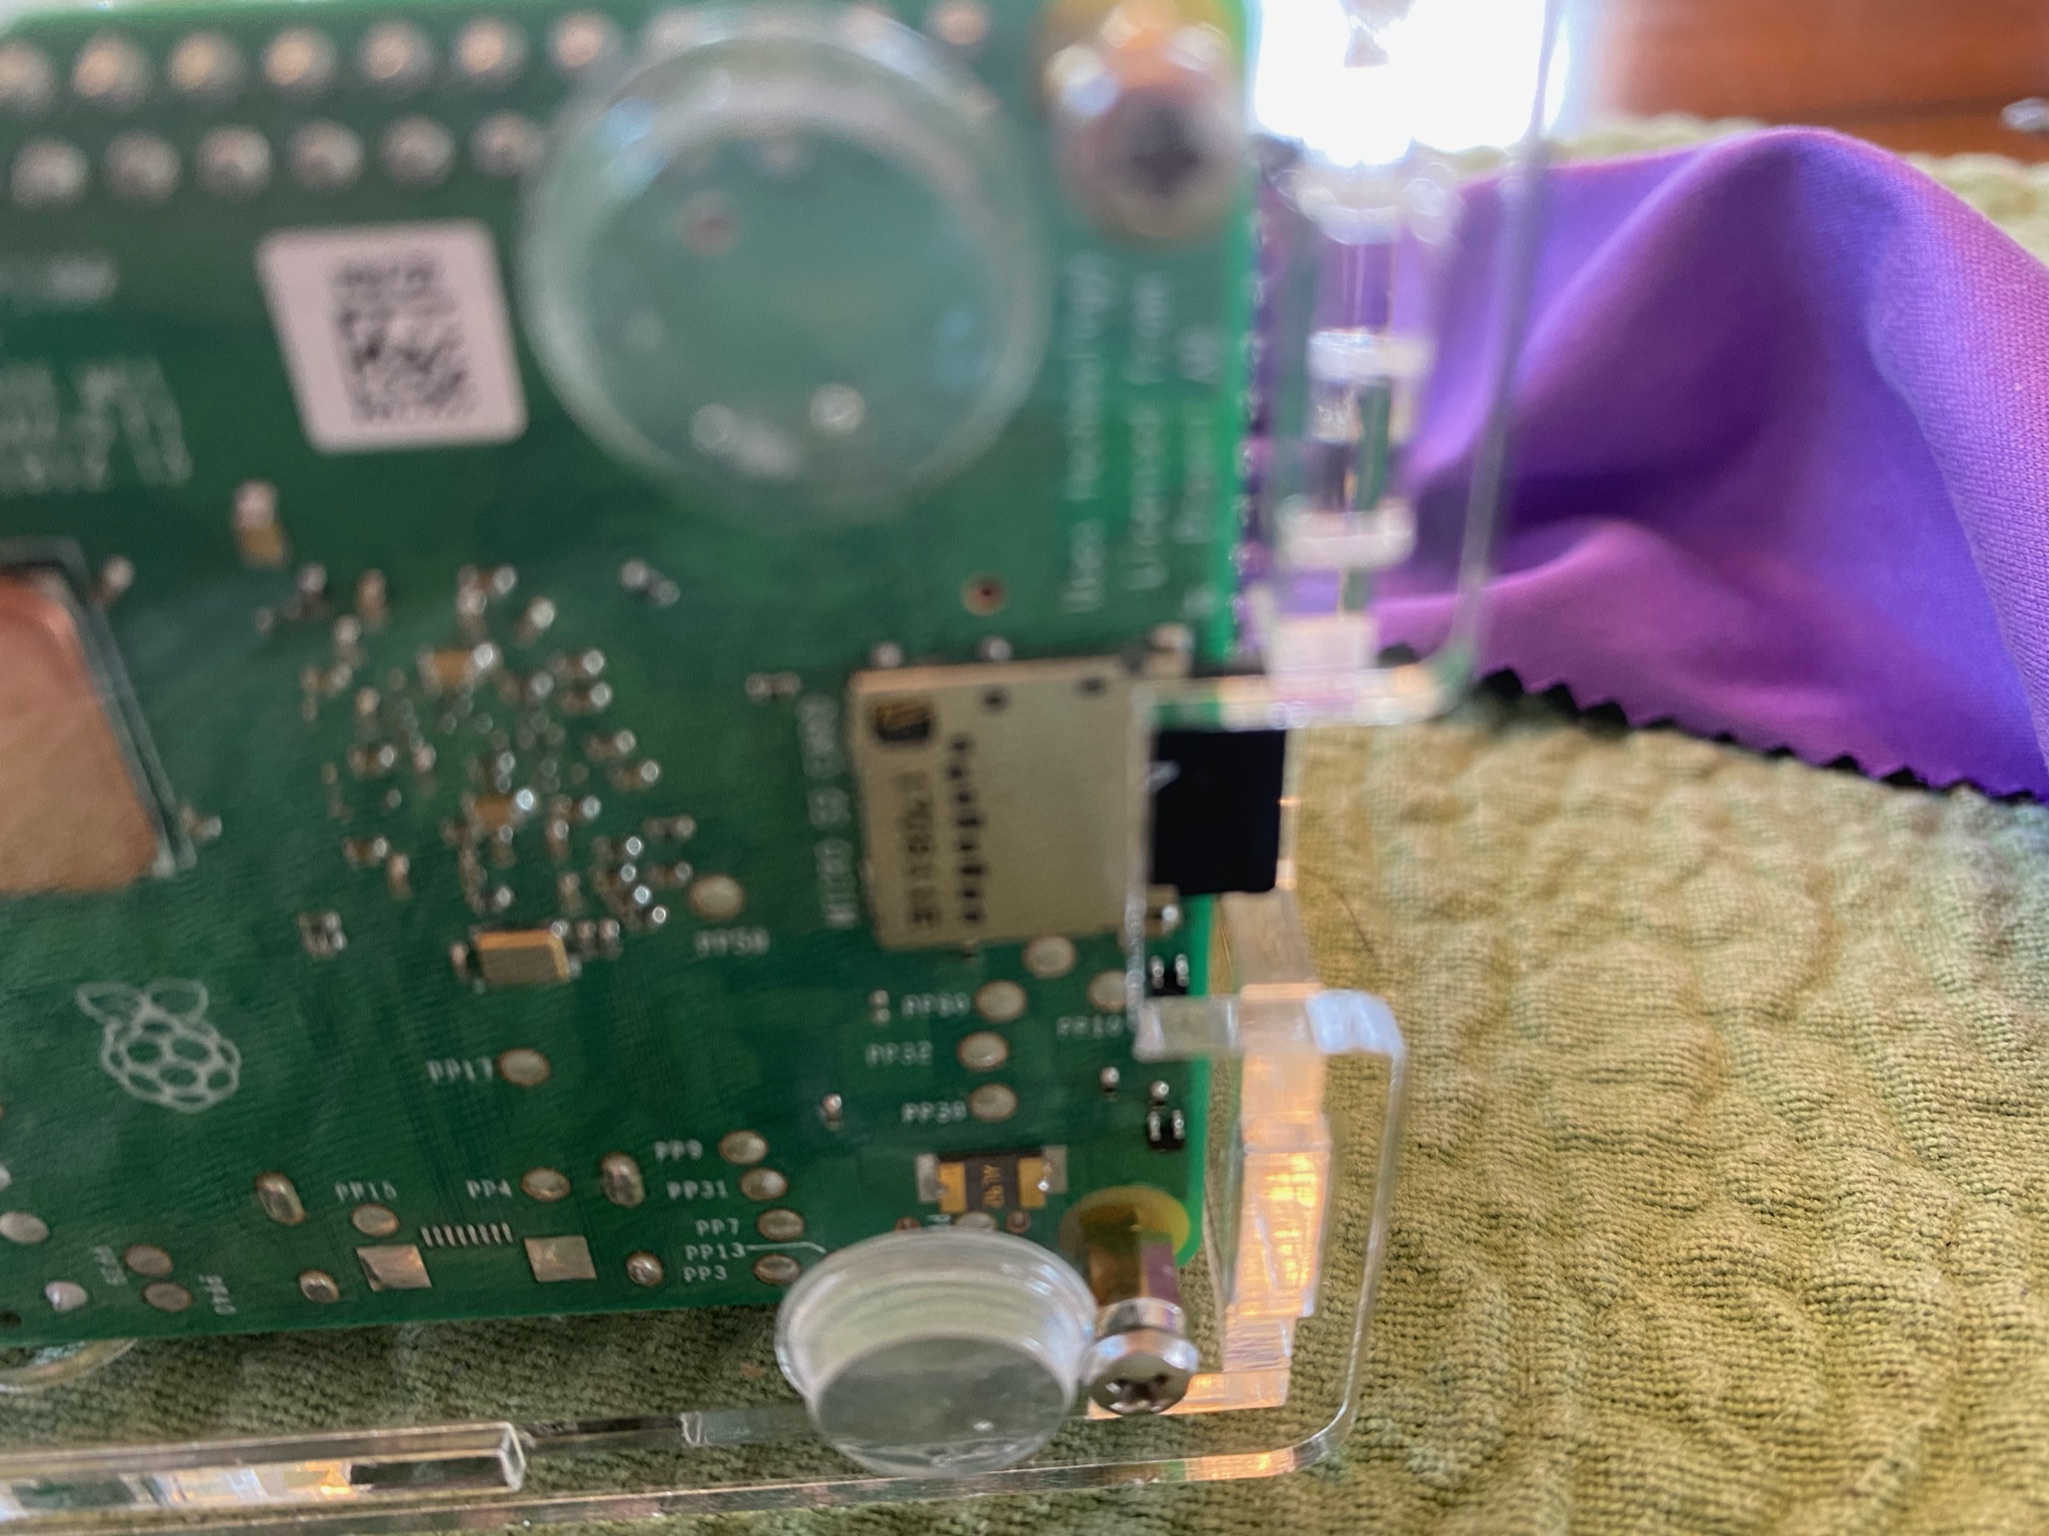
Here you can see me installing the small standoffs onto the pi bottom of the case. I recommend orientating the board properly so the cutout allows you access to the MicroSD slot and using that as a reference for how this piece is assembled. Also, it seems to work well to have the screw in and then screw the standoff onto the screw. Don’t tighten them down to hard here as having some play help you get the board on to the standoff.


Here I’ve installed the pi onto the standoffs, this is significantly easier if you have left the standoffs loose. You can tighten them down more after you install the Pi board.

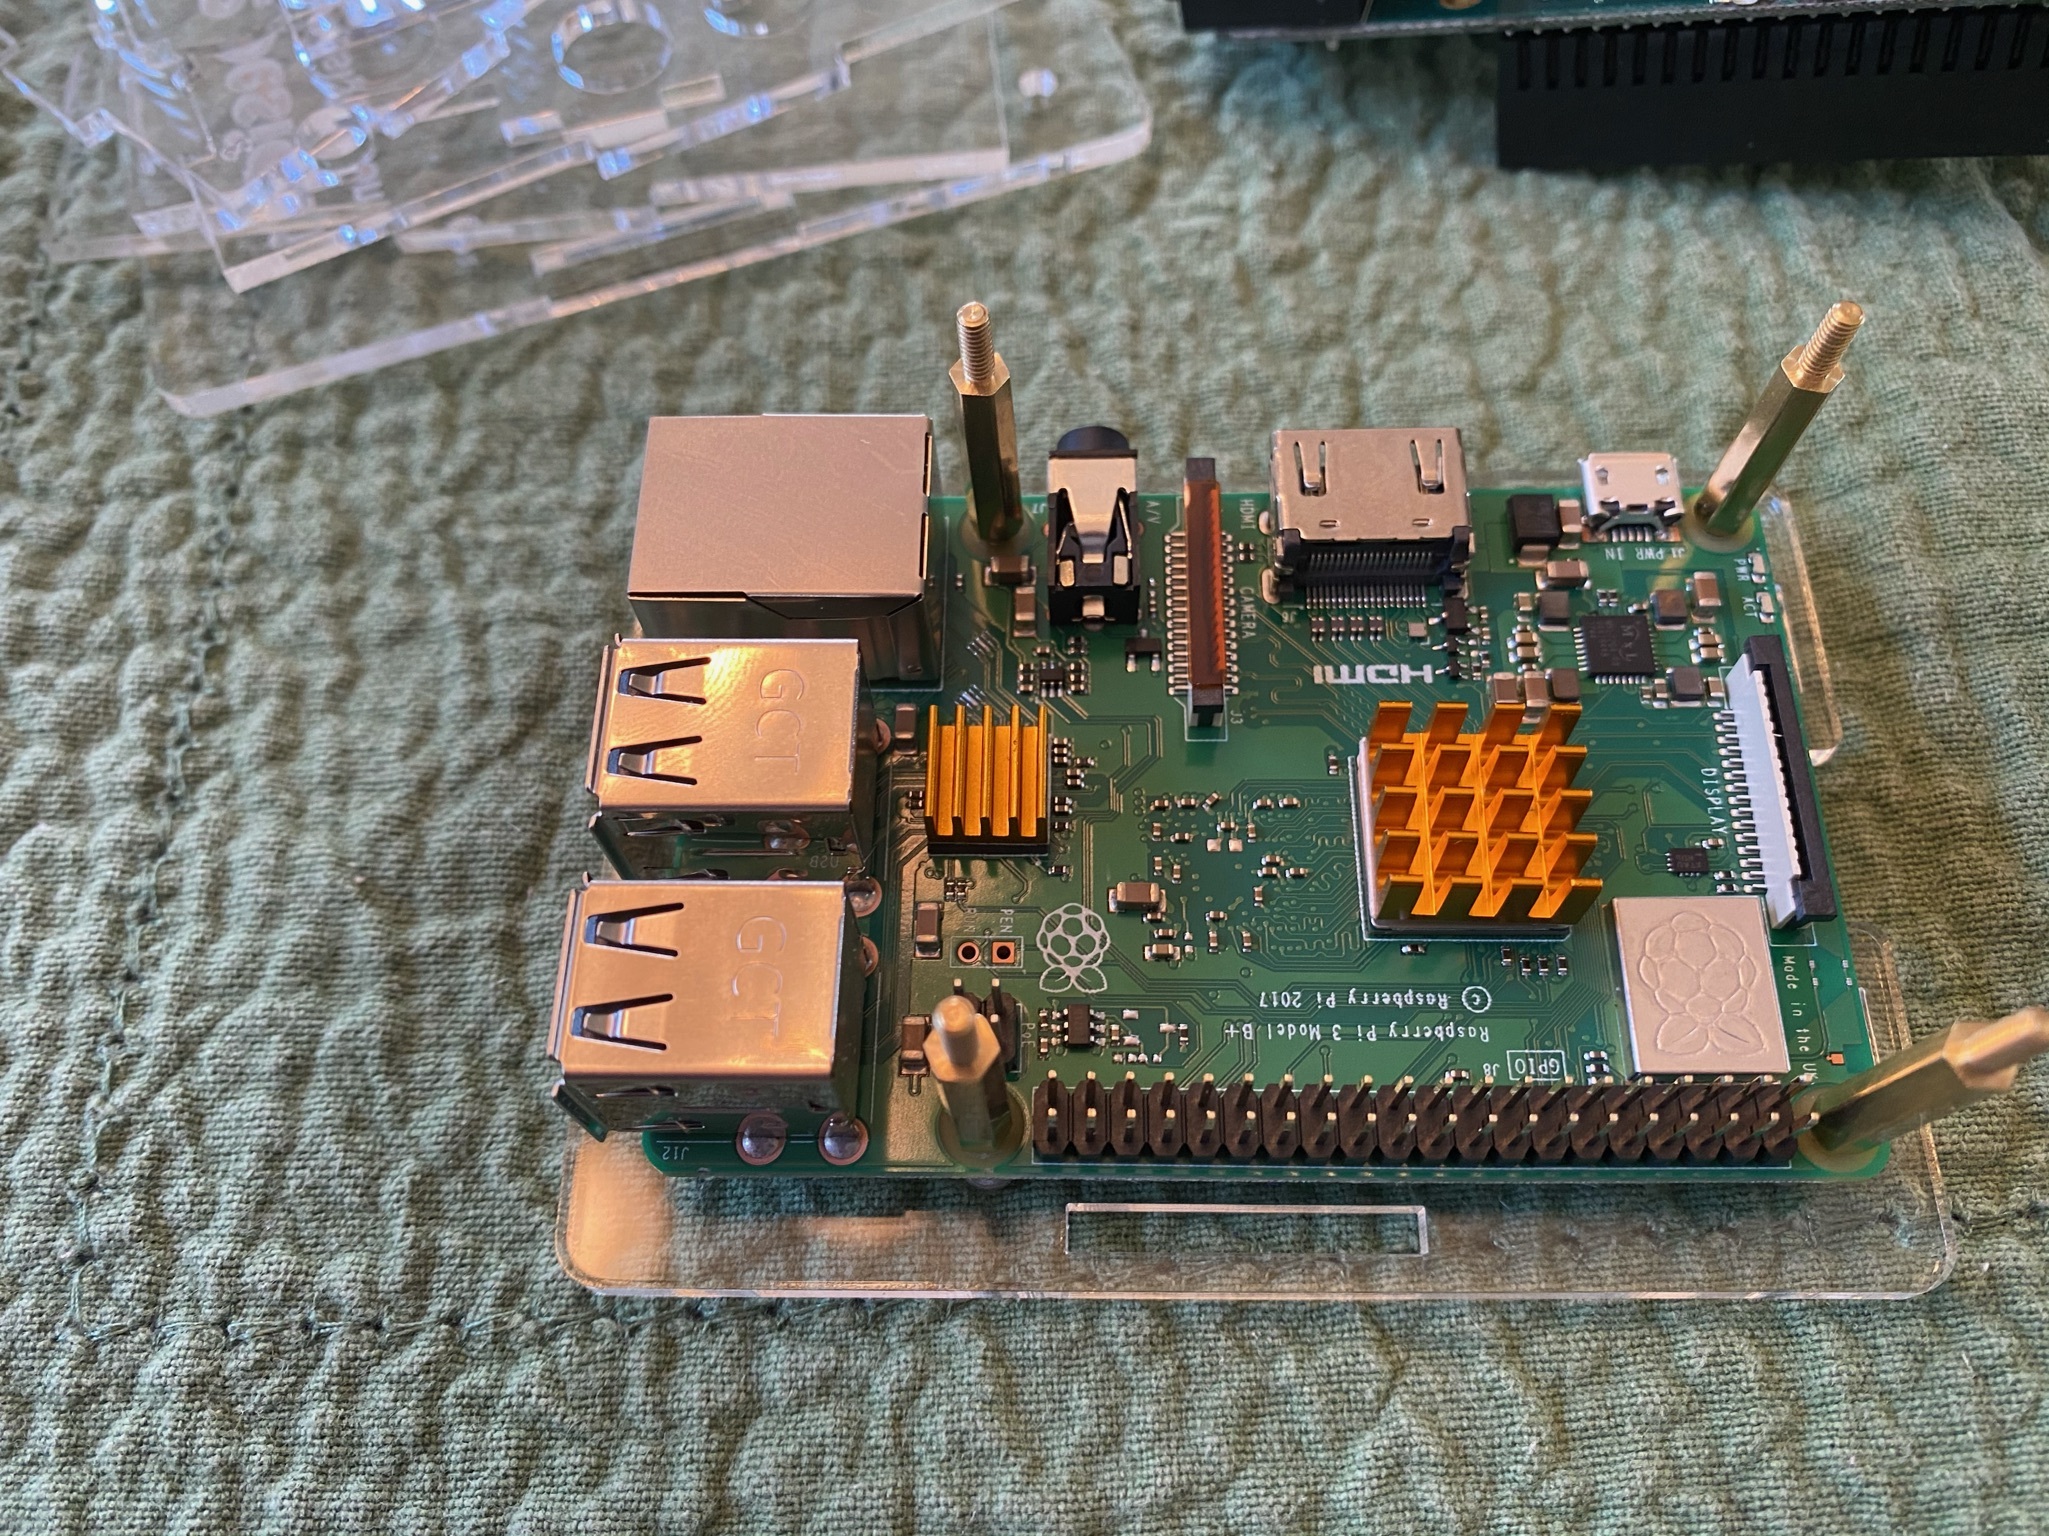
Next up screw in the larger standoffs. Again probably best to leave them on the looser side in order to make it easier to install the pi2 aes board.

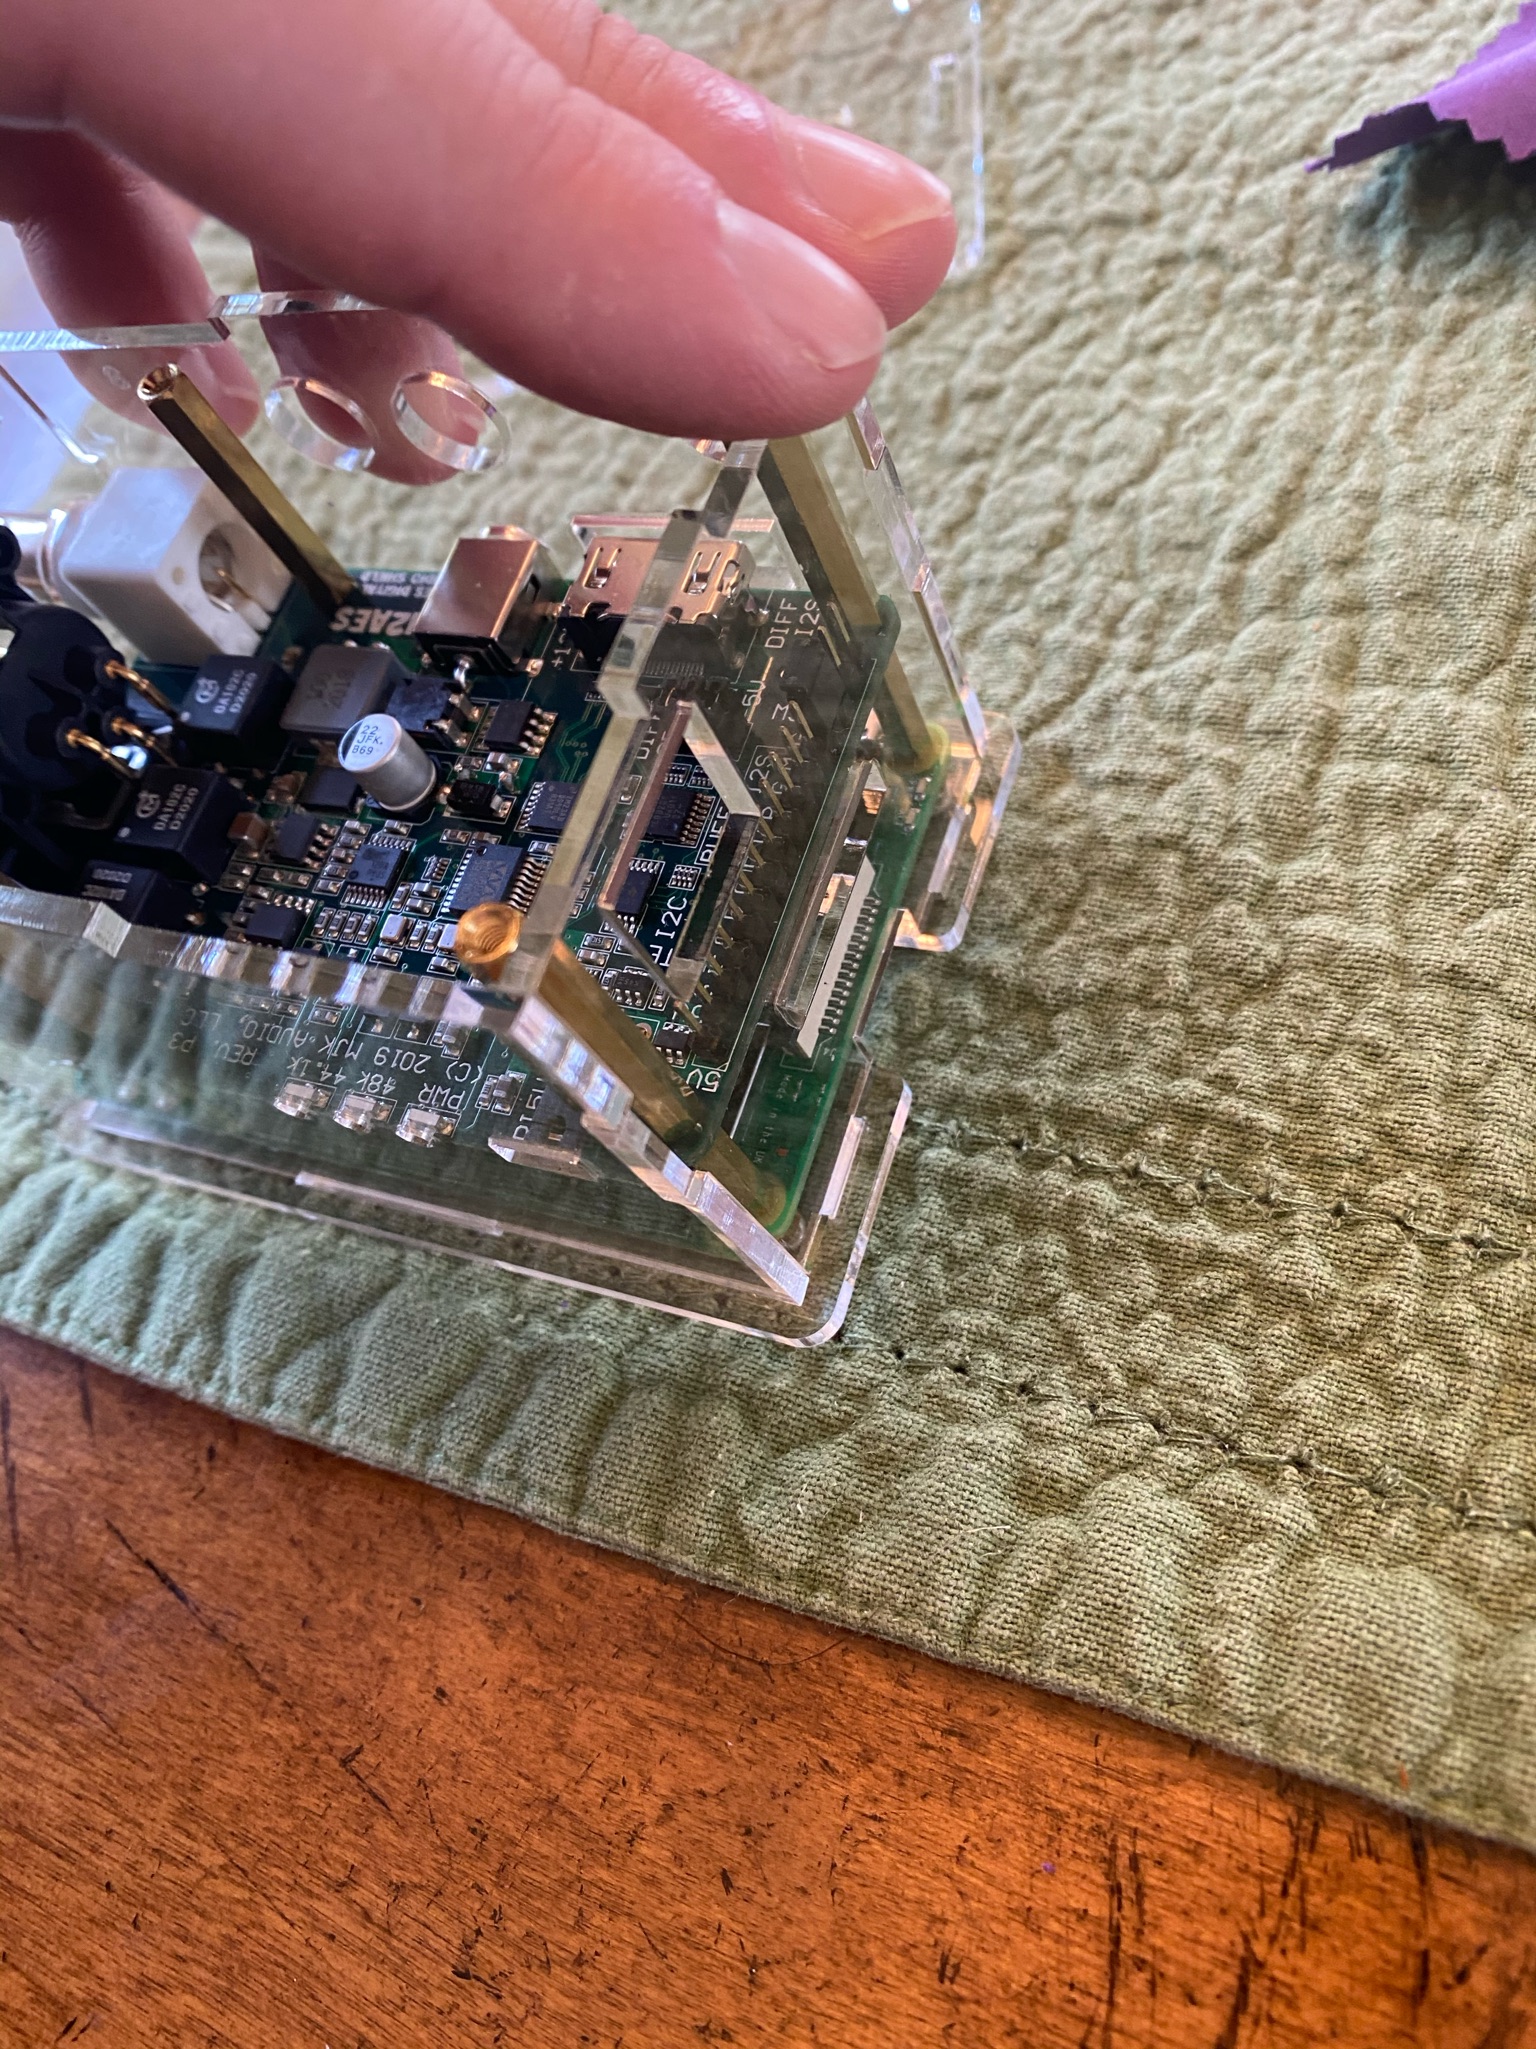
Here you can see me install the pi2aes on the GPIO board / large standoffs. Its important not to bend any of the GPIO Pins. Once you get this board installed then you can tighten up the standoffs.

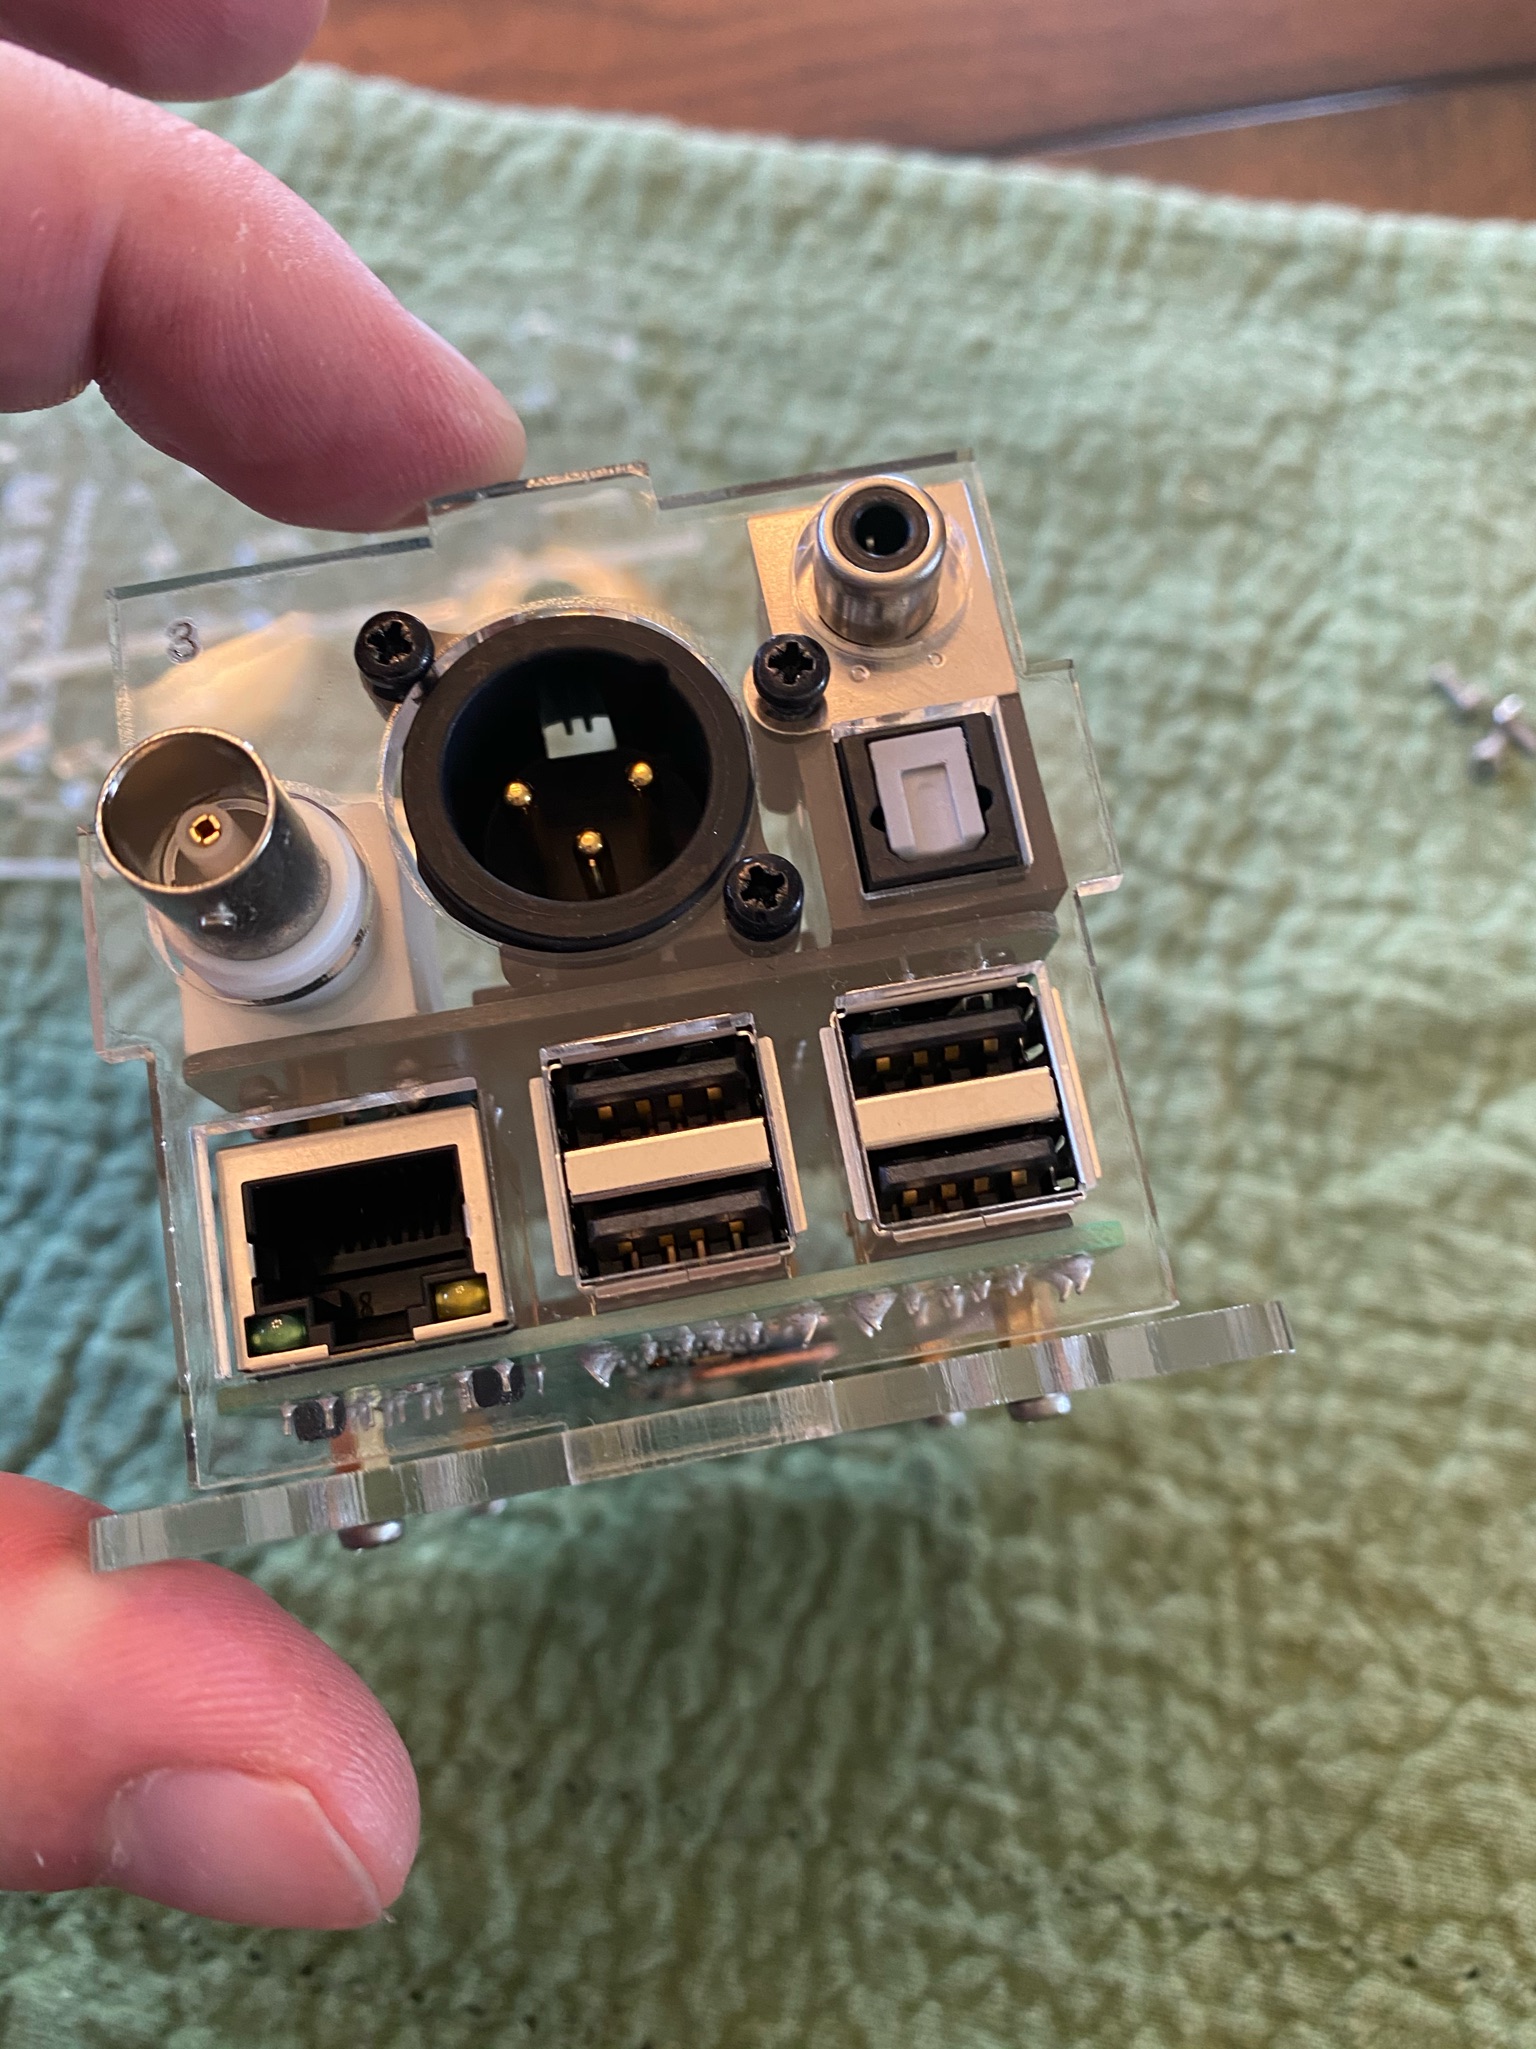
Here you can see me install the panel specific to the pi3 it has the ethernet on the left side directly below the BNC connector. Also screw in the Black screws around the AES connector to secure the panel

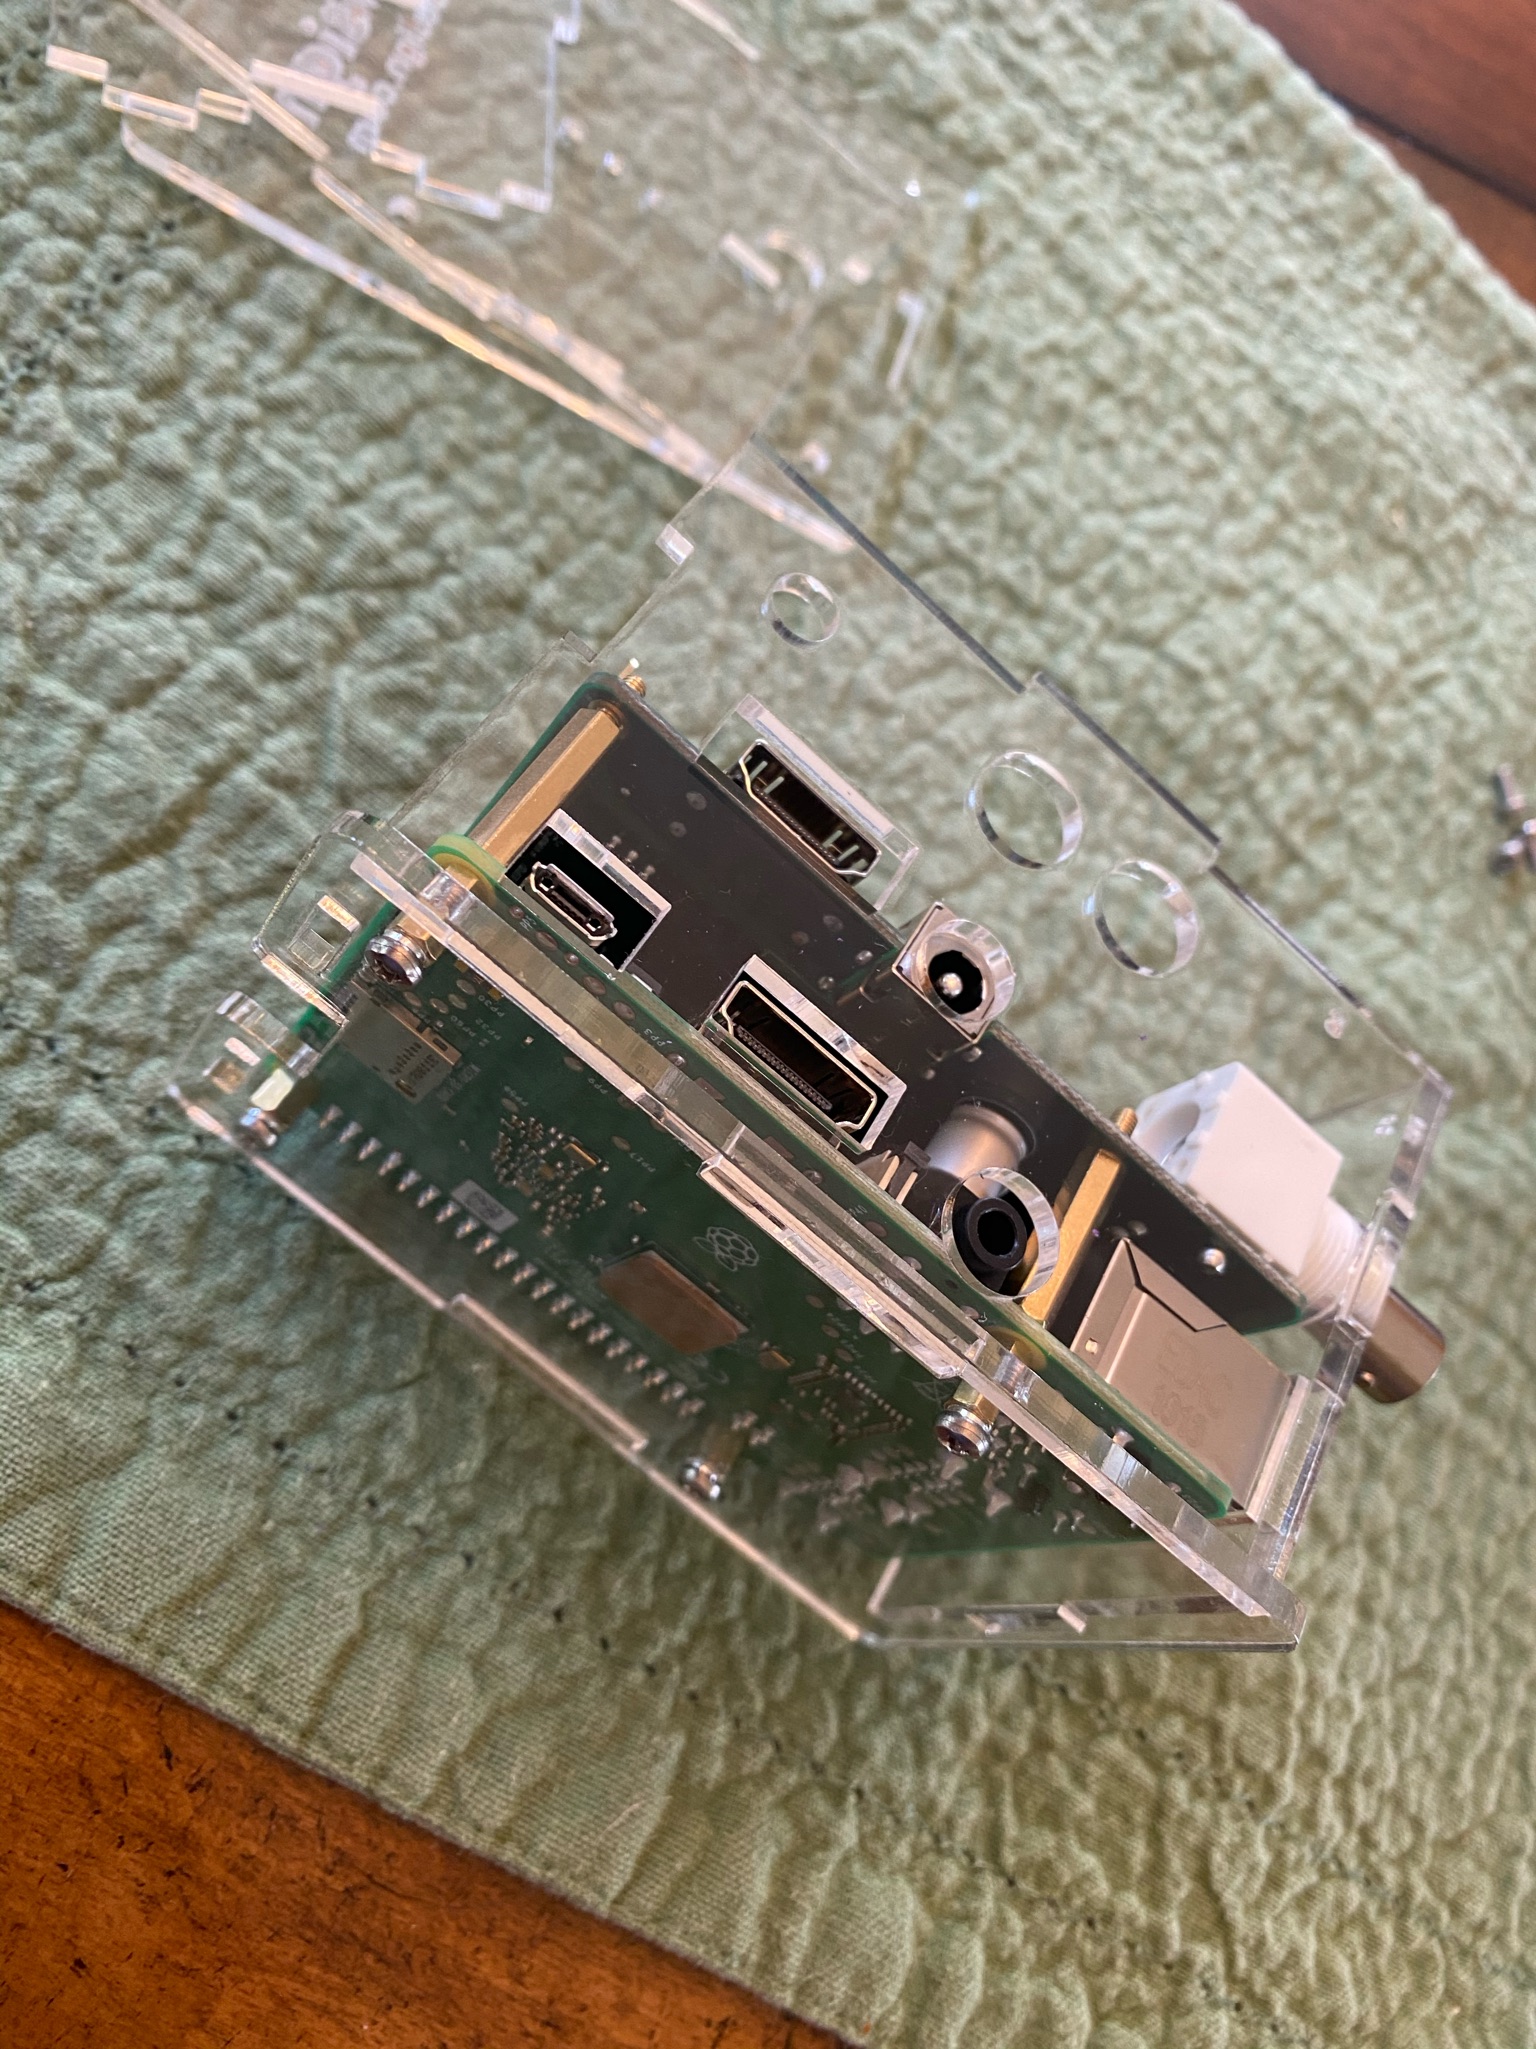
Next up is the Panel with the HDMI connector, this panel is also model specific. As the Pi 4 has 2 micro HDMI ports rather than the full size HDMI.

Then you will install the remaining two panels. I used one hand to hold everything in place while grabbing items with the other.

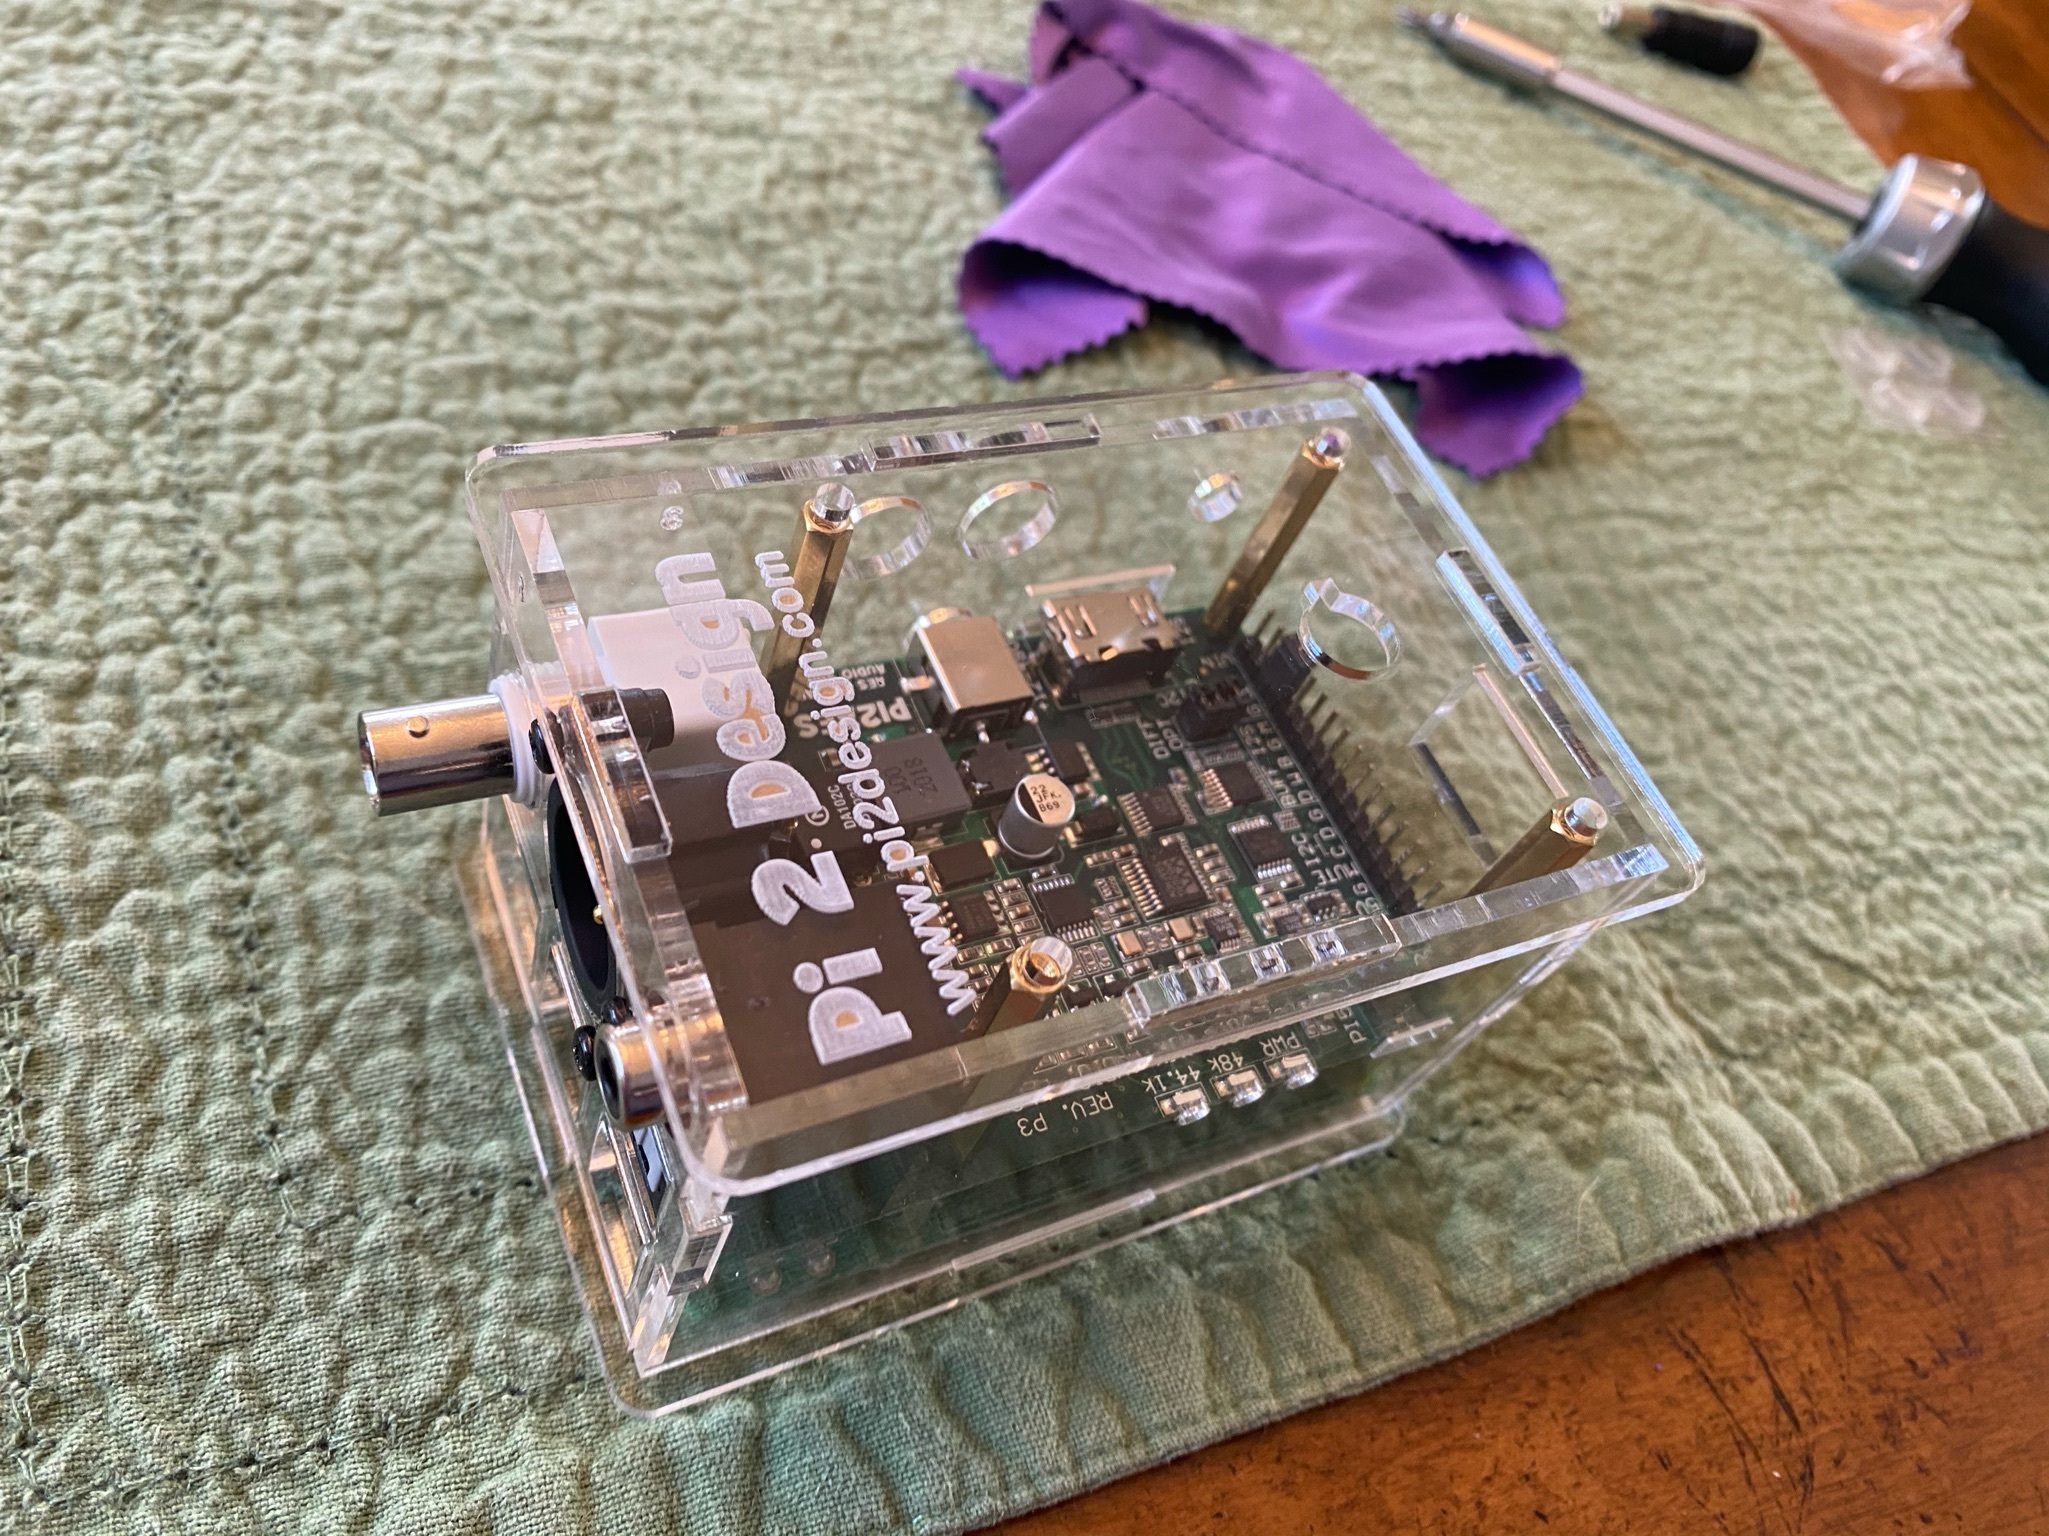
Place the top cover on so that the pi2aes logo is readable.


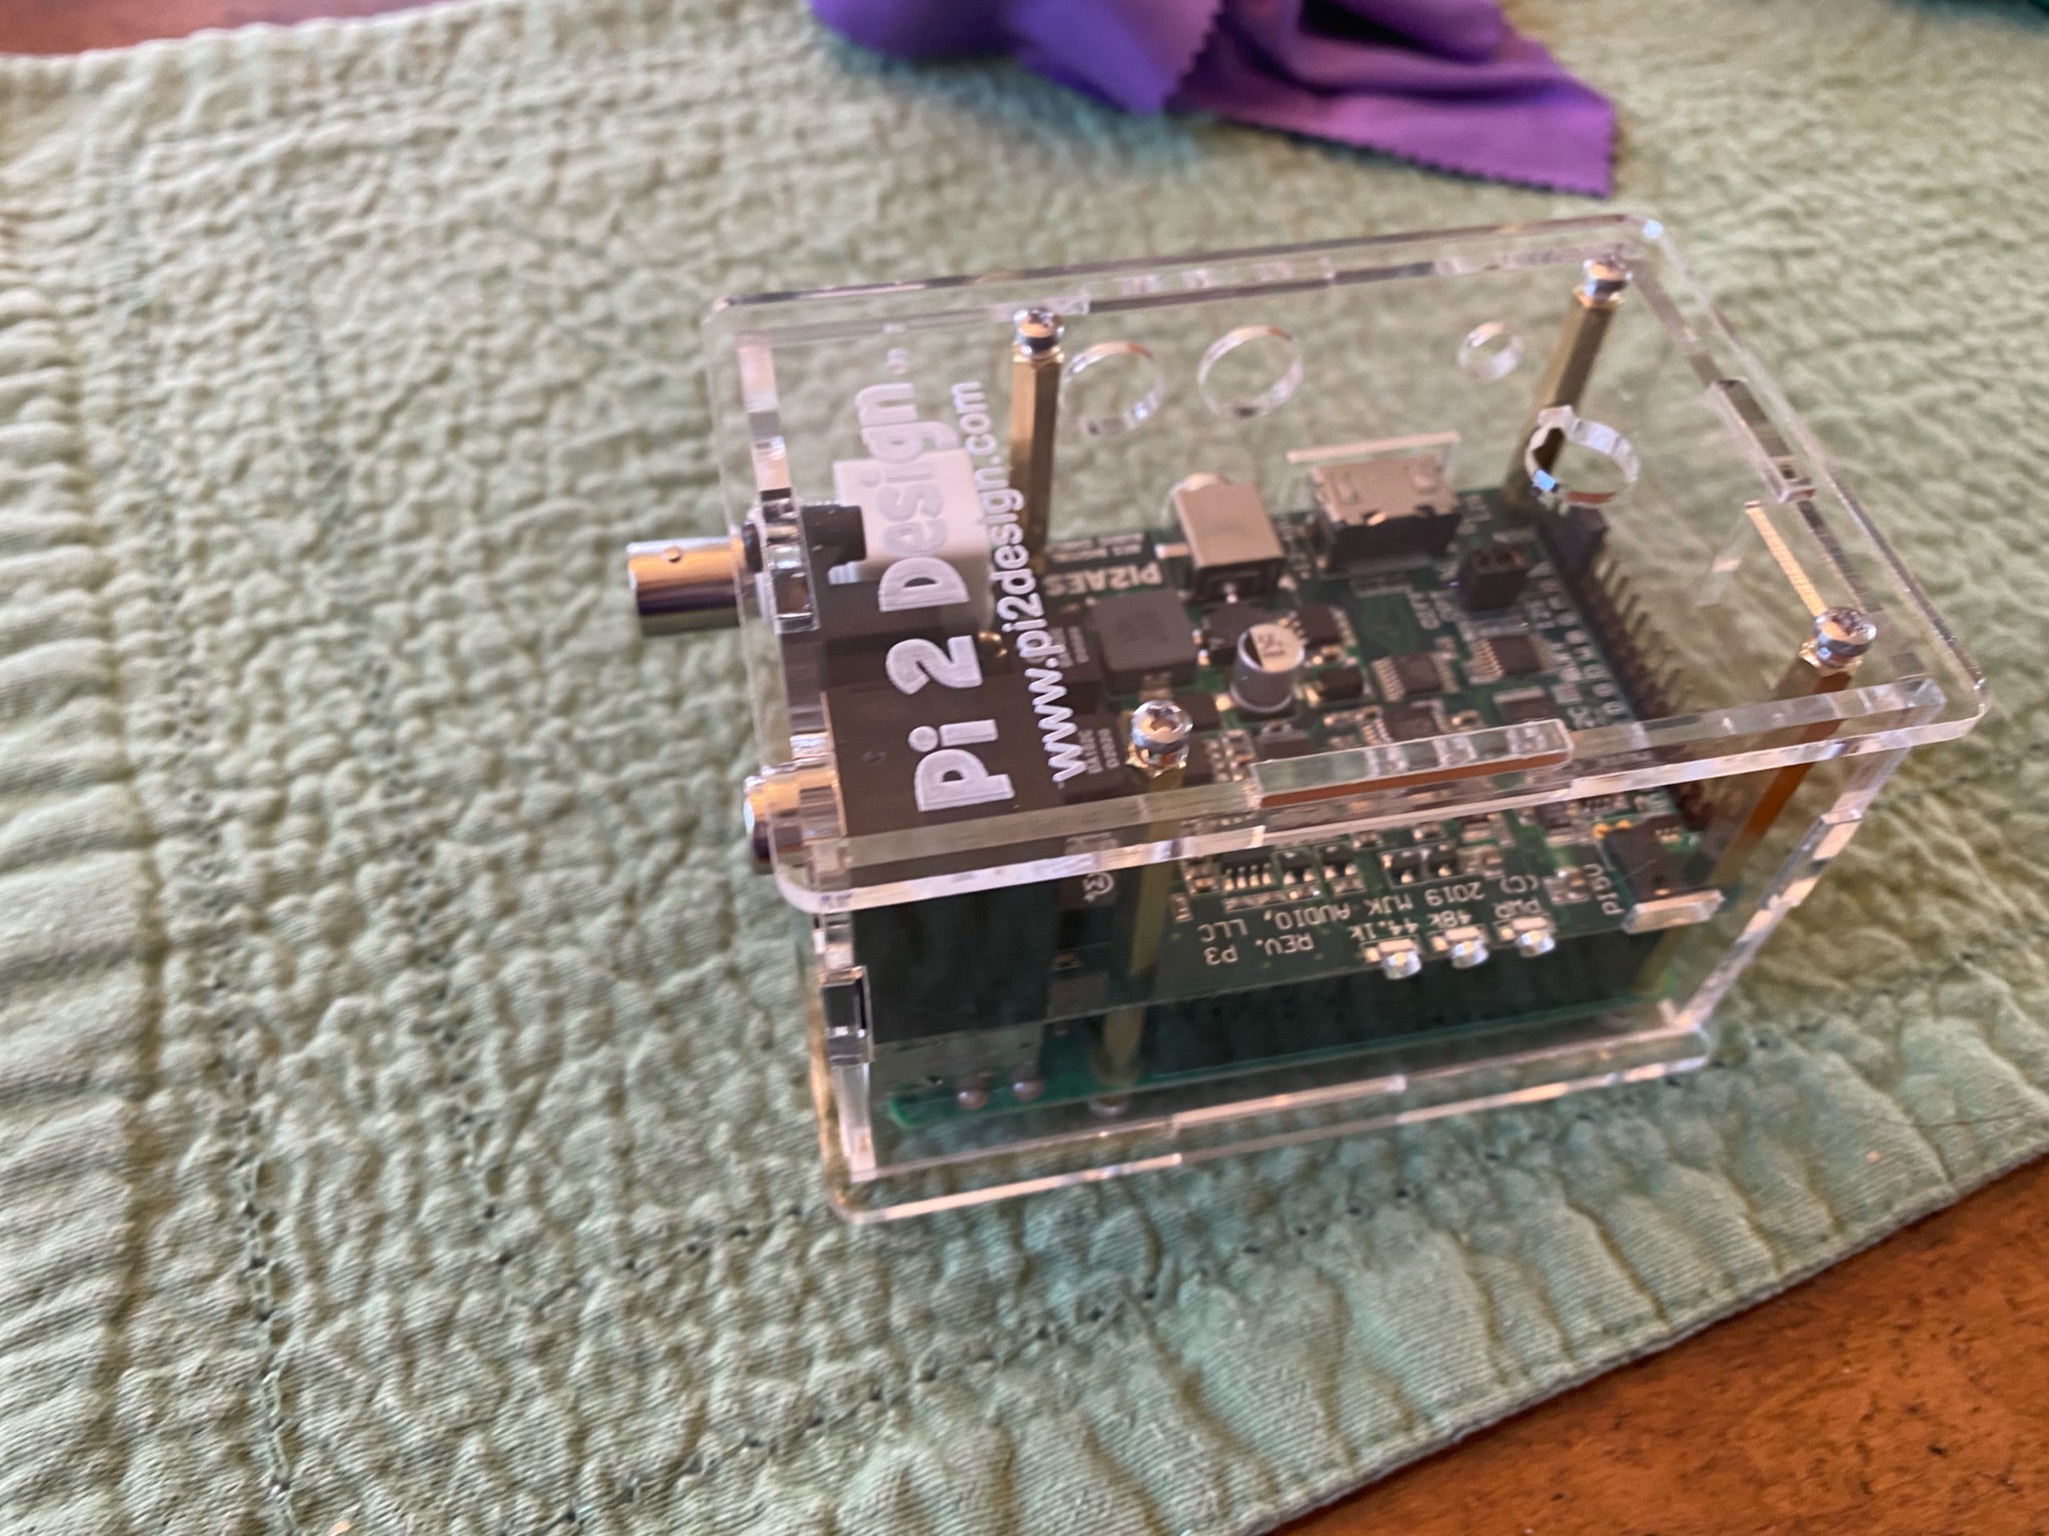
Install the remaining 4 silver screws. We are getting so close.

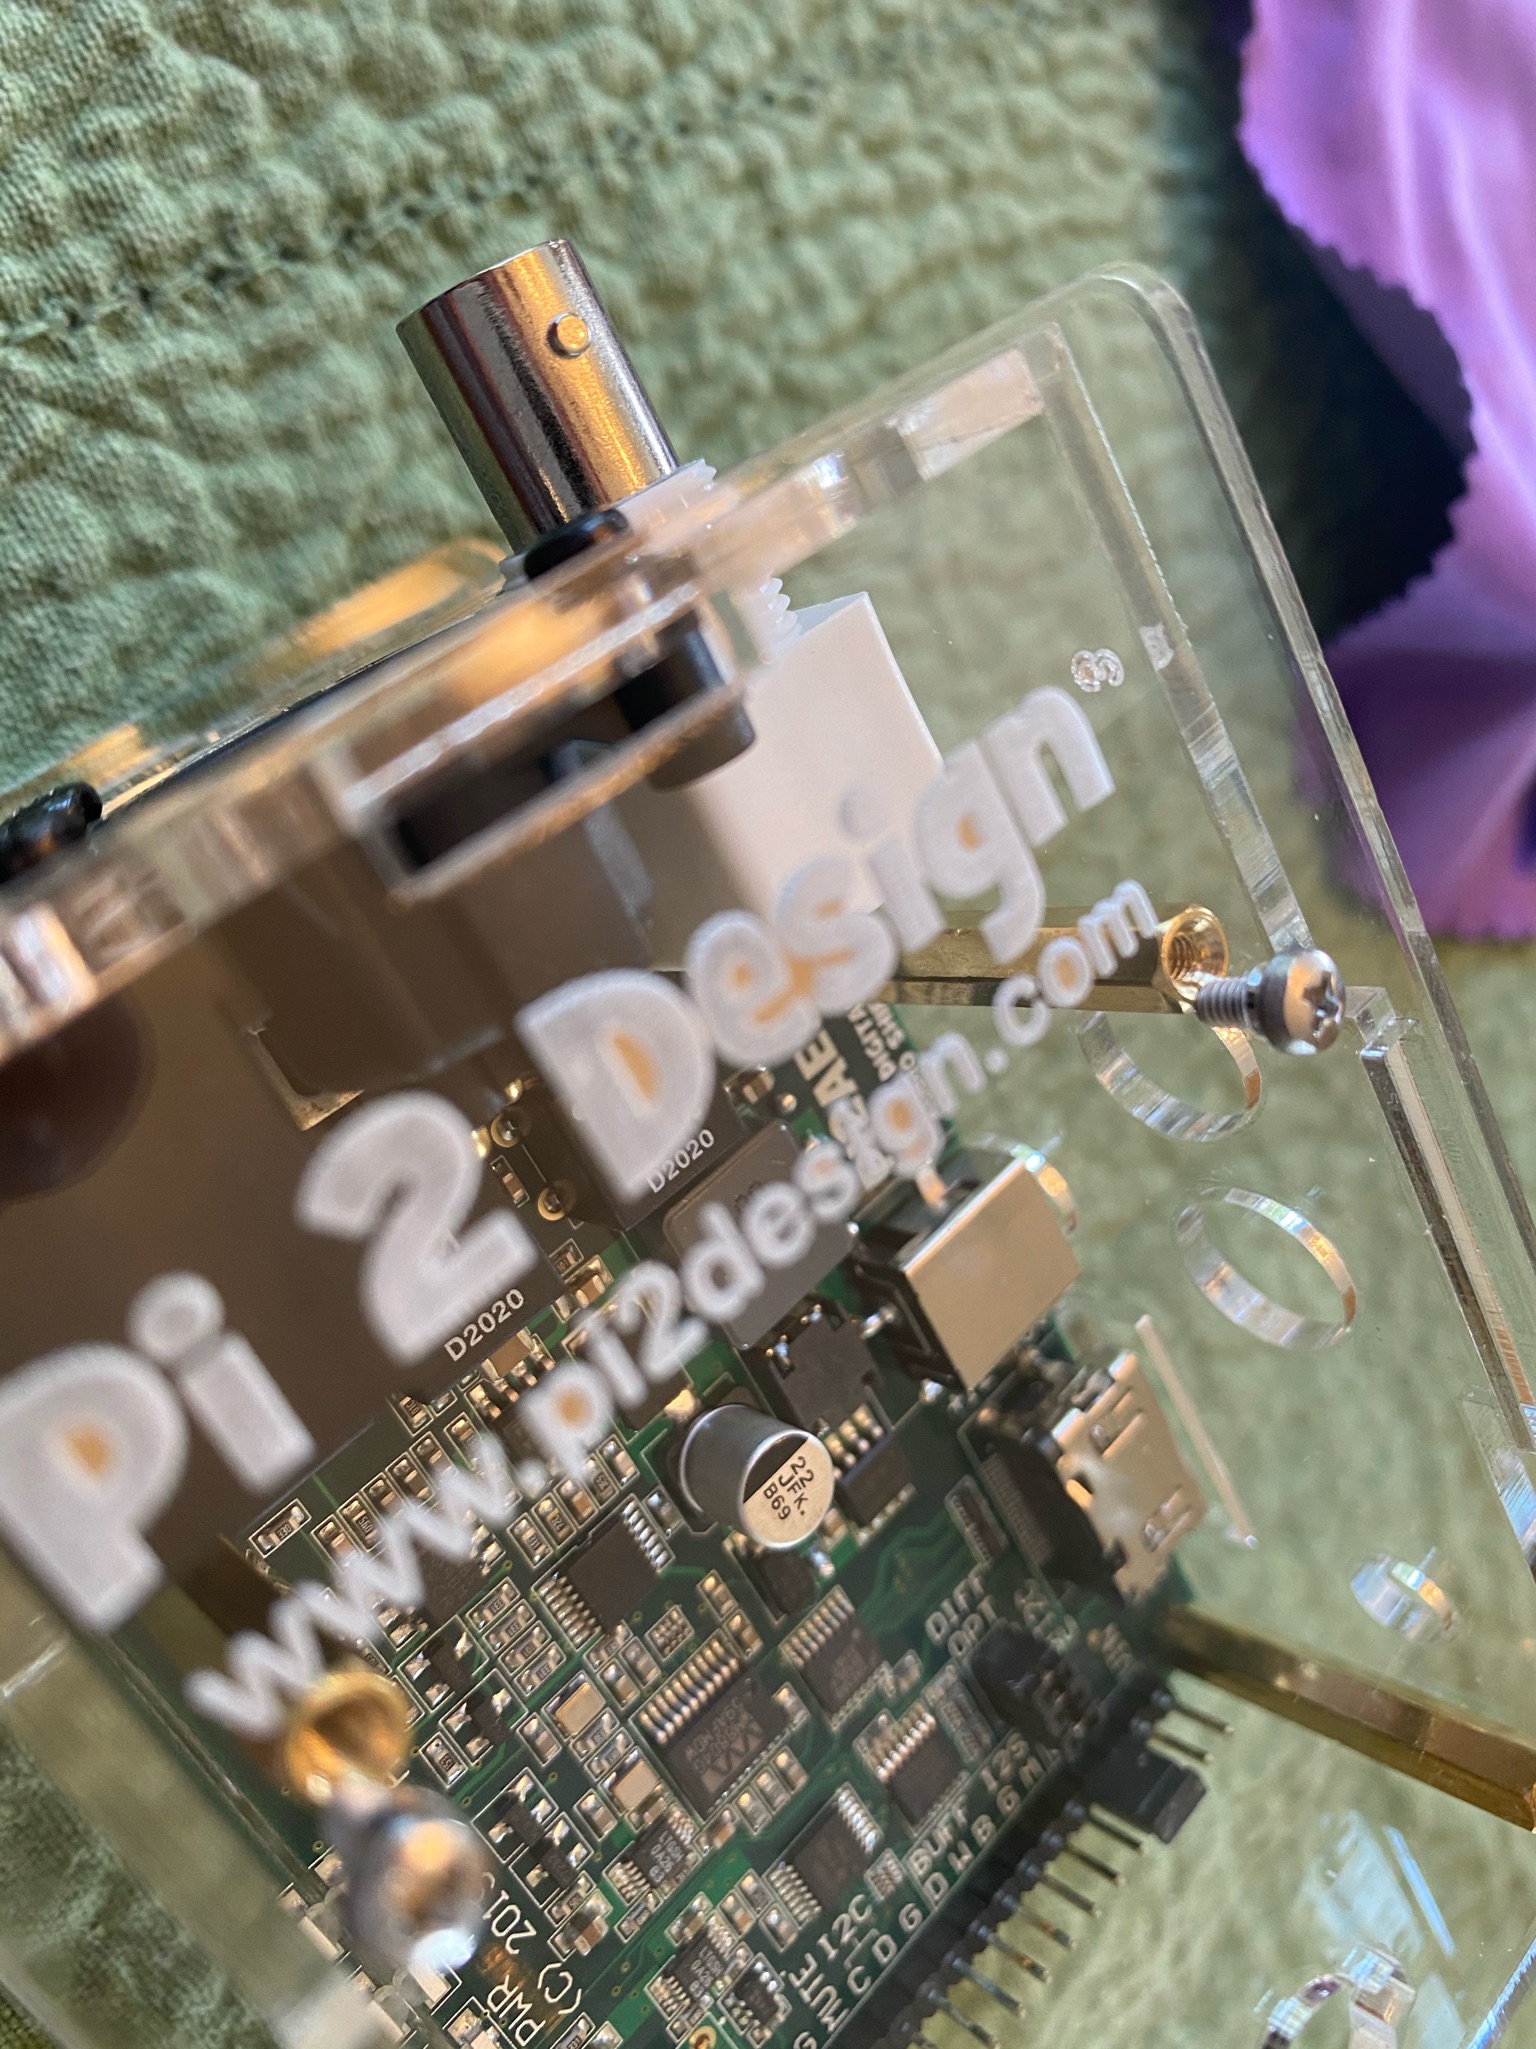
Bummer I noticed that some of the lettering still had some paper under it. I pulled off the top panel and had to scrape it off using my fingernail.


I next installed the rubber feet


Finally I installed the Micro SD card, I chose to use RopieeeXL for this install.

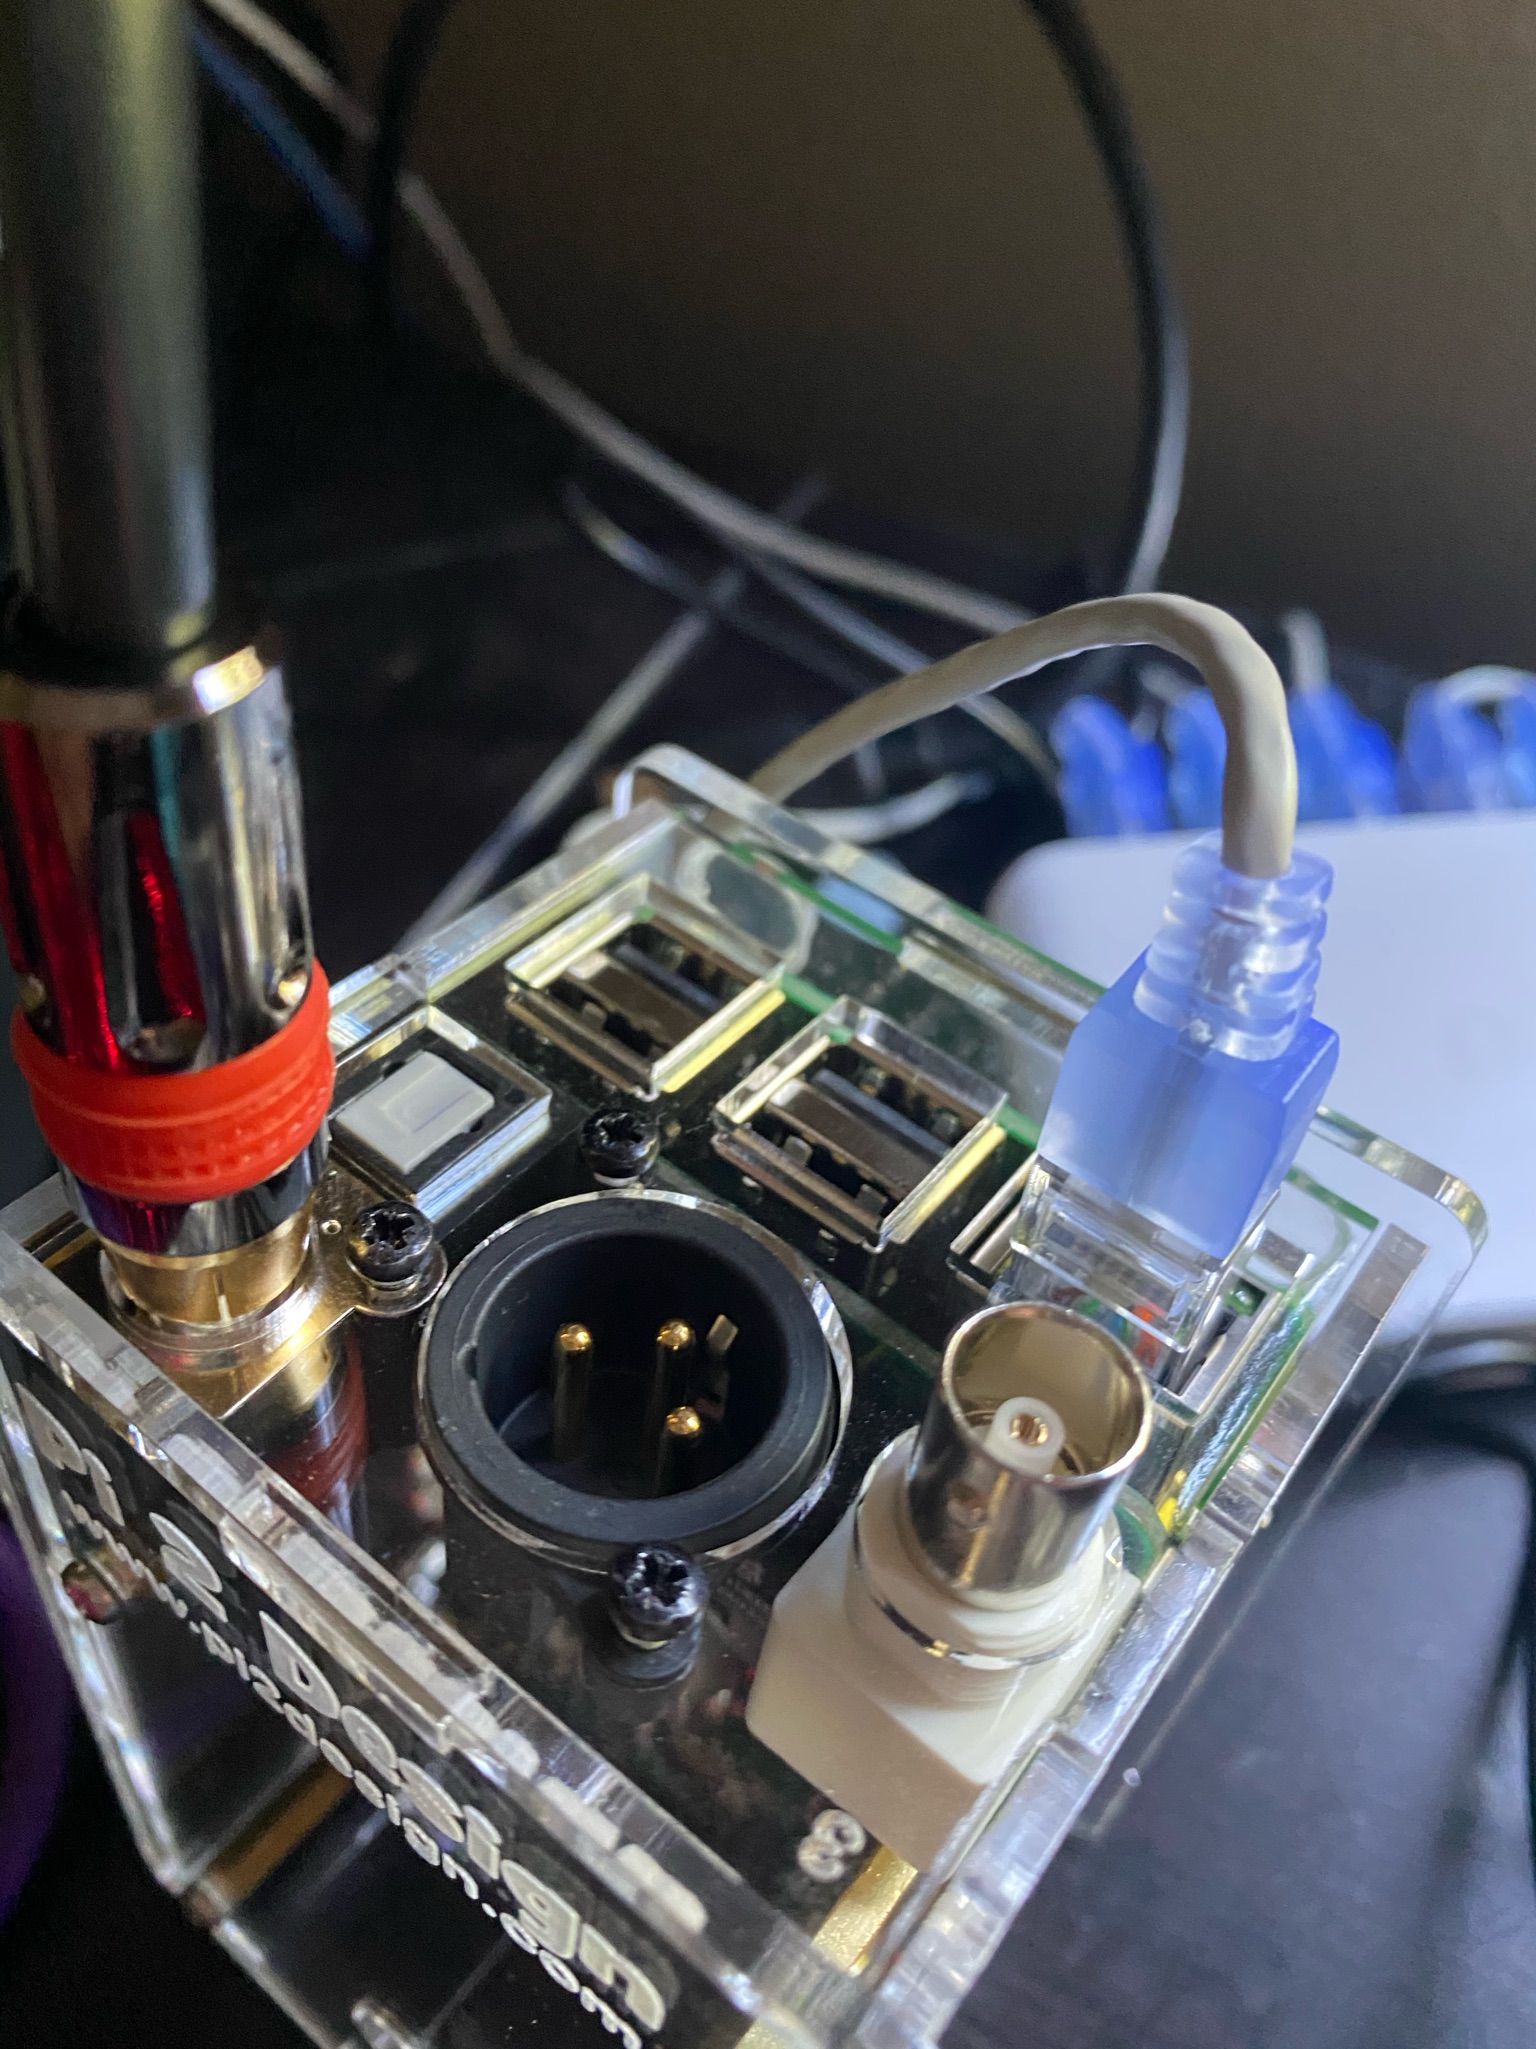
Lastly here is a picture of me connecting to the Pi2aes with coax and the ethernet going to my raspberry pi.

13 Likes

As an addendum through my experiences with RopieeeXL since it’s probably going to be the simplest of all the OS to install. Even if you’re not using Roon, it also detects DLNA music servers like Foobar, Plex, Kodi, etc, so you can play off your NAS or media servers.

The main problem and it took me a really long time to figure out, is if you use your phone as a controller for the system (like BubbleUPnP, Hi-fi Cast or Foobar), the PI2AES needs to be using the wi-fi rather than wired.

The issue is that the DLNA broadcast doesn’t work across wi-fi to wired, and vice versa. If you are accessing your DLNA music on wifi, then it can only be detected using a wi-fi connected device. If you try and run the Pi2AES using wired, you will run into a lot of dropouts and inability for your phone to find the Pi2AES as a renderer and control the music.

Yes it won’t work across subnets, so any 2 networks won’t let you do it.
I added a couple of RopieXXL boxes to my Roon network, Volumio is probably the better choice if your not using Roon, you can then play through the Voumio Web UI, also doesn’t require your phone to play the music, so less battery drain.

Also of note is that all of the Pi2AES outputs are live all the time, so you can rive multiple DAC’s simultaneously, I run my La Voce Aqua S3 of AES and my Lampizator Amber 3 off Coax SPDIF simultaneously and swap between them with a passive preamp.

1 Like

I appreciate this post. I would like to see more on these type things, and streamers, and nas set ups as i feel they are more complicated than most things audio and usually lacking in forum discussion

2 Likes

Just saw Zeos’ video and I’m not even sure what I’m looking at,
but I’m sure a lot of people here would appreciate EU links to get this stuff from

EDIT: sorry, didn’t check before posting, I see now it’s an official site, thought it was all Amazon to random stuff

I think I crossed out Volumio for a couple of reasons. One, I wanted a simple renderer so I can control my kitchen speakers without being tethered to the computer (hence phone), the other was that I’ve read Volumio does constant read/write on the microSD so it’s prone to faster degredation/corruption of data.

I have had no problems with Volumio. 3 years same install. Just a FYI

Just FYI, bridging broadcast over two networks is totally possible, I’ve done that some times for different DLNA/device discovery methods already.
That said, you will need a router that has the possibility to do so, which I guess most people won’t have.
I’m using a FortiGate 60D as a router/firewall connecting all my subnets (wired and wireless) and can create Broadcast/Multicast forwarding rules on there.

2 Likes

I’ve been eyeballing Arylic’s wifi amps/pre-amps. I was wondering if anyone had tried any of their equipment. General search didn’t turn up anything interesting here. It seems like the PI2aes wins on the audiophile outputs for sure. Some of the Arylic’s diy boards look mighty affordable in comparison to PI2aes for us bottom of the barrel scrapers. Any thoughts?

For those of us not familiar with the process It would be nice to see how foobar was configured in this case as source in the Zeos video.

Hello, I bought the “A50” recently, but used it as a “pre-amp/bridge” between a Logitech Z533 sub/“puck” and a pair of Micca RB42’s, I wanted the “S50” but as of this reply, its out-of-production, but according to ARYLIC (contacted) will return to Amazon in Feb/Mar 2021. The unit worked out of the box, just with in the “Audio in & out”, wifi & ethernet, the “app” associated with it “4stream” also worked, several connection chpices including TIDAL & My Music (local files, USB and/or NAS) because I used the unit as a “preamp” it had an issue with “loss of volume” with playback, 4stream seems to be a little buggy, I lost connection when I selected my “NAS” oh, forgot to mention my system is a desktop computer. with that I sent the unit back and will order the S50 when it returns to Amazon and see what that brings, I am thinking RaspberryPi might be the way to go… more software choices, the “diy” aspect and its a little cheaper too. “plm”

Thanks for the tutorial on putting this together it was very helpful. I downloaded Volumio to the micro sd and booted the pi2. My music library populated via usb. I’m out putting to my geshelli jnog. After several reboots Volumio will play but there is no output to my amp/speakers. Anybody have any suggestions. I have sent this question to the Volumio community with no suggestions yet. Thanks in advance for any help. Regards,
Mike

within the Volumio software make sure you have HifiBerry Digi+
Pro driver selected. if you have issues with Volumio give the Allo DietPi Gui a shot or RopieeXL also.

yes, Pi2aes is a great solution let us know if you have any issues. or would like a turnkey product as I have assembled / configured pi2aes packages ready to go.

Hi, “Pi2aes” confused… do you have a “faqsheet” or info link? All good found the info. “plm”

Thanks Gizmo1k, I changed to Hifiberry digi plus pro and still had the same problem. Going try Ropieexl

Dove in, ordered everything.

I’ll report my experience. Will try both Volumio and RoPiee XL see how it goes. LOL

Question, how do they OS vendors make their money? Strictly open source donation?

1 Like

Volumio is nice if you need the additional features, web interface for playback etc.
Ropiee is a lot less messing around.
FWIW I use the Allo Digi One driver on Volumio.
Both have the same issue for me with 5GHz Wifi and a RPi 4 - neither will connect to 5 after then power cycle and I have to connect them to a 2.4 network before they will even see a 5 network. Which I assume is an issue with the underlying OS.

Could I install an OS (Volumio, RoPiee) on a Pi and feed USB out (no DAC) into a DDC? And could I use a SSD drive with a music library directly connected to the Pi?