Damn, out of stock. Found this on Amazon though, how’s it look?
https://www.amazon.com/dp/B00002N5EX/ref=cm_sw_r_cp_apa_i_hpclFbDQAJKZP
You really do want a meter.
All you really need for cables is a continuity tester, if the solder joints look good they usually are good.
Any $10 meter will probably be good enough.
I have cheap and expensive meters here, and I’ll usually use what’s nearest to me when I need it, unless I really care about the result, or don’t believe it.
A 60W Iron makes soldering connectors especially larger ones a lot easier, it’s less of an advantage on small PCB mounted components. The issue with lower power irons is the area around the joint will soak more heat because the heat has to be applied longer and is therefore less localized. That makes melting plastic parts of connectors very easy for beginners.
I prefer soldering iron tips with flat areas rather then conical ones, but YMMV.
I think solders been covered, pretty much any rosin core 60/40 is fine, do not use leadfree, and higher silver contents aren’t worth the additional cost/skill requirements for most Jobs.
I have 60/40 and some Cardas higher silver content stuff, I use the latter in audio, but only because I have it on hand and I don’t mind how it flows. If I ran out, I’d use the 60/40 and not worry about it.
1 Like
The consensus seems to be to go buy a better iron.
Depends, if your doing a couple of things or just trying things out to see if you enjoy it, use what you have.
If you see yourself doing a lot of soldering, buy a decent iron, it makes the whole thing a lot more enjoyable. I have a Hakko, I bought 20 years ago and still use, so they’re not something you go through yearly.
I just see little shit like this once in a blue moon. Even so, especially with how much Luis liked it, I’d probably get the TS100 that Luis reviewed for $70
Yup. Good for when you can’t dip/drip flux on the part in question. For wires, having a tup do dunk the ends into is nicer.
Ended up pulling the trigger on a few things…
I’m gonna stick to the iron I have right now, and I simply wasn’t comfortable pulling the trigger on solder I wasn’t totally sure on, so I ended up buying what @Hazi59 reccomended.
The multimeter was $10, but had good reviews, and was analog, something @pixelnull pointed out might be benificial (if it’s purely analog).
I snagged the stand cause it was cheap, had good reviews, Prime shipped, and had the copper coil cleaner (though y’all said it was unnecicery, I just thought it was a nice to have).
I snagged the 3.5mm connectors for the spring strain relief, price, and thought of still having a use for the stock cable.
1 Like
Sooooo… soldering sucks. Particularly without helping hands.
2 Likes
Do you have any tips for soldering 2-pin terminals? I’m trying to add detachable cables to my KSC75 and with the 30AWG wire (with padding fibres), all the guides on youtube seem to be with 18AWG or more. I can just about tin the wire but getting it to stick to the pin without melting the plastic housing seems impossible.
Do you mean these here?
If your soldering iron is variable 260 to 300°C (~ 600°F).
Tin the wire and the terminal pin.
Rig up something to hold wire and pin together, heat them both and touch some solder to them.
Done.
1 Like
Here’s my last attempt. The wire is on there (whether it’s mounted to the terminal or embedded in the plastic is a matter of fervent debate), but it actually pushed the socket out. It’s not exactly clean either.
No actual headphone wires were harmed in the making of this picture.
Unless you tried soldering that with a blow torch, that has to be some exceptionally crappy plastic and insulation.
1 Like
I think the black is the padding fibres, the wire is incredibly small (sans insulation it’s about 0.3mm) so it’s hard to get rid of them all. As for the connector, yeah it’s cheap but that’s from about 8 attempts, a few different tip types and two irons.
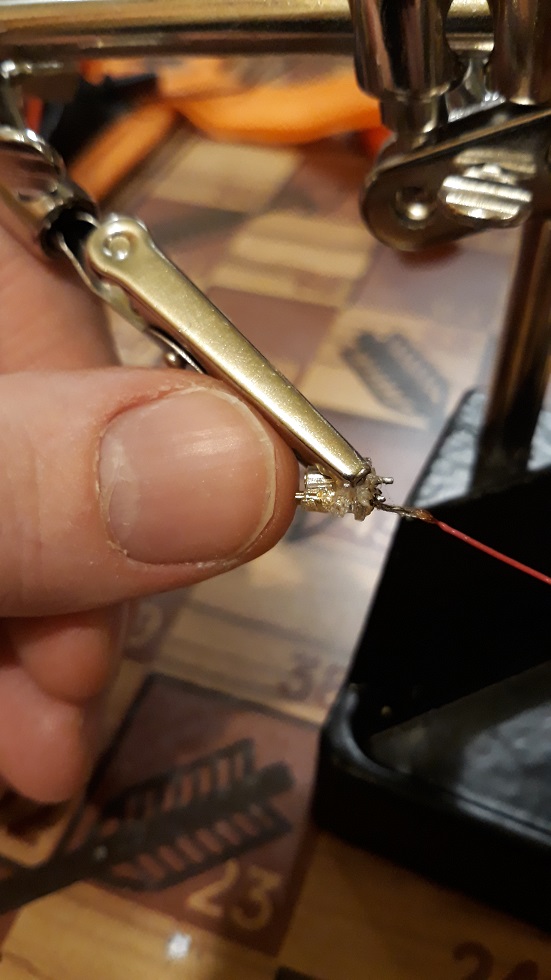
I tried again on the other terminal. Had a lot more luck by just putting a big lump on the terminal and pushing the tinned wire into it. But I’ve noticed the resistance in the wire itself is 1. The strands themselves are enamelled it seems. Off to Youtube.
Litz wire where the individual strands are enameled is a pain in the ass to deal with.
The way you are supposed to use them is to use a solder pot at a specific temperature/time to remove the insulation.
For DIY most people don’t have a solder pot, in which case you either scrape/sand the enamel off which is a pain in the ass, or sometimes you can get away with getting a blob of meted solder on the end of your iron and holding the wire end in there until it “tins”, this can takes several seconds.
Holding them into the blue part of a lighter flame also works, at the risk of toasting the insulation…
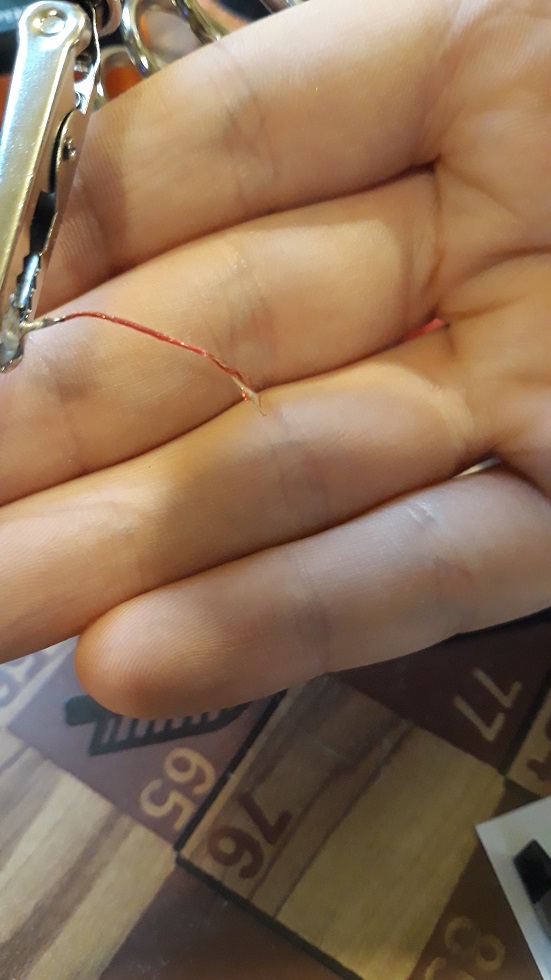
I had some success tinning at 400°C, though checking resistance is still spotty. The strands are so tiny, it’s hard to see if it’s red or copper, and that’s the signal side, the ground is copper coloured. The solder probably oxidised too. Good thing I’ve got an entire cable to cannibalise (apologies Mr Hammer) for testing.
I’ll try a lighter. I think the strands are too small for sandpaper, even my finger kinks them.