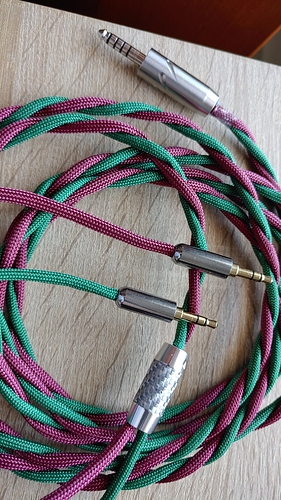
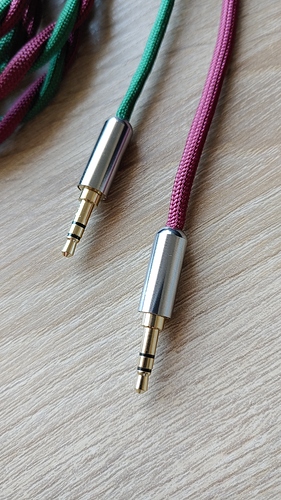
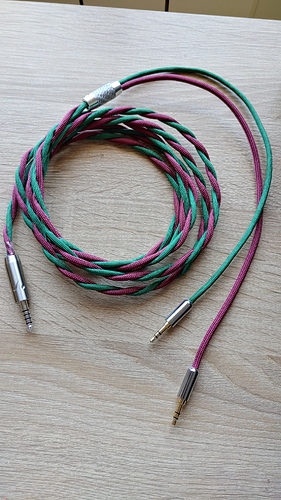
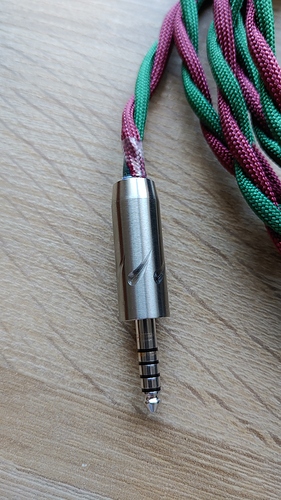
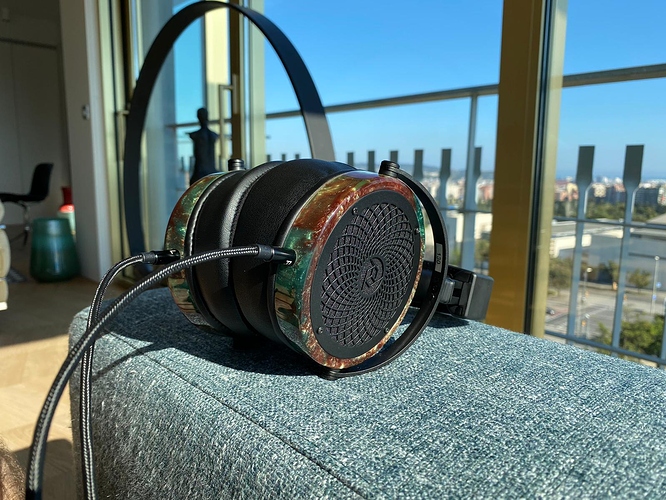
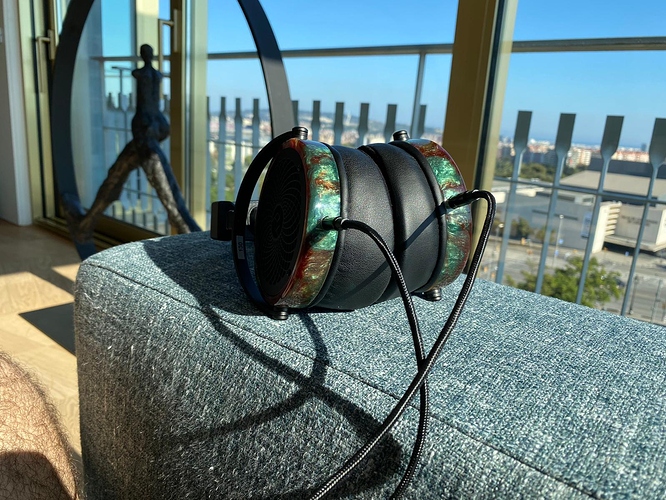
Well if it looks better in person than in the pic I’m excited to get my order!
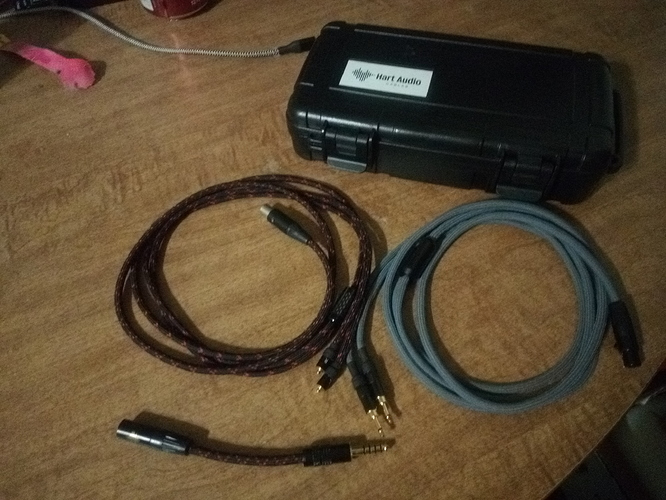
The black and copper cable with the red on the Aeon 2 kinda reminds me of Ironman lol
Yeah that looks clean. He did an amazing job.
Ooh I didn’t think about that but I like the correlation. Imma need to get an Ironman helmet to display it on 
Glad they are there, and you are enjoying them! Was a fun set to make for sure. Working on Rhodey’s order now, hope to have the connectors in soon!
@doctorjuggles, that’s a good looking cable. I’ve been thinking of trying to build my own. Any advice or suggestions for materials and tutorials?
Hi @jimmymizell
I guess it depends how much you already know.
Will it be your first time ever making a cable? Do you know how to solder? Do you know what you want it to look like? (Bare/exposed wire vs paracord? A combination of both?)
I only started doing this a few weeks ago, but I’ve learned loads in that time (obviously nowhere near as much as the proper pros, of course.) I started doing it just to make sure I could repair any cables i had that weren’t working, but now I don’t think I’d buy a pre-made cable just because I enjoy doing it so much, which helps when it comes to learning
It will be my first attempt at making a cable. I do know how to solder. I prefer to make cables that are covered in paracord.
Could you link those connectors? They look really nice.
If you’re comfortable soldering already, then you’re much further along than I was already.
As for the rest, it was really a simple case of trial and error, and practise with cheap stuff.
Originally I started with an older cable that I was happy to see thrown out (a really old, rubbery cable that was balanced, but with 2 x 3pin XLRs on one end and a pair of old Sennheiser connections on the other.) It helped that I didn’t care if I ruined that cable, but it was helpful for me to get used to testing polarity, (test, re-test and then re-test again is my advice).
It also helped me to realise that planning and knowing what you want is key.
Have a little plan in your head - do you want a splitter or will you be braiding and using the braid split from 4 to 2 cables as your natural splitting point? If you want a splitter, how easily does your cable fit at both ends? For this build, I tested the paracord into the 2-way splitter before I started, but with some cable inside it and with the edges prone to a bit of fraying in spite of burning them, I ended up struggling to get them through the dual split (which is obviously much smaller than the large single split at the other end). What I ended up doing to get it through is attaching a small piece of heatshrink to the top of the cord! Shrunk it down, pulled it through and then removed the little piece of heatshrink! Worked a treat, but probably not an officially recognised cable-building technique!
One thing is for sure, if you fight and twist and pull and solder and carefully make sure everything is perfect, you will kick yourself if you realise you haven’t put the heatshrink or the jack cover or something over the cable before doing all that hard work. So a clear plan on what it should look like and then make sure you’ve added your bits and pieces to it before you get to work.
With that in mind, this is a rough idea of what I do:
Get the cable ready - you can run them alongside each other if it’s going to be inside paracord already, but I braid them. The ones in those photos above were twisted - 2 cables twisted together in each paracord sheathing. So I twisted the cables together first, then slid one pair inside the red (right channel) paracord and the other in the green. You can do this step whichever way you’re happy with, but I prefer to solder the 4 wires to the connector, then have the connector held while I twist or braid. It’s also good because it tests that the solder joint is nice and strong.
Remember with twisting, you can’t just roll the cables together to twist them - I find they call apart that way. So twist the cable, pull it out, twist, pull - again and again.
In case it’s not clear what I mean - have a look at this:
That’s not a pro-looking video, but it’s all you need.
Once I’d got the two pairs into the paracord, I twisted the two paracords together. For the paracords, it really matters that you get a nice, even spacing with your twists, you don’t want some to be really tight together and some to be loose, so you need to have some consistency in the way you do it. I also stop every few twists and run my fingers over the twists to try and spread/even things out. You’ll also need to stop and untwist the loose cable on the non-twisted side because this gets really tangled and makes it impossible to work properly pretty quickly.
I make sure I go an inch or so higher than the point I want my split to be, so that I can slide the heatshrink etc into place, add a little hotglue and then line it up with a measuring tape - that way I can slide things up or down and not worry about having to remove it and twist again. It’s easier to let some of your twisted work unravel than it is to remove all your parts and twist again, so that’s how I do it. Once I have the heatshrink at just the right place, I’ll add some little shavings of hotglue and push it inside the gaps in between the heatshrink and the paracord and then blast it (carefully) with a heat gun.
Once that’s done, the twist is held nicely in place and it’s time to get to work on your terminations.
I’ll solder the joints (having made sure to check the wiring diagram for the headphone time again and again) and then slide the paracord up and tighten the binders around it. Heatshrink goes over the top and, again, slide little bits of shaved hotglue inside the heatshrink, then blast it.
Slide your finishing covers over it and check that the lengths etc are still acceptable and you’re done!
Sorry - that got a little longer and more involved than I’d planned! Shout with any questions 
Sure
The 4.4mm is a Furutech from Cosmic Cables. Depending on where you are, you may have other options, but in the UK, Ian is the best place to go that I have found for DIY headphone cable parts. (He’s the sole importer for Eidolic as far as I can tell.)
The 3.5mm is this generic one here. I’ve compared it to some other ones I already have from aliexpress and it’s very clearly of superior quality, although the aliexpress ones are pretty good and great value, especially if you’re learning soldering like I still am (it hurts less to screw up a £2 one than a £4 or £10 one or whatever).
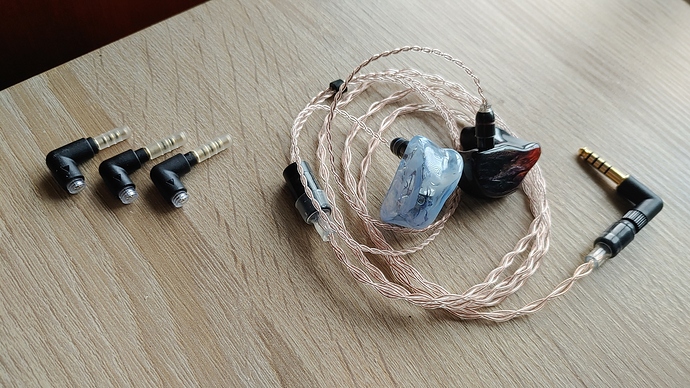
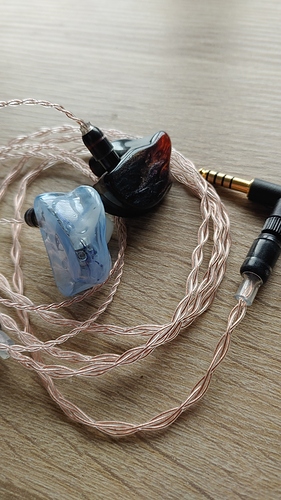
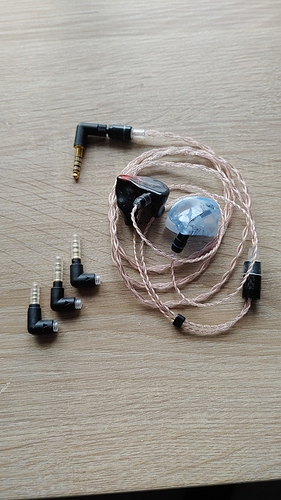
Just sharing another build.
This one is a little different - a modular termination with screw-on tips in 2.5mm/3.5mm SE/3.5mm/4.4mm configurations. All balanced except, obviously, the 3.5mm SE
as the Aussies say Noice!!!
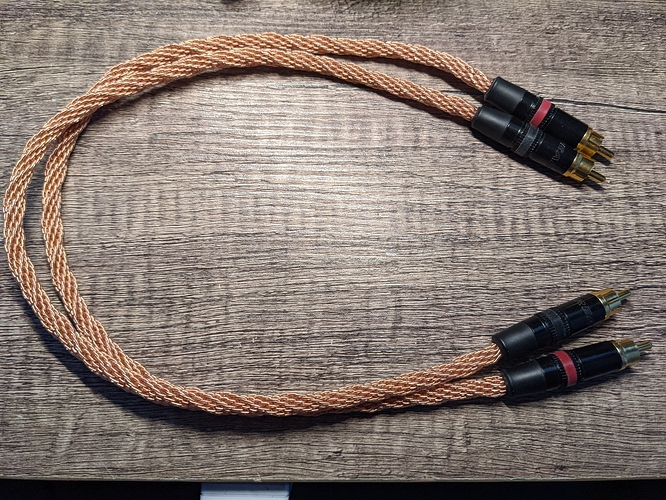
Latest cable for a custom order RCA 16 core for a customer. I’ll be offering these on the Etsy site going forward (and get more cable in stock!).
Oh man. My amazon basics RCA cables are hiding in shame right now.
EDIT: I went back and looked and they’re actually, World’s Best Cables, not Amaon Basics.
Clearly a misnomer. 
Oooooooh I like these. When I get a new desk setup that allows me to move my dac closer to my rnhp and tuba, I’ll hit you up man!
Awesome, looking forward to it. I can also do these with 3pin XLRs which would be sweet too!
How are those newer Aeons? I had an inquiry from a review I did on mine alongside the Focal Elegia, and as much as I like mine, I know the newer ones are better!
Hey, I live in northern OC area and will have you hit you up when things finally cool down!
