For all you who want to take better pictures of your gear 
So about a week or so, I gave my input about a photography thread in the forum that someone else posted, and I thought would expand it; if people like this one, I might make more of these.
Why a few posts and not one?
- These take a while to write…
- It’s better to learn this stuff bit by bit
- if there are any requests or suggestions ill add them to later posts.
Word of caution is this is a long post (I tried to keep it short as best I could).
This post will focus on lighting, mostly focusing on how to “build” your lighting setup.
Now, this is an incredibly complex subject in photography, but what I want to show you hear is the way in which photographers approach lighting.
A short disclaimer first.
I’m a professional photographer but I’m not a product photographer. I normally shoot people, not products, so there, I wouldn’t call myself an expert, but some of the guiding principles ill show right here the same and will teach you the basics of how things work.
It doesn’t matter if you are using natural light from a window or a high-end lighting gear; it’s still just light. So how do you start lighting stuff?
There are 3 major types of lights in photography.
- Key light - Keylight is lighting the key features of your subject
- Main light - Light that lights the whole scene giving a general tone to the picture
- Rim light - lighting the edges of a subject to empathize its features, normally the shape/curves
Now I’m going to show you an image I took, show you how i “built” the light, including behind-the-scenes photos to show where the lights were. In this specific case, the “Key light,” “Main Light,” and “Rim light” are all separate light sources, just to show you how each one works and how the “building” process works.
The most important part of lighting is:
"TAKE IT SLOW!"
break things down, then build everything up…
Take your time, the good thing about headphones is that they don’t move…
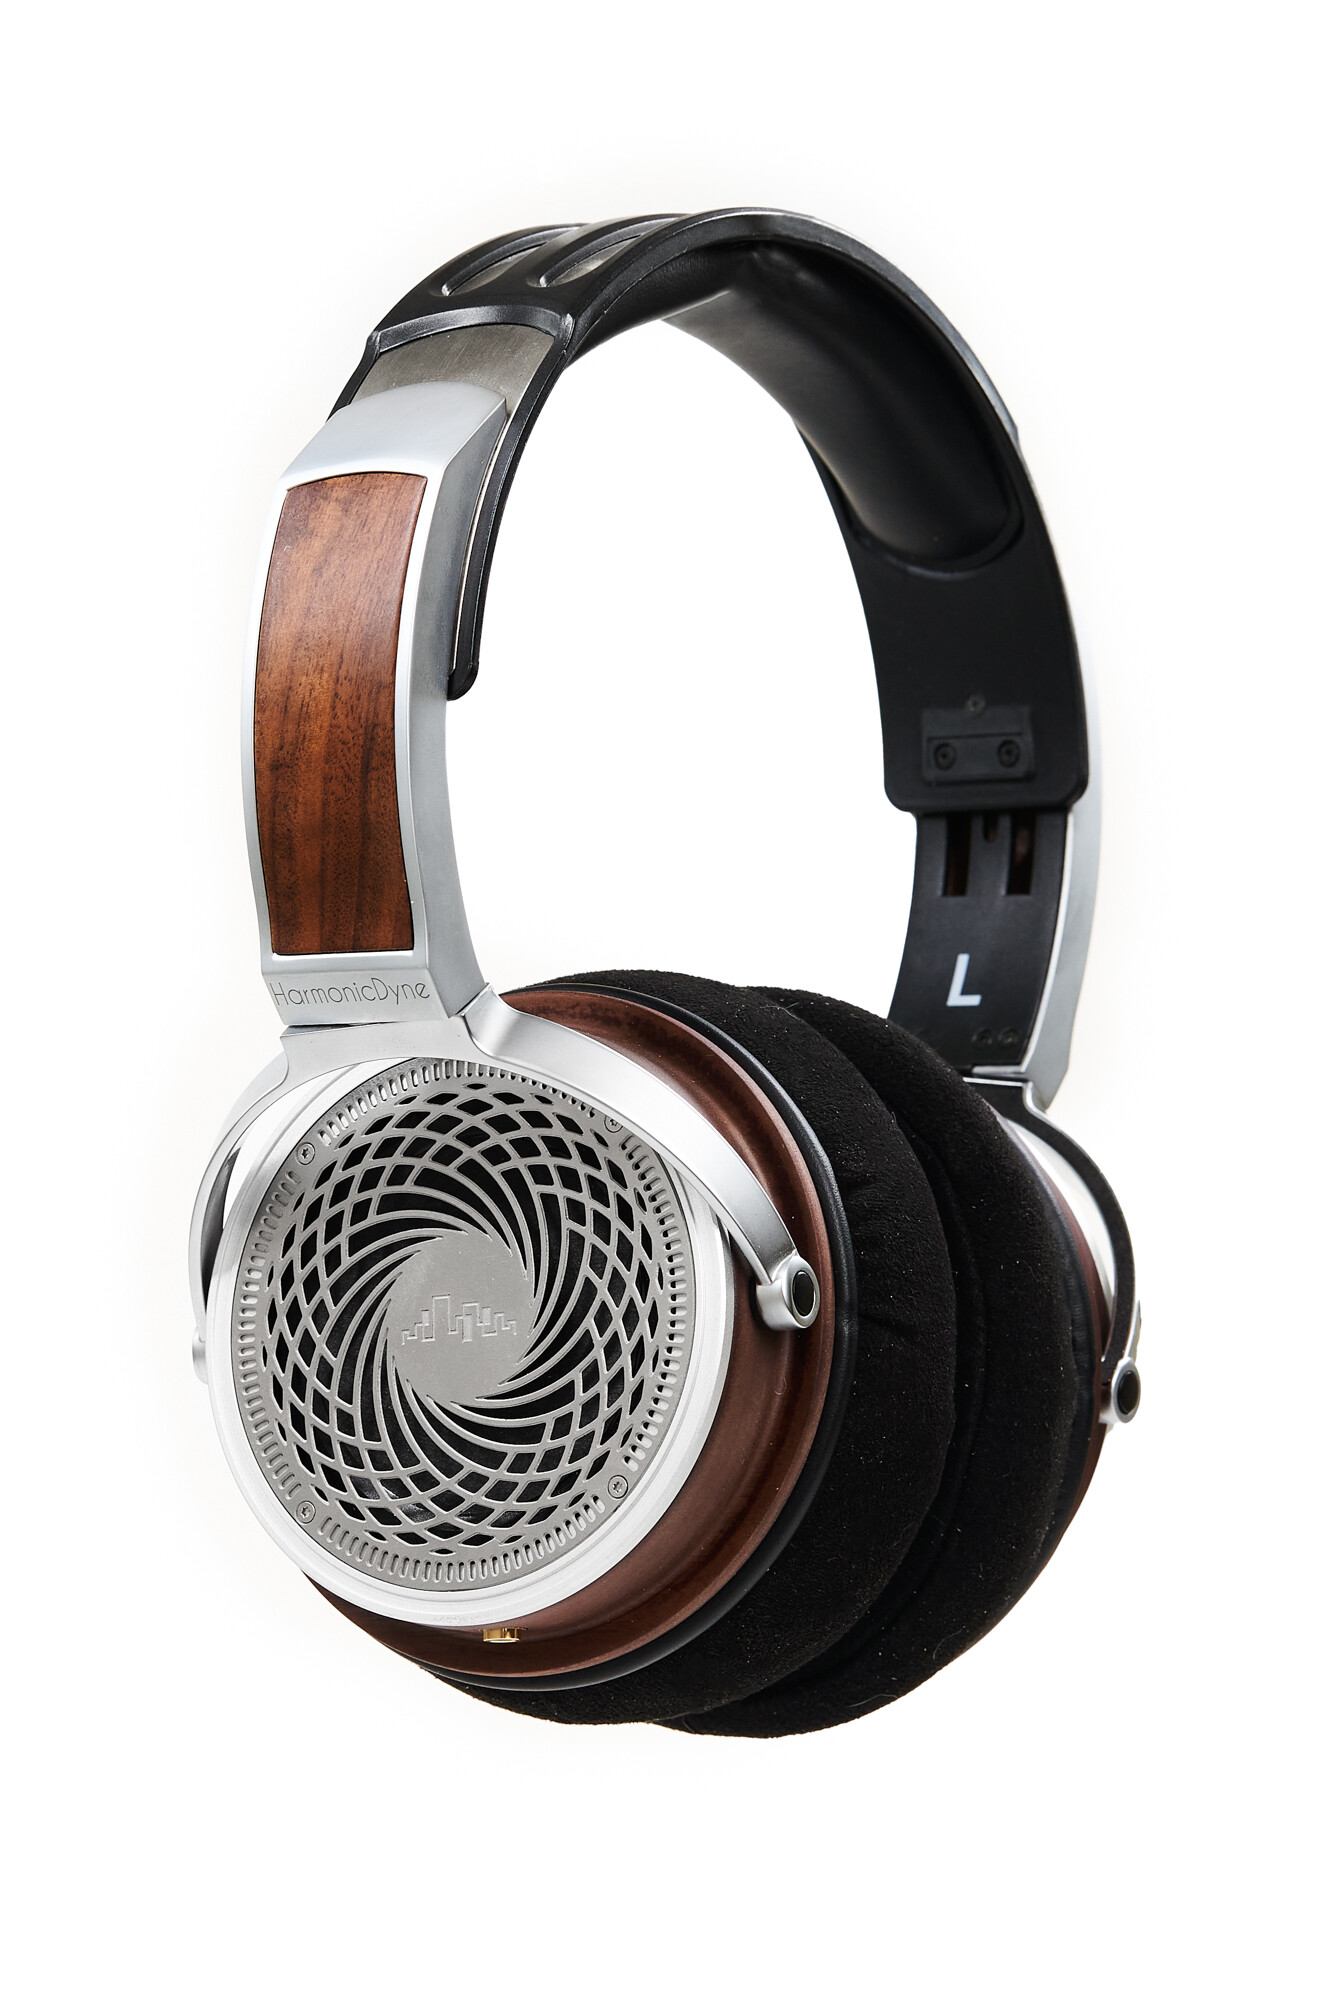
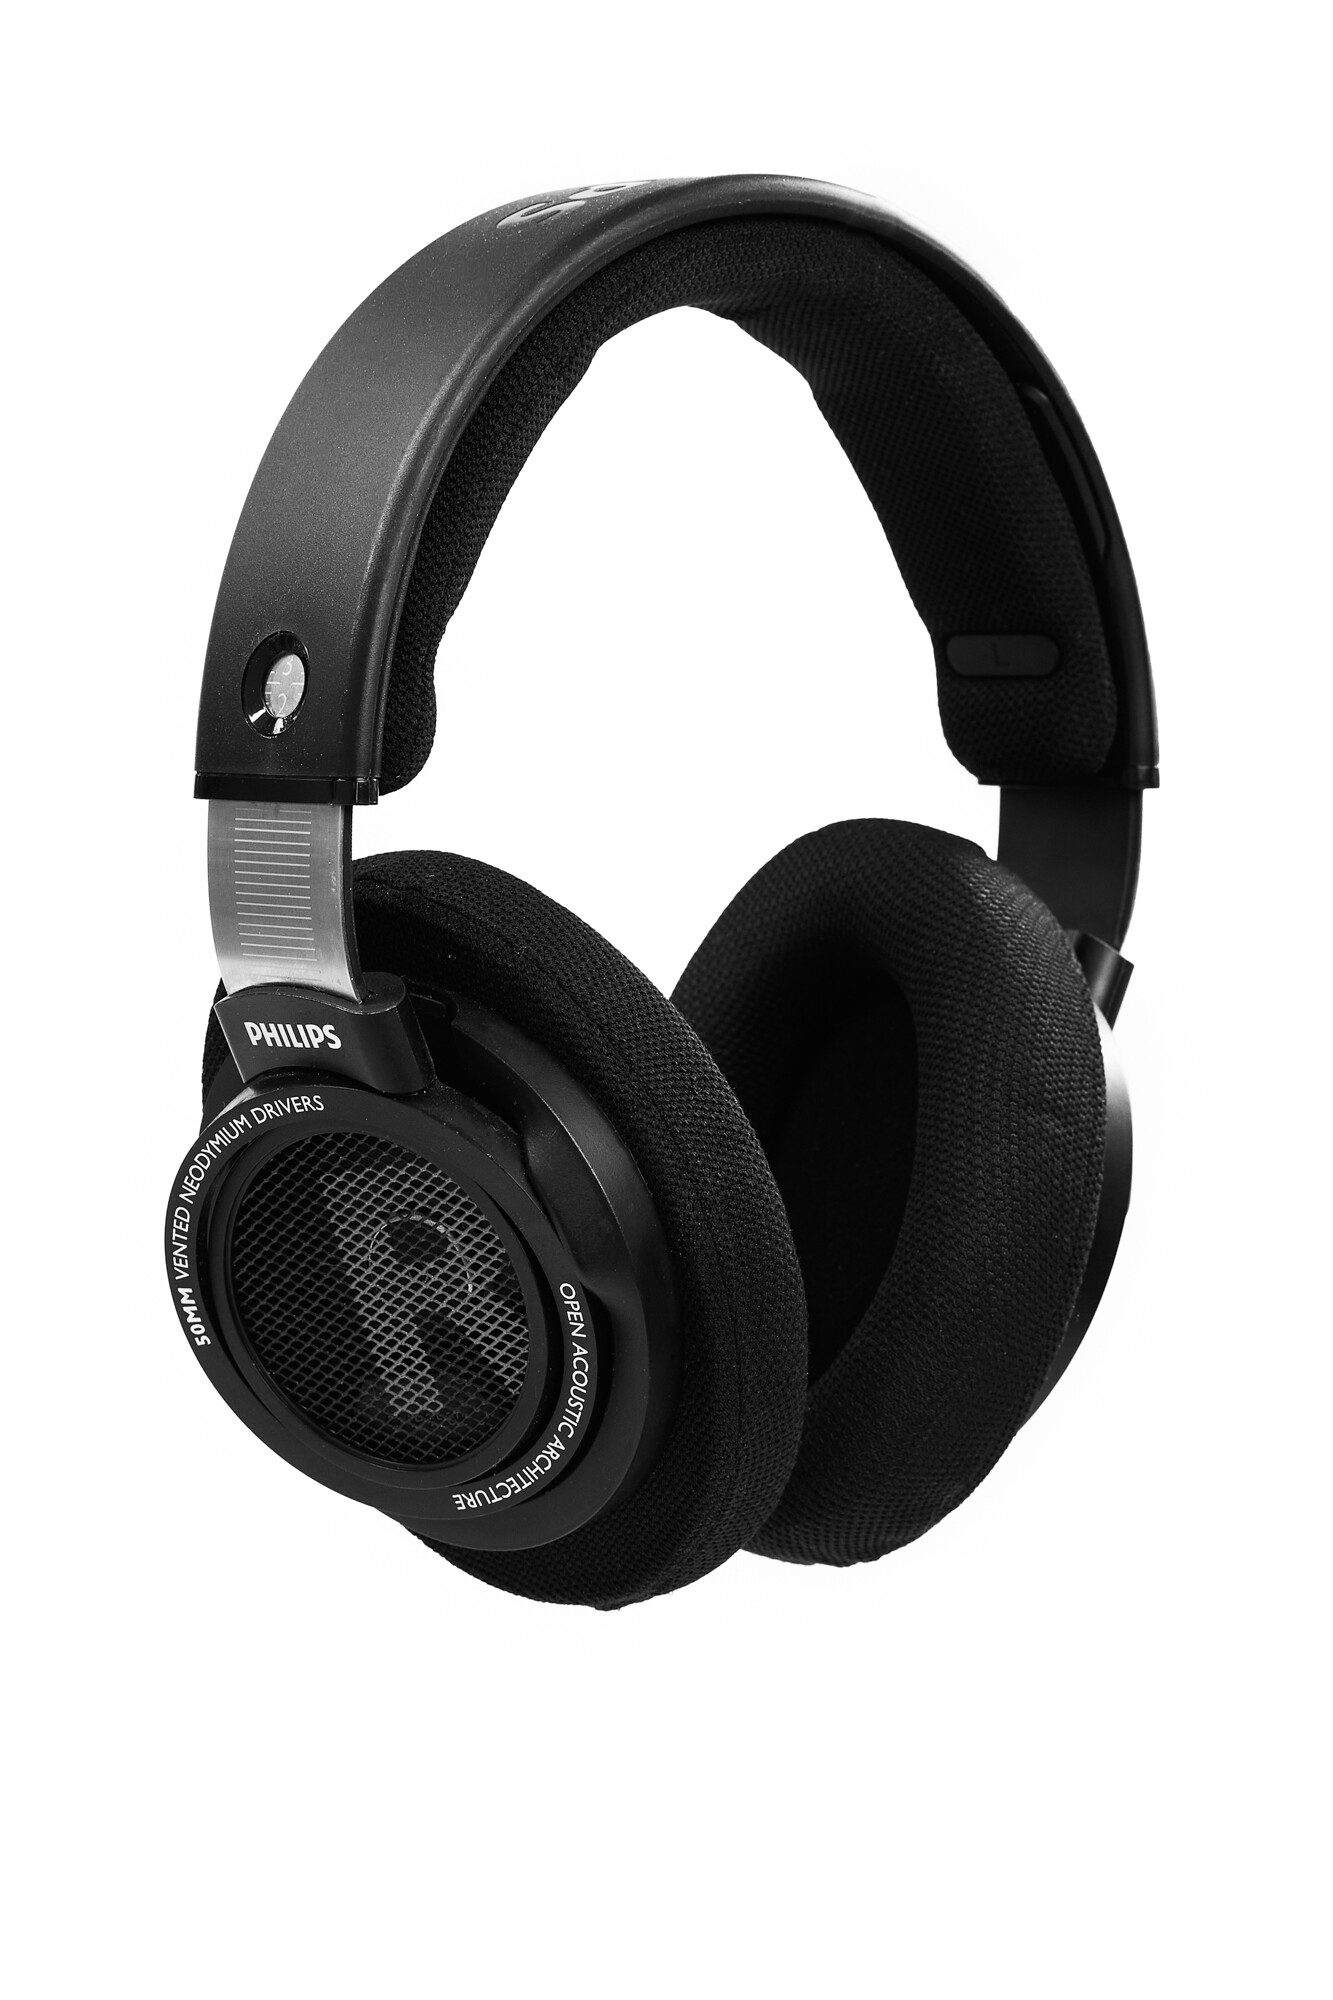
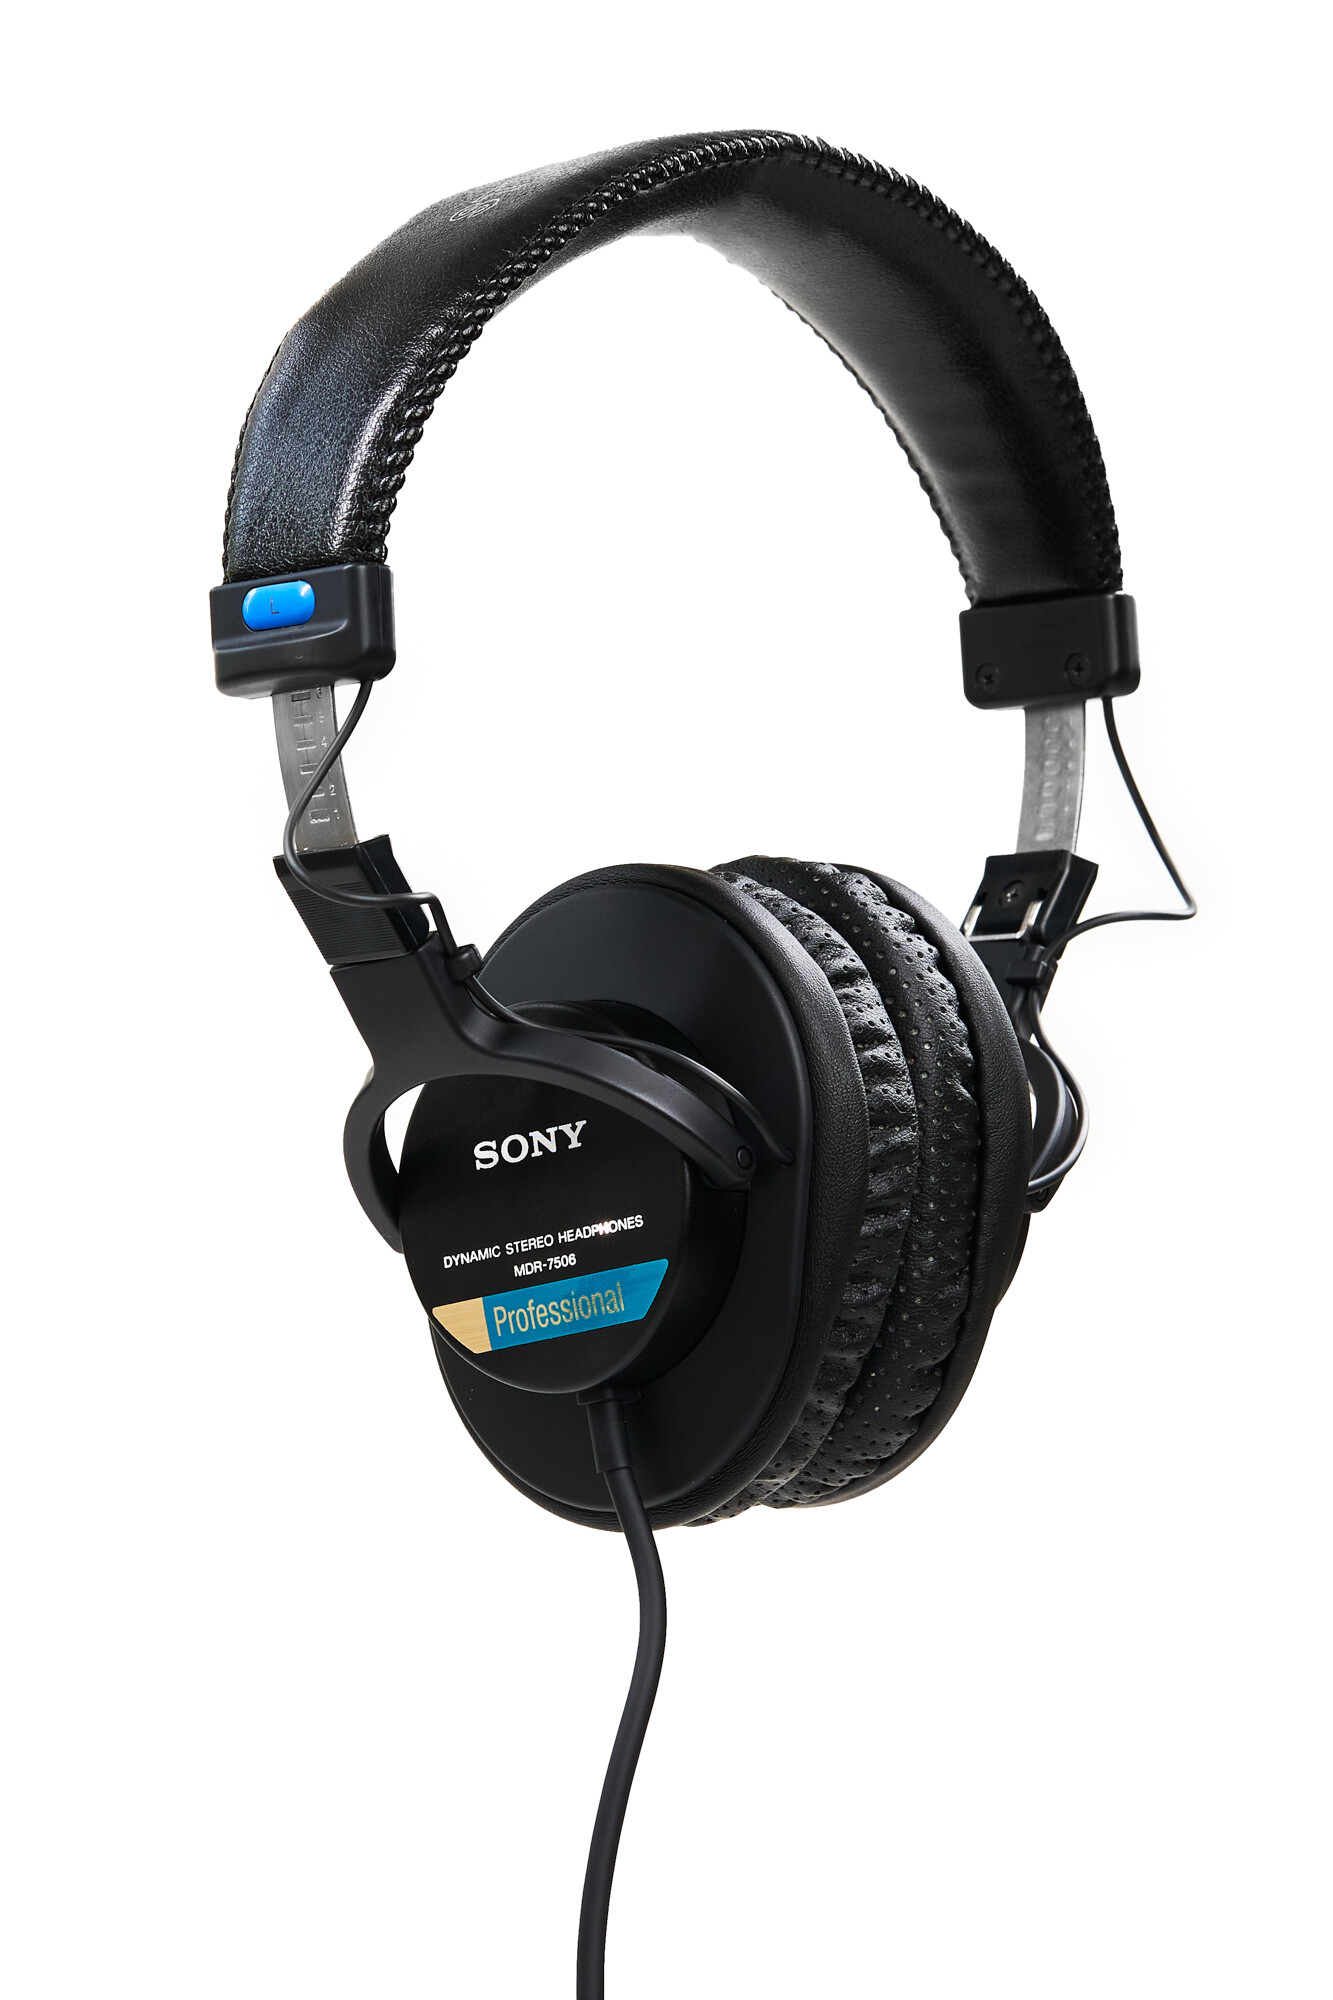
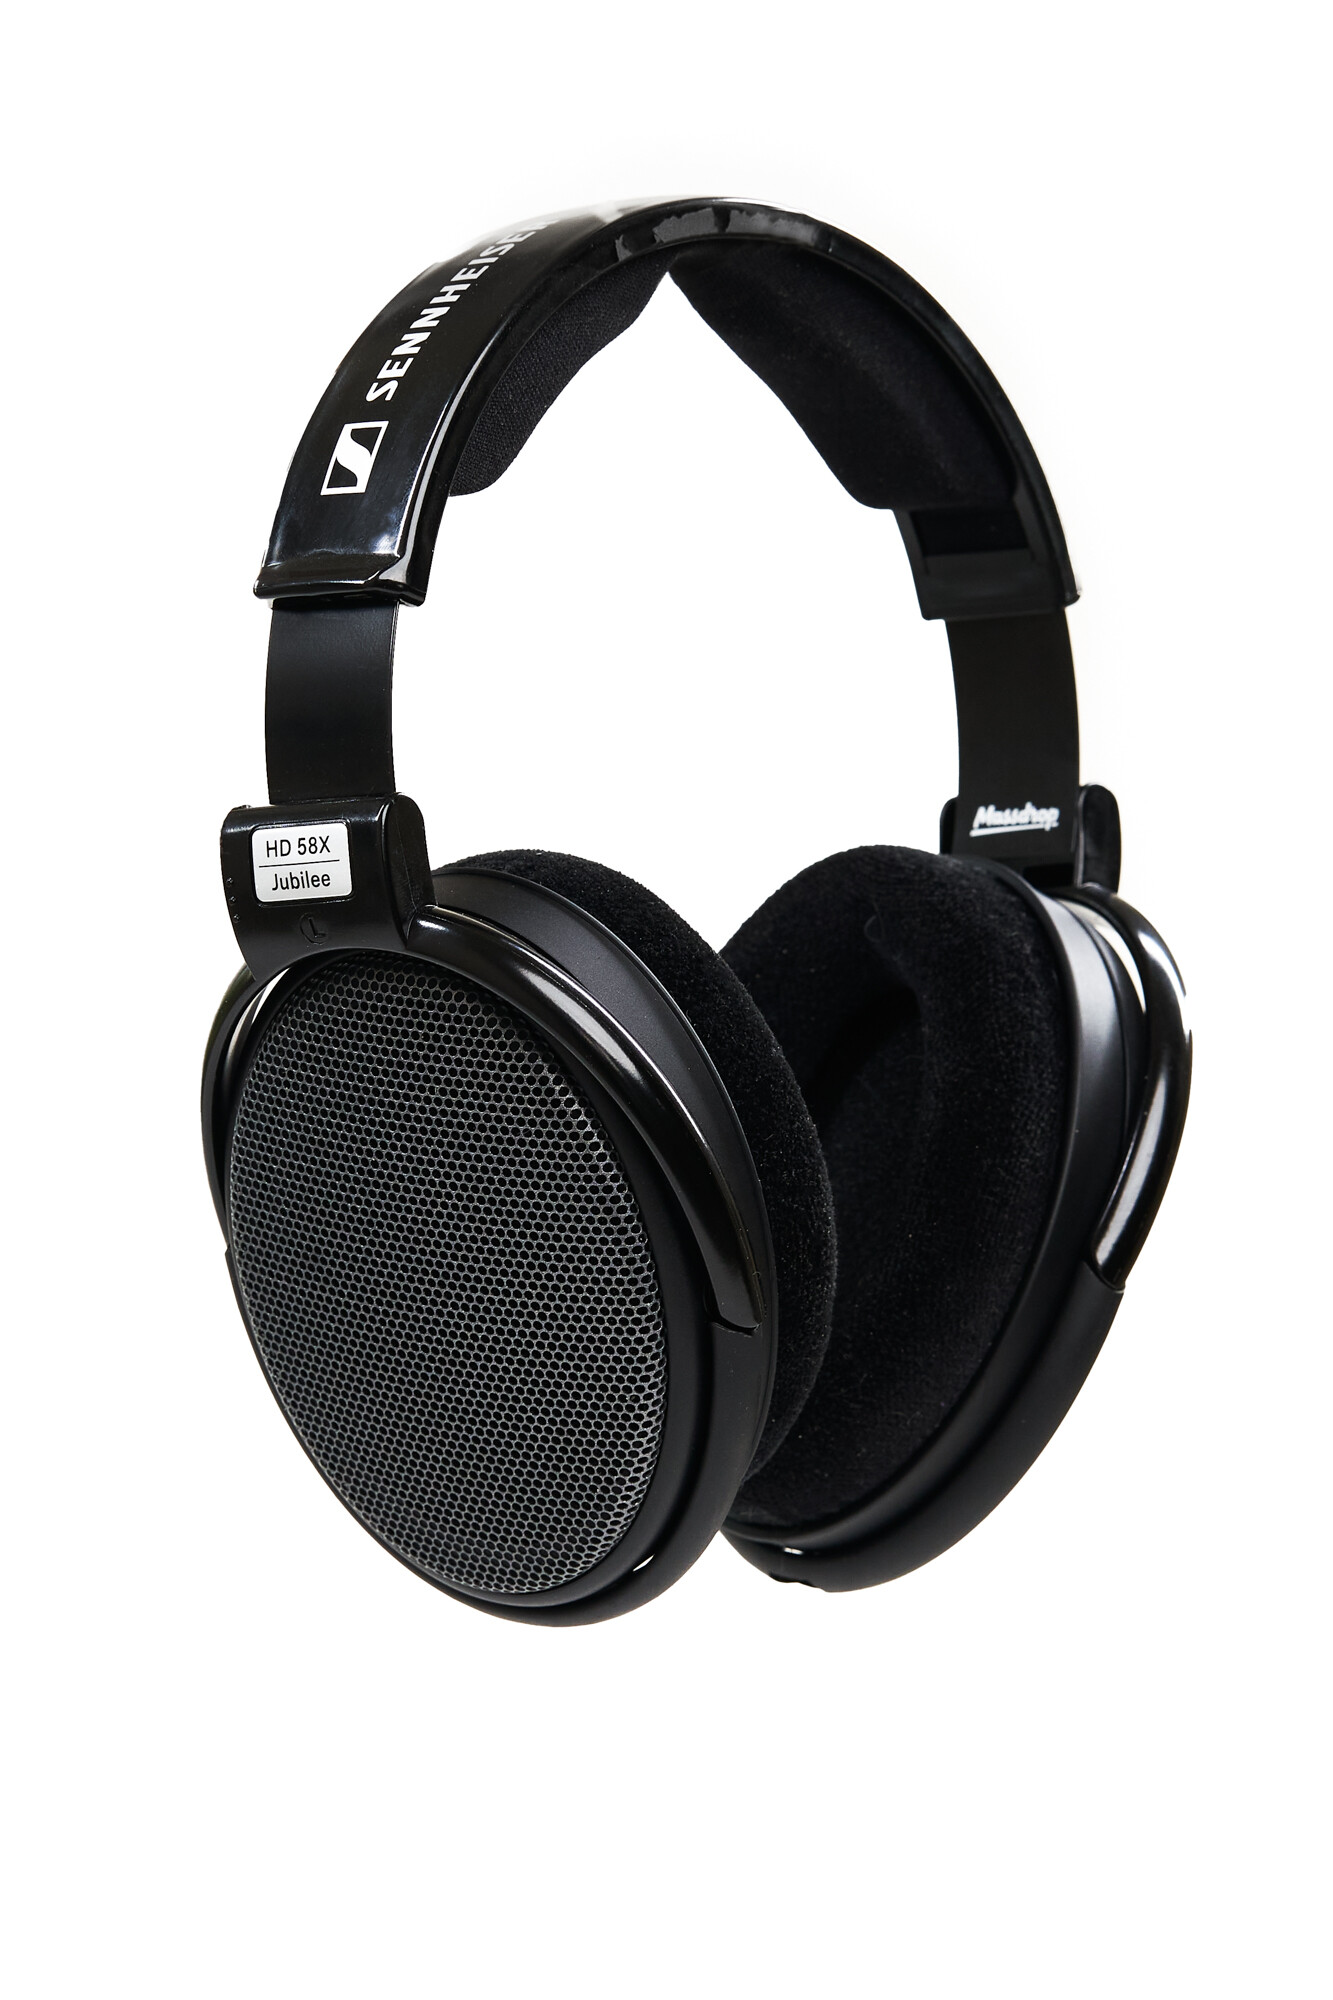
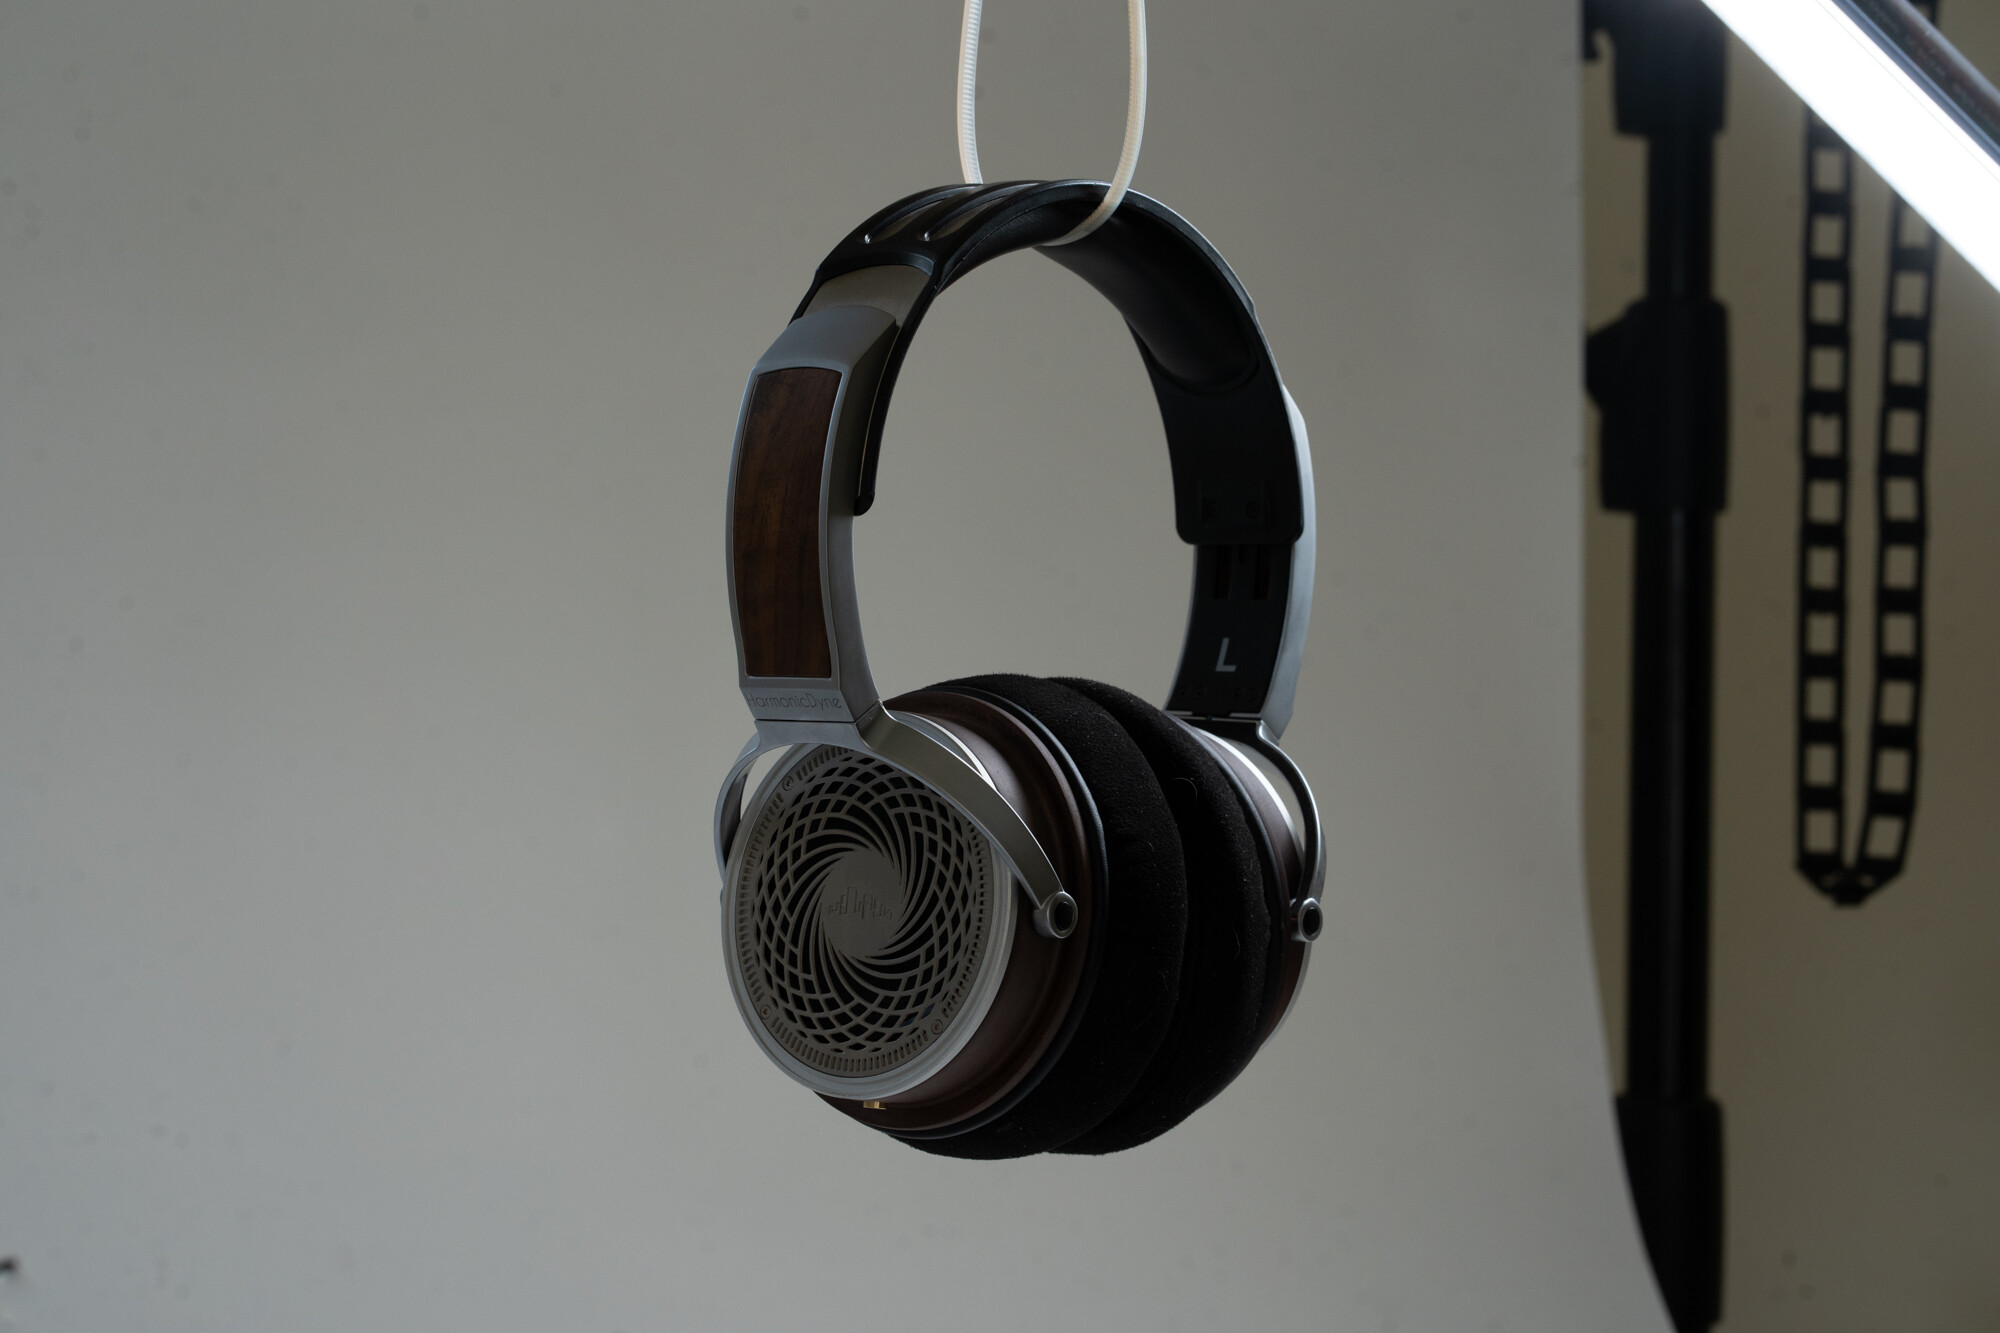
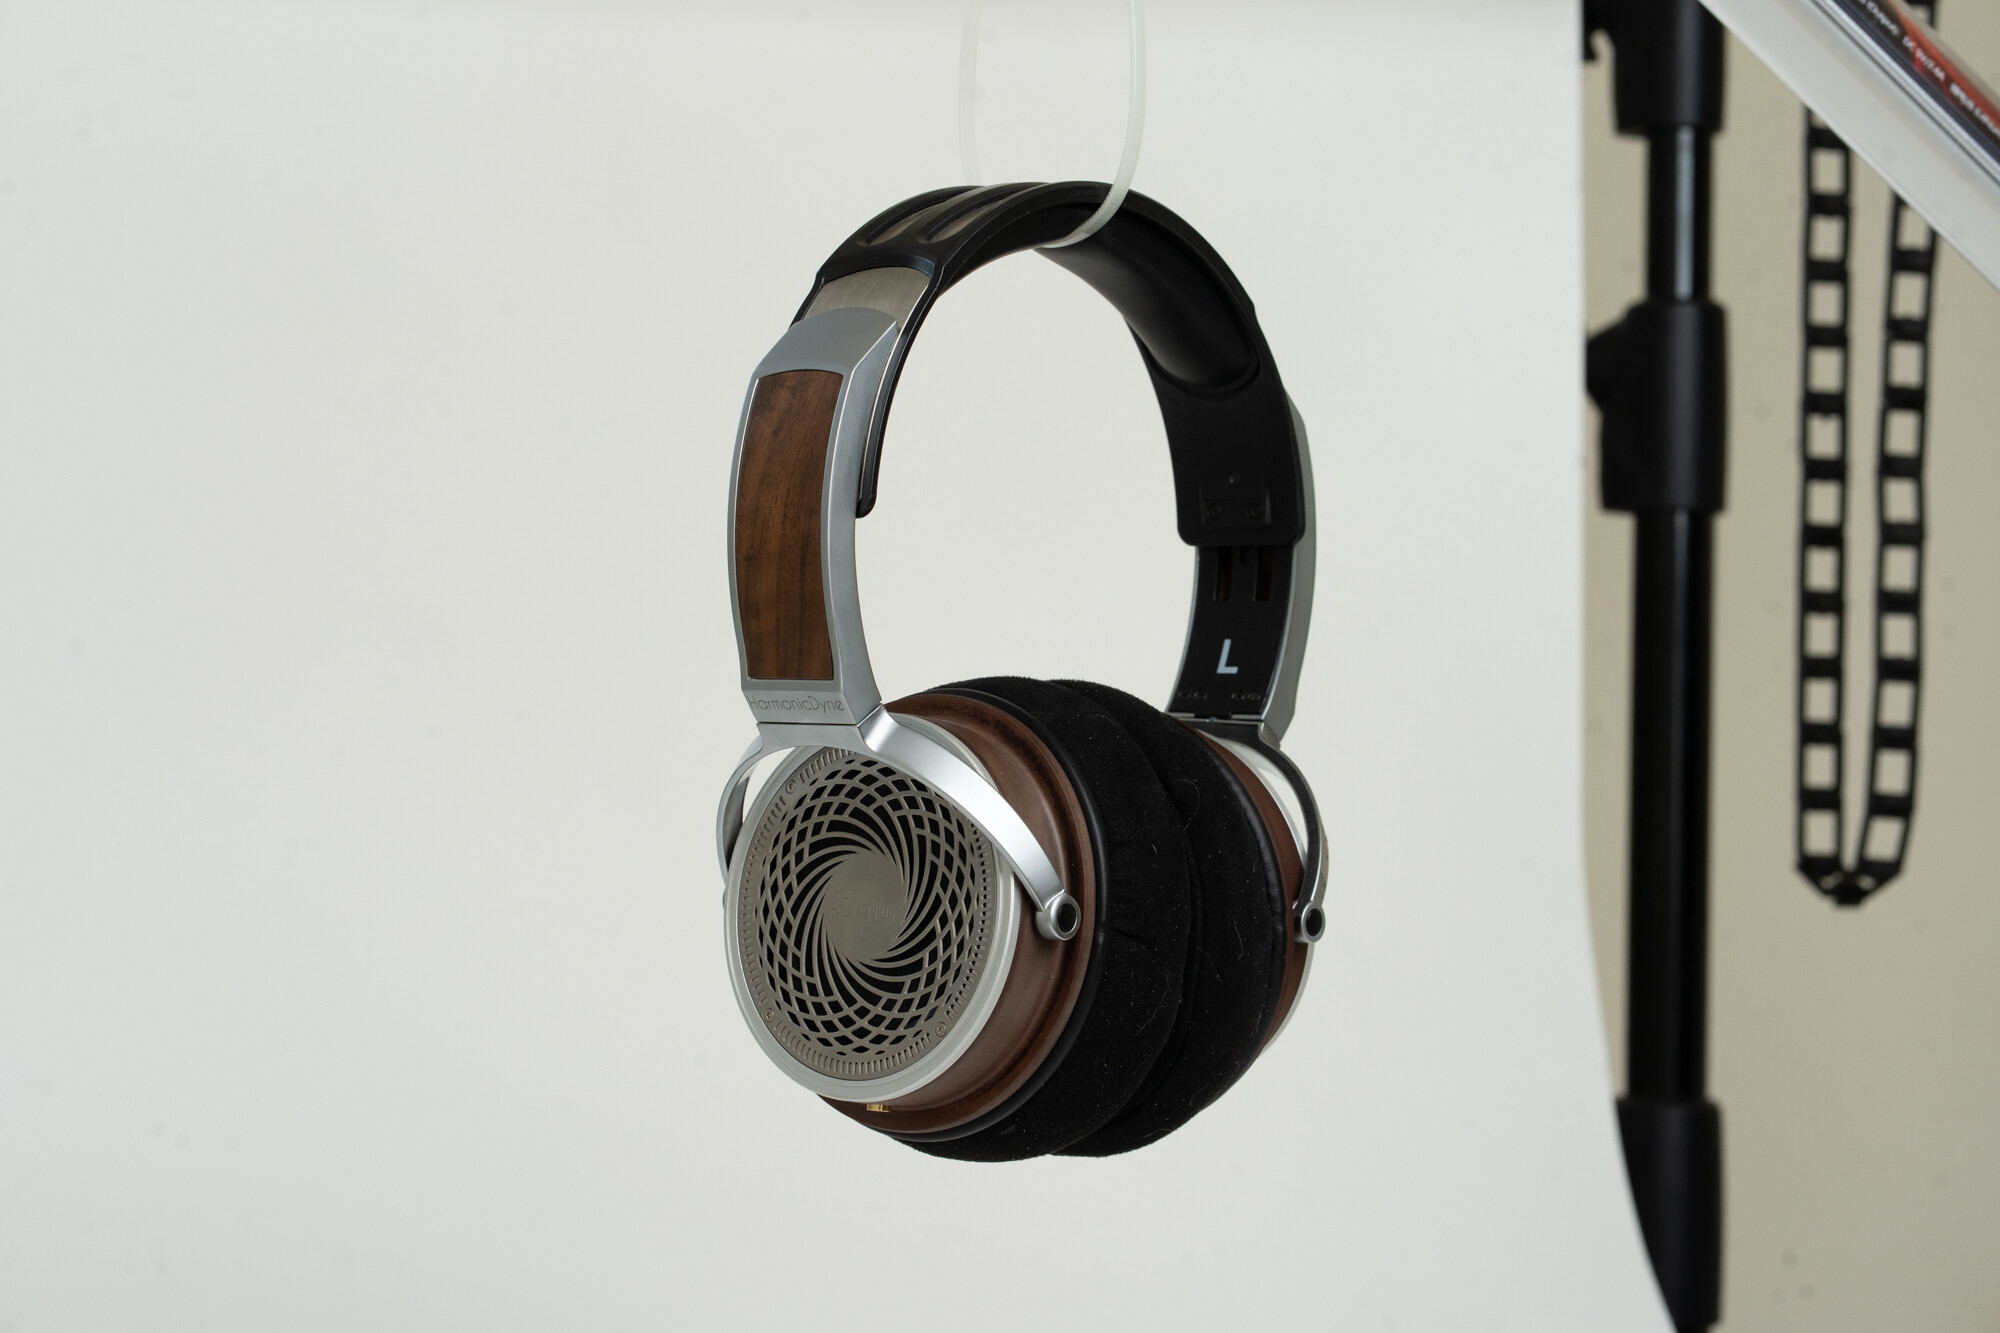
These are a few of my headphones; I took a “stock” picture of them and a few more for a side project working on right now. All of these were shot the exact same way, with the exact same setup (“stock” refers to the fact that it’s less about ambiance and more of a product showcase, although mine is a bit “edgier” than normal)
We will focus on the picture of the Helios
Of course that these pictures are the final product; after photoshop, so how did I get here?
Let’s walk it back to the beginning.
I needed a lighting setup that was not only capable of working with different headphones, look uniform and be simple in case i need to recreate it at a later date.
Side note: I got the idea of this post after I finished shooting, so the behind-the-scenes and “test” images don’t match completely to the final image, but the lighting and positioning are almost exactly the same.
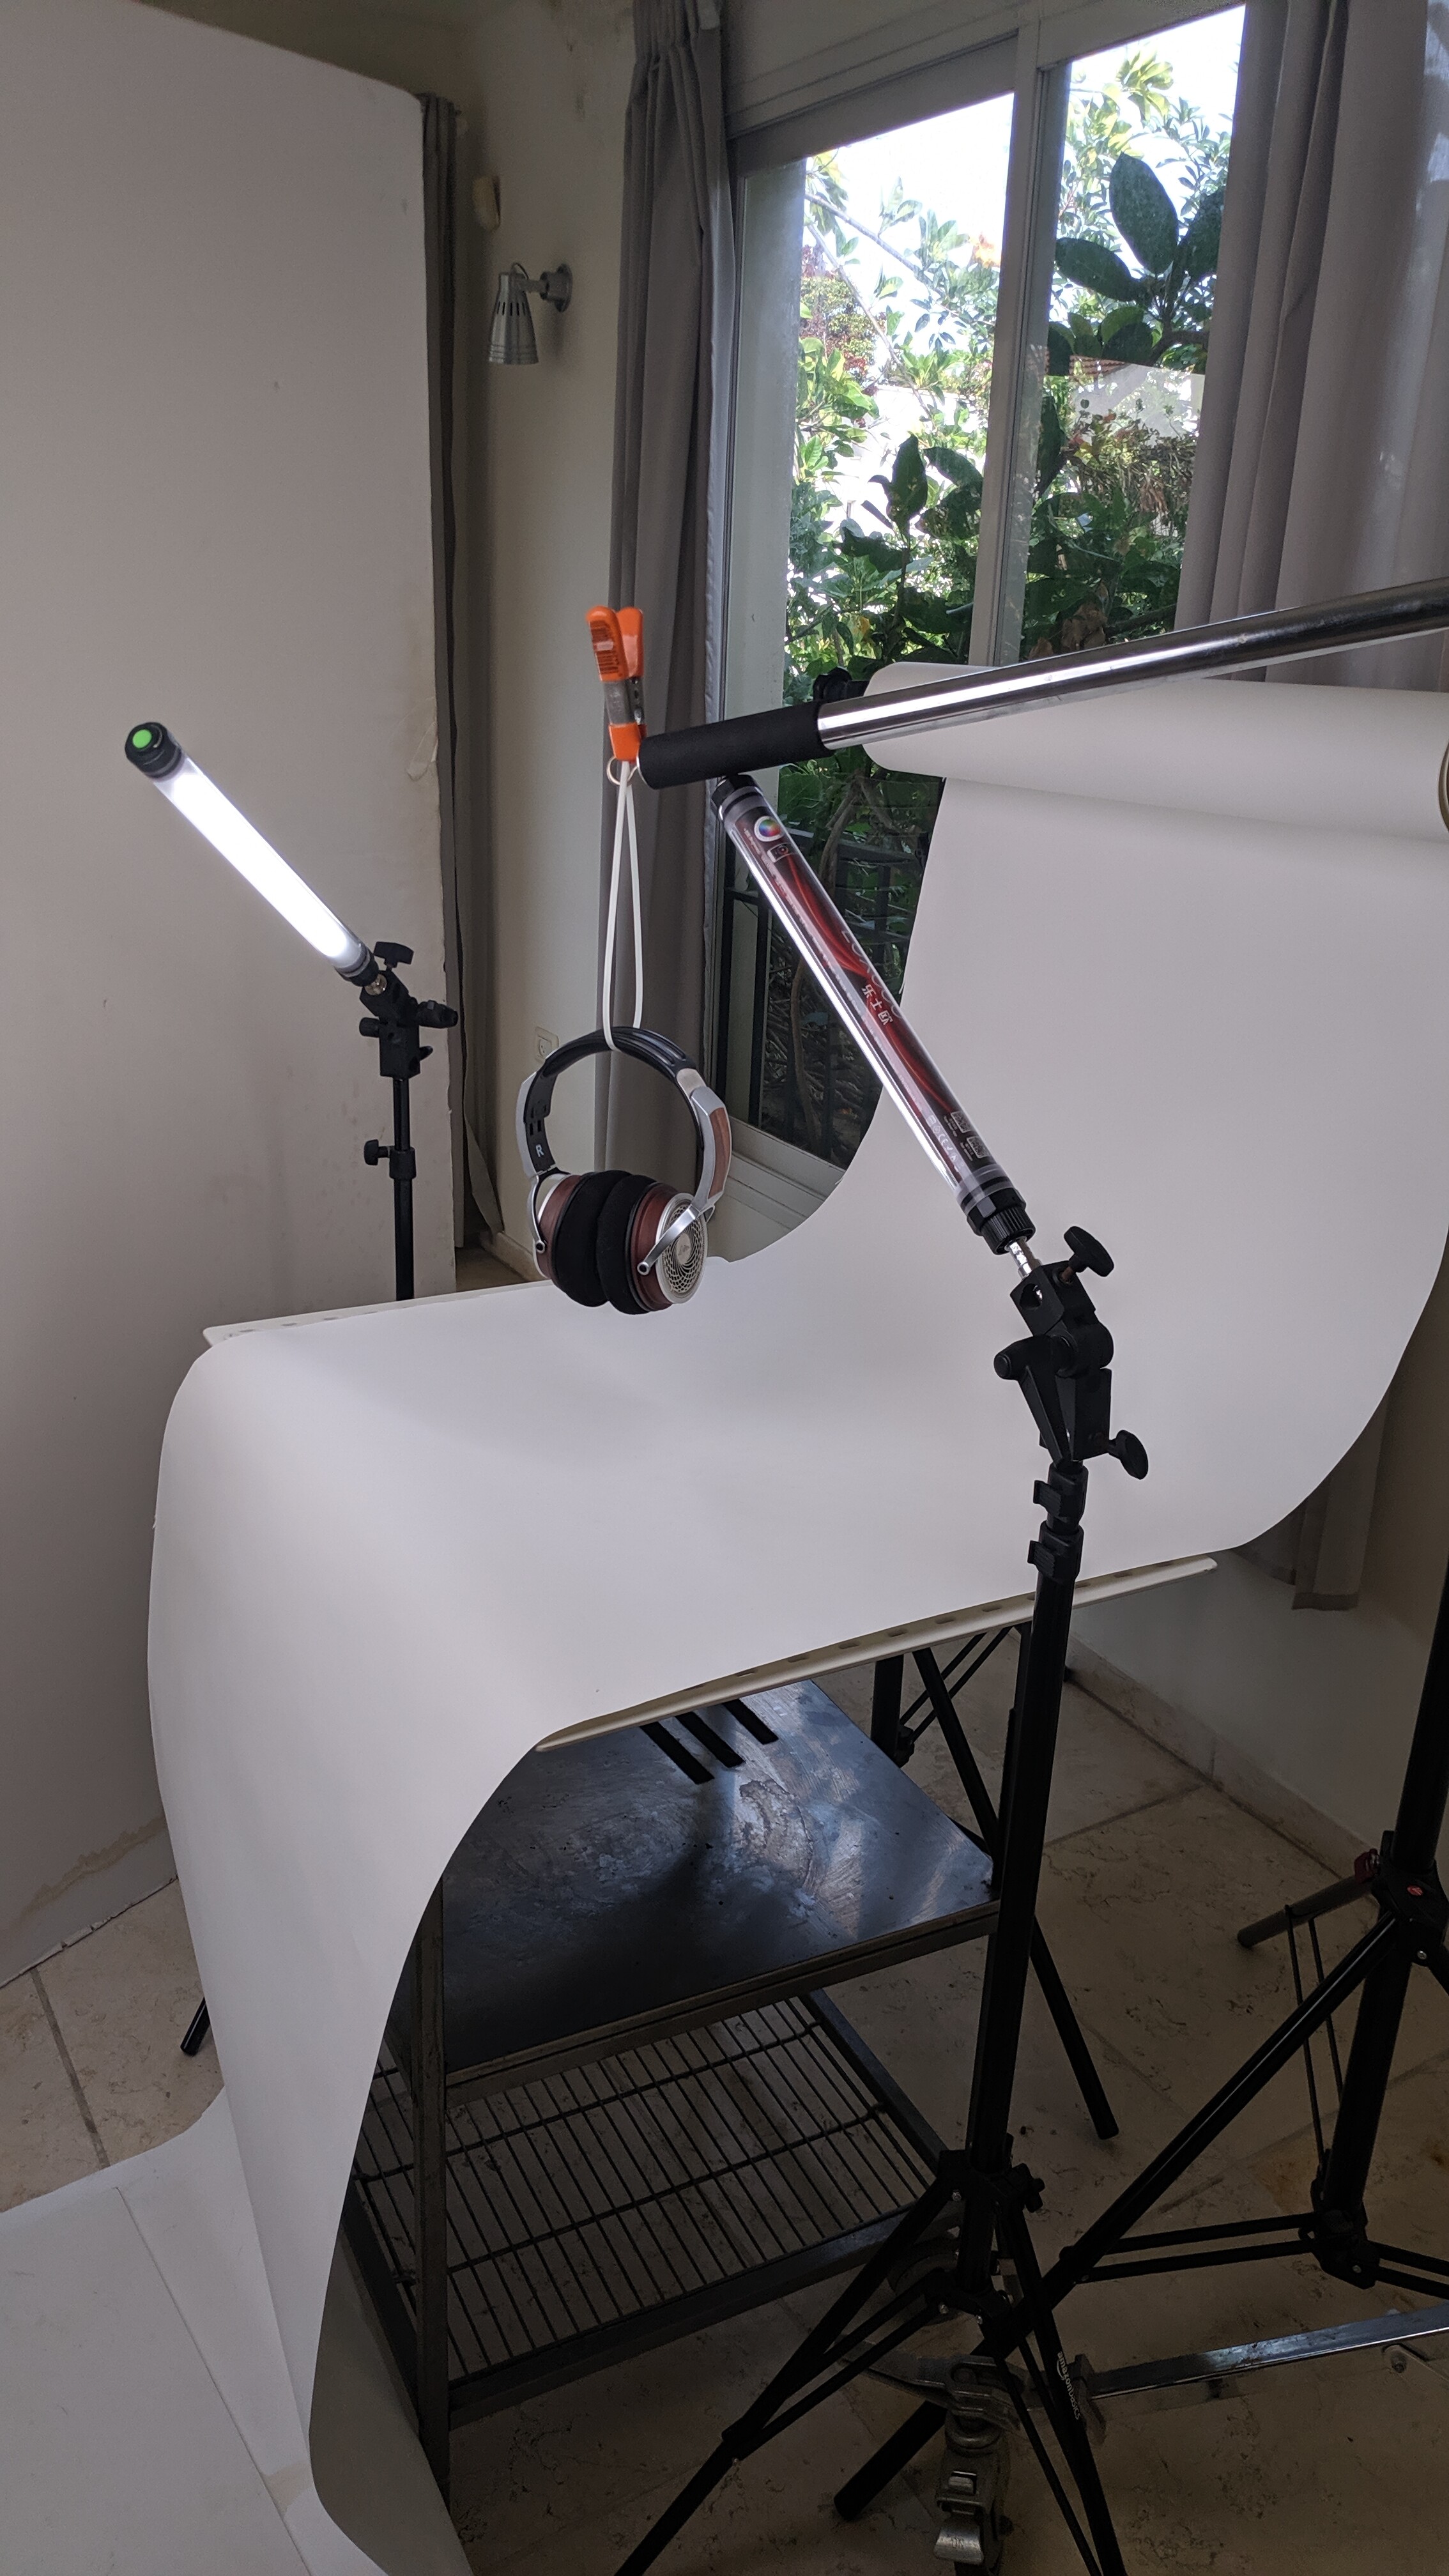
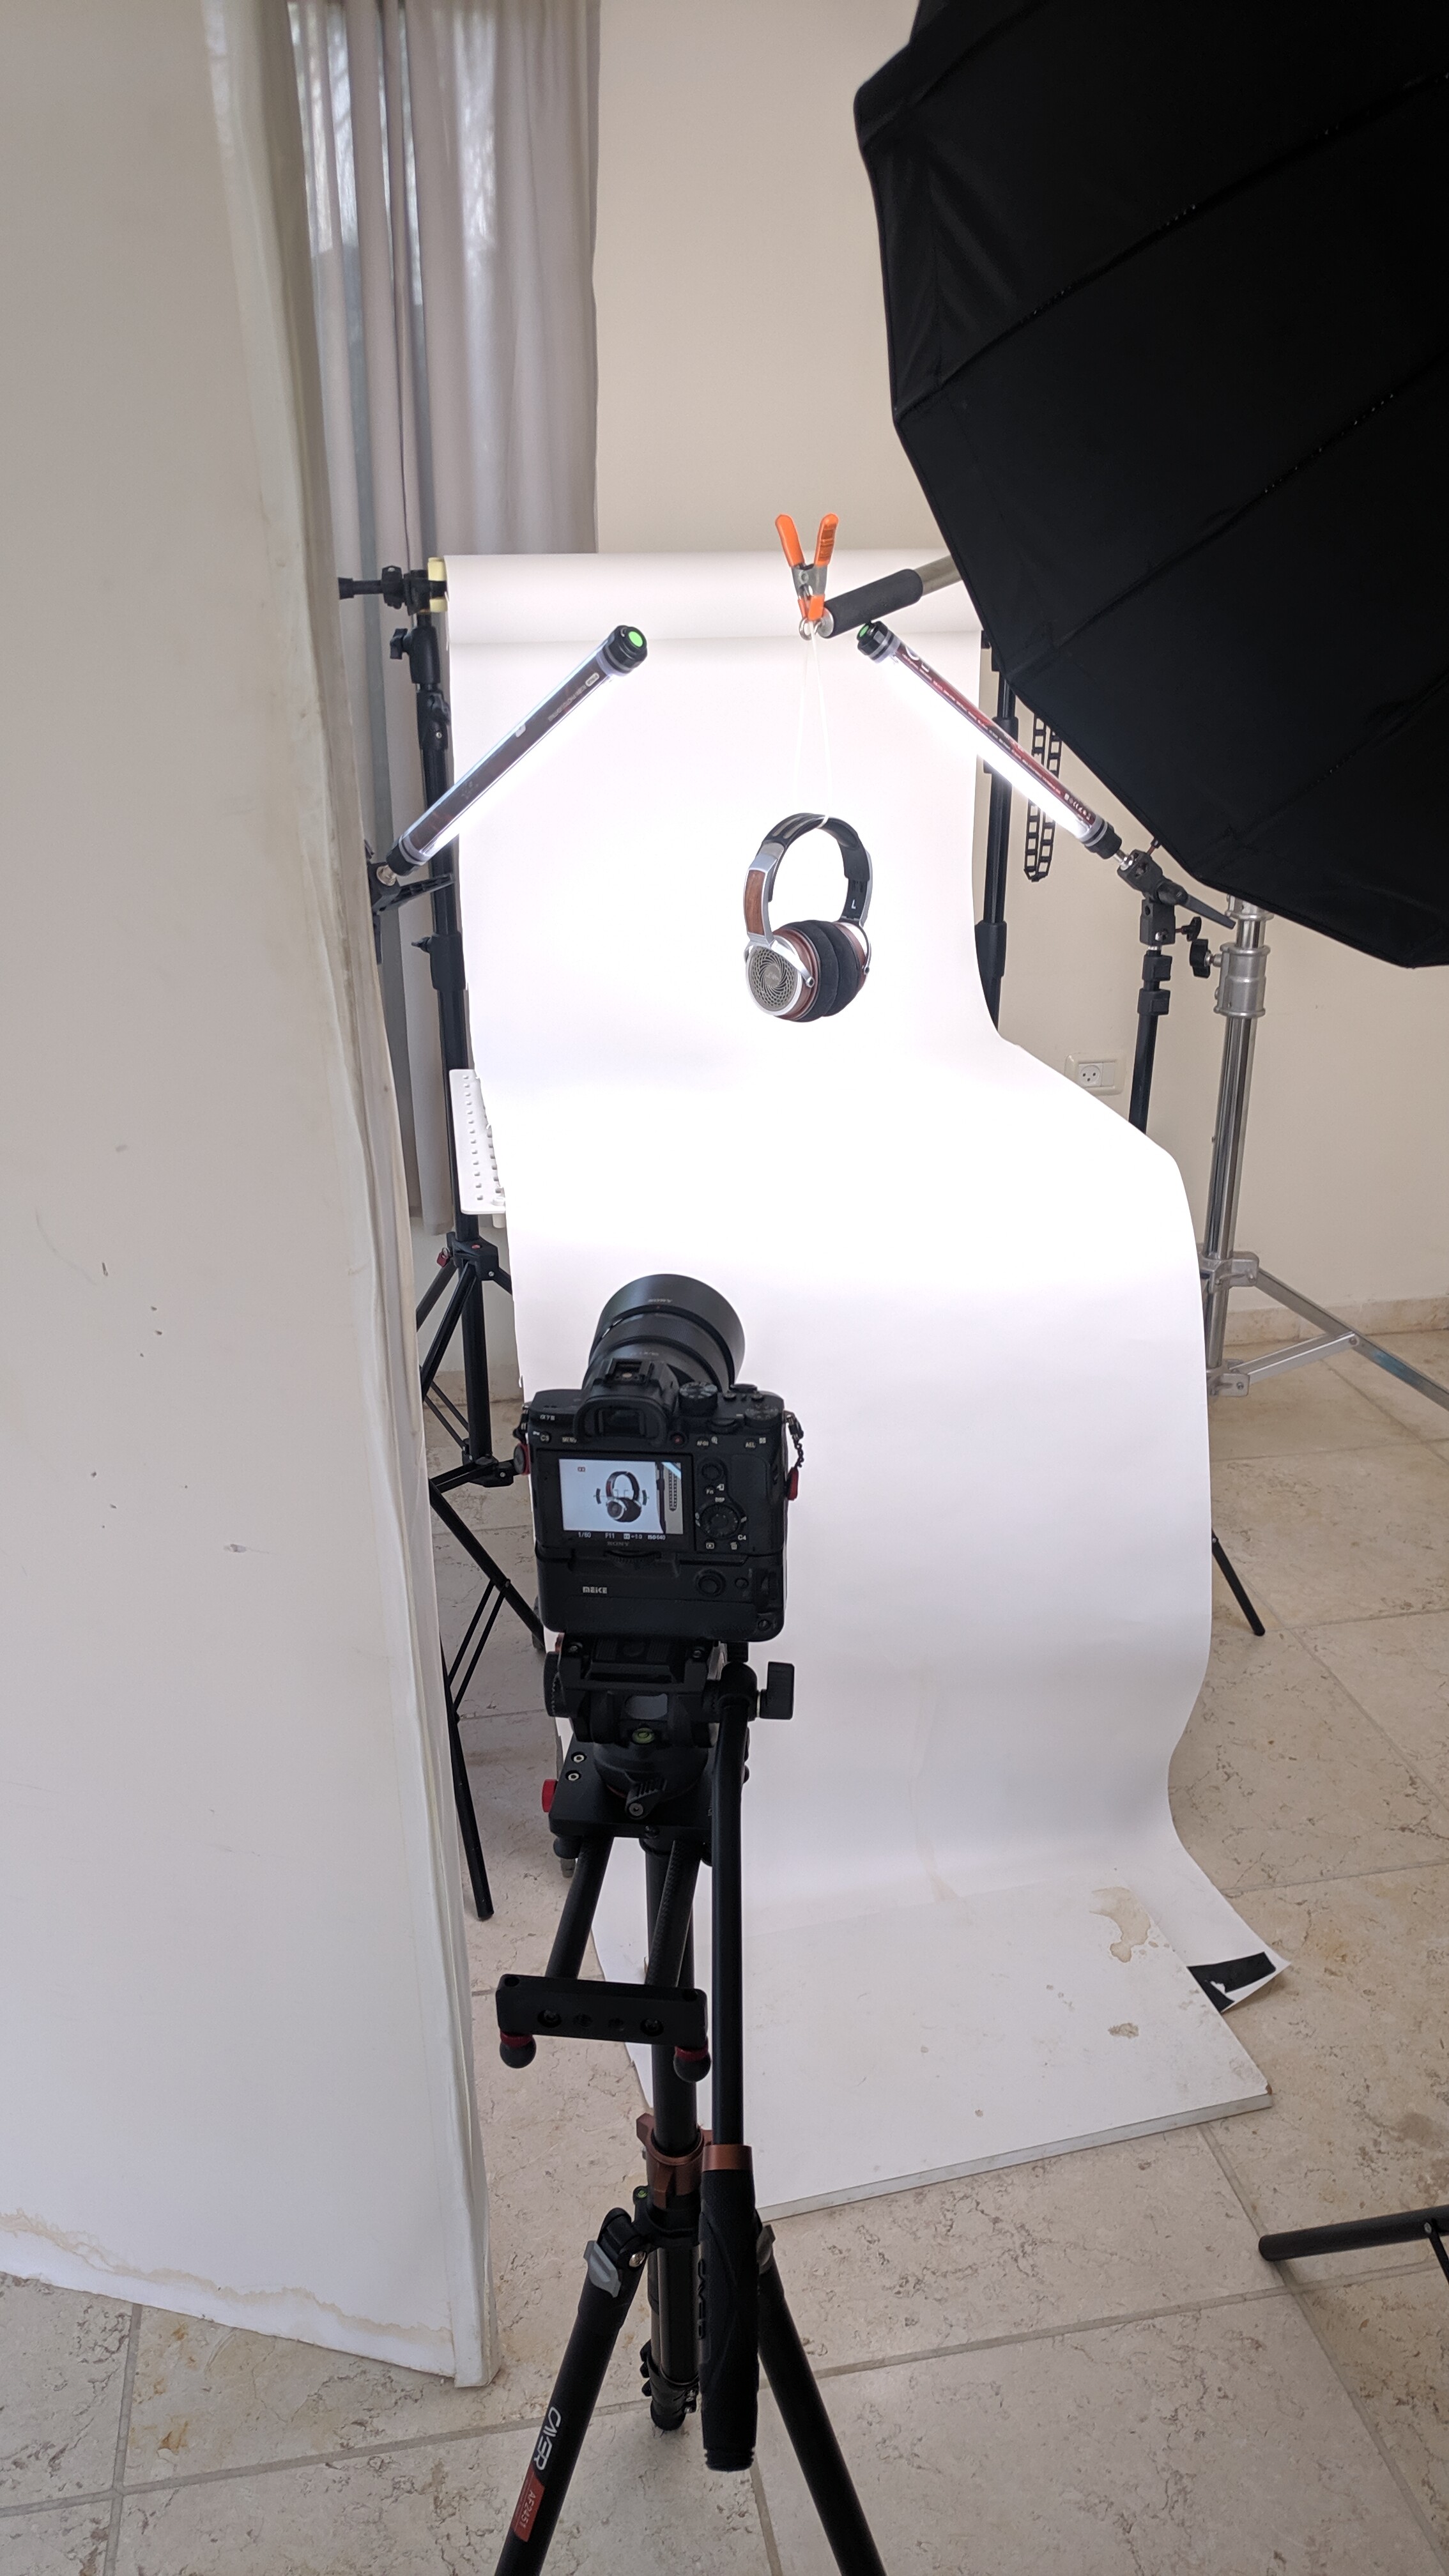
here are the behind the scenes picture (sorry for the mess). Now what I want you to focus on is not the gear itself, but where the lights located in relation to the headphone, to the camera, and to the backdrop.

So let’s start breaking it down and explain how to start the process.
The first step before you taking pictures is to examine the item you are shooting and take a mental note of what do you want to show off, what is most important to you, things like:
- The shape
- Materials - if something is wood, metal, resin, etc.,
- Special features in the construction, like patterns, engravings
- Colors
Now since this setup was meant for a variety of headphones (not just for the Helios) I decided that i wanted to emphasize 3 major things, The pattern on the cups, the material of the headband, and the structure of the hinge itself.
So what I did is I lit each one of them before lighting the whole image, and it worked on almost every headphone I shot that day.
So first light was the “key” light, mainly focusing on the pattern and the wood on the headband and a bit of the metal too. the light source was camera left, slightly behind the headphones

After getting what I wanted, I turned it off and moved on…
Now the “rim” light
Now the “Rim” light has the added benefit of lighting more of the metal surfaces, not only giving us the overall shape but also more “texture” to lighting the hinge. Its placed the camera right, and you can actually see it in the shot.
Keep in mind that nothing aside from that light is working right now, so I can tell exactly what lighting.
Turn it off and move on to the “main” light
Now everything that is being lit in this picture is only the main light, the background, and most of the headphones, but it lacks “an edge,” which is why we started off with the Key and rim light first, and also why we turn each one off when working on the other.
Connecting all of them together gave me that final image you saw at the start because each one was carrying a different part of the image, and supporting another part at the same time. Taking things slow and building up your light is the best and most important tool you can have.
While I did use lighting equipment in this shot, the next post will show you how to use just natural light to light an object, the difficulties and how you can manage some of them, what are cheap tools you can use, etc., etc…
I hope you folks found this helpful/insightful if there is any question, feel free…